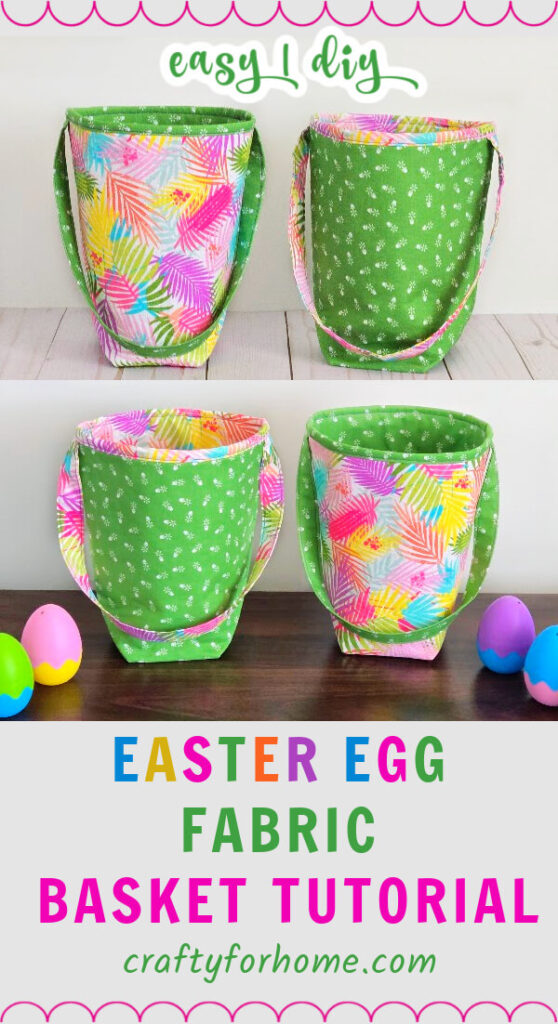
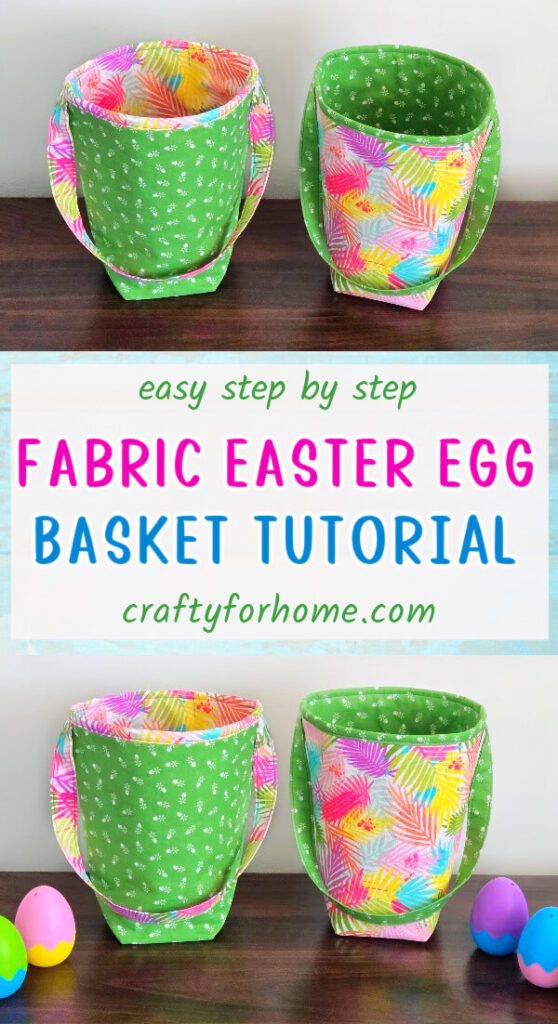
Follow this easy sewing tutorial to create a DIY fabric Easter basket from a single fat quarter. This fabric basket is great for storage or as a gift basket idea.
Easy DIY Basket For Easter
The great thing about this fabric basket is that it is washable and foldable for easy storage. The DIY basket from this tutorial can be easily customized to the size you need for the purpose.
As an Amazon Associate I earn from qualifying purchases. This post may contain affiliate links. Please see the Disclosure Policy for details.
Supply To Make a Fabric Basket
You can make one basket from one fat quarter of fabric. If you prefer different colors or prints for the inner and outer layers, use two fat quarters.
With two fat quarters, you can make two fabric baskets.
- 1 of 9″ x 18″ fabric for the inner layer
- 1 of 9″ x 18″ fabric for the outer layer
- 1 of 9″ x 18″ fusible fleece
- 1 of 3″ x 18″ fabric for the strap
- Disappeared ink marker. I use this dual-purpose fabric marker.
- Pins or quilting clips
- Ruler
- Thread
- Scissors
- Sewing machine
- Clothes iron
DIY Easter Basket Tutorial
The video tutorial is also available. Click on this link to watch the DIY Fabric Basket video tutorial on my YouTube channel, and subscribe for more videos.
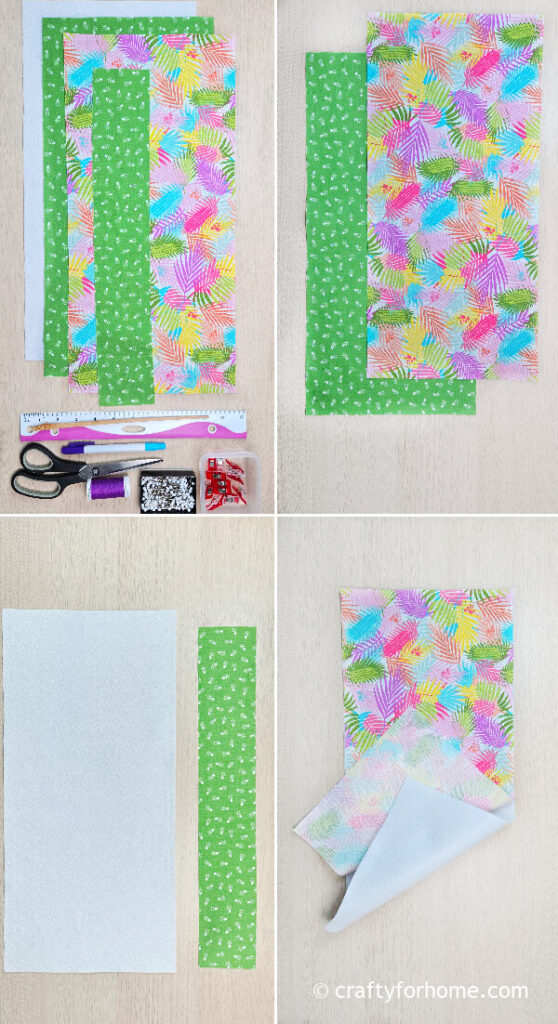
Place the wrong side of the outer fabric to the fusible fleece, then press it with a cloth iron to fuse it.
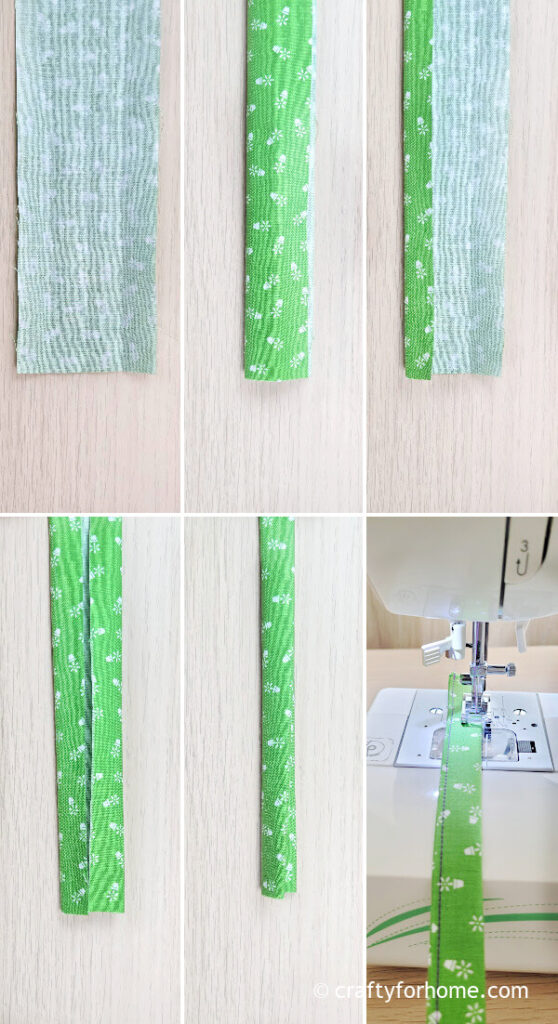
For the basket strap, with the wrong side of the fabric strip facing up, fold the fabric in half lengthwise, then open it.
Fold both fray long edges toward the center fold, then fold the edges again so that the frayed edges of the fabric are inside the fold.
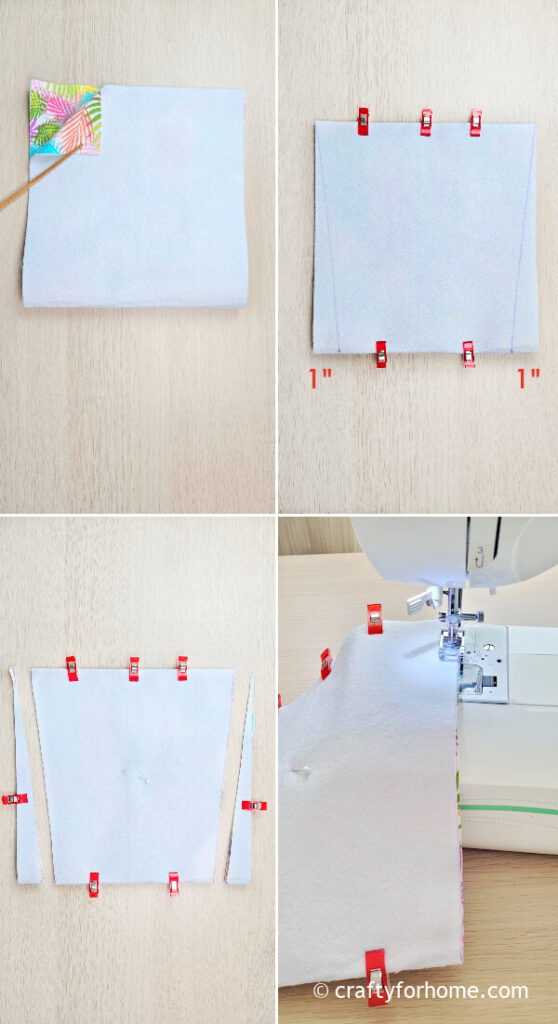
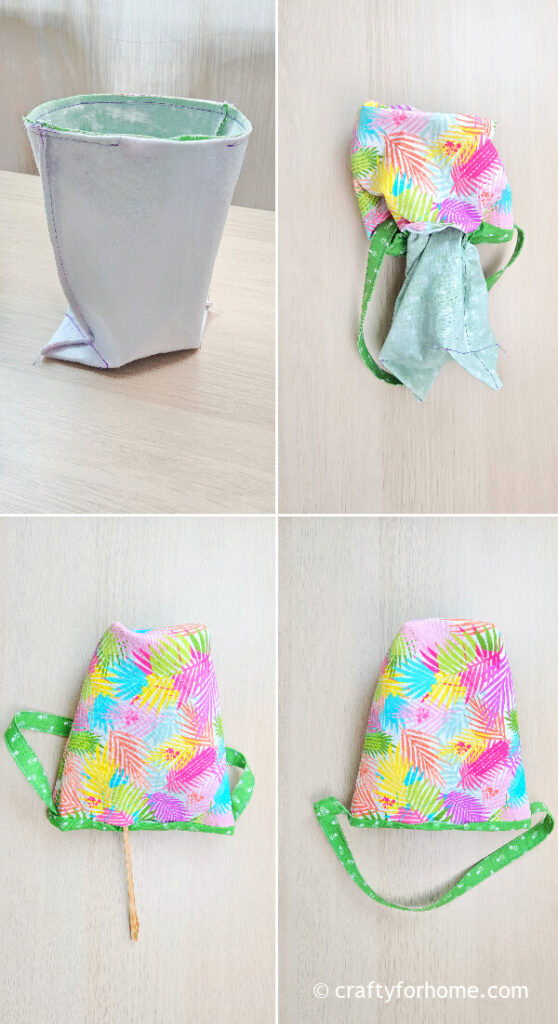
For the basket, fold both fabrics in half. On the folded edge, measure 1″ from both corners.
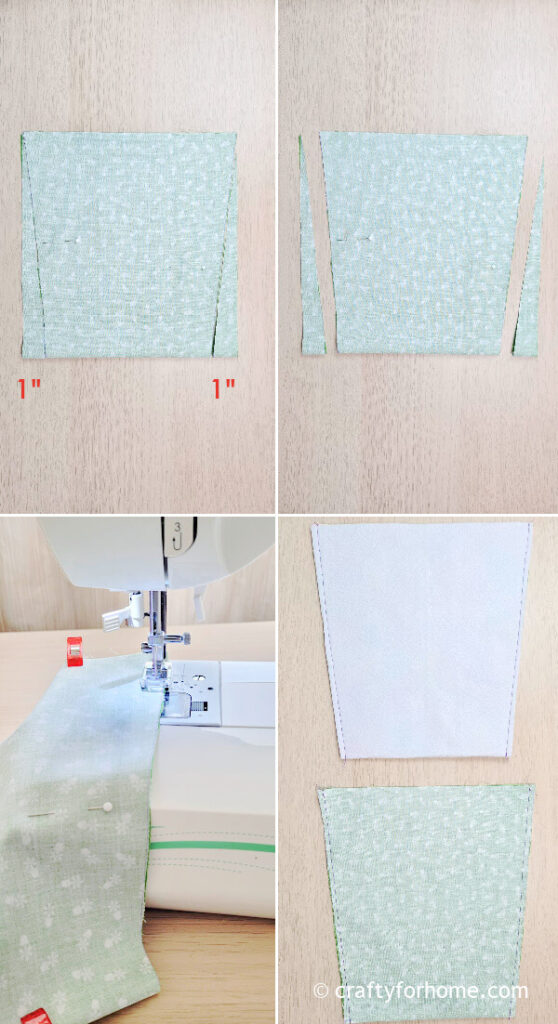
Draw a line from the 1″ marked spot to the top corner. Trim the fabric along both lines, and sew it along both angled sides with 0.25″ seam allowance.
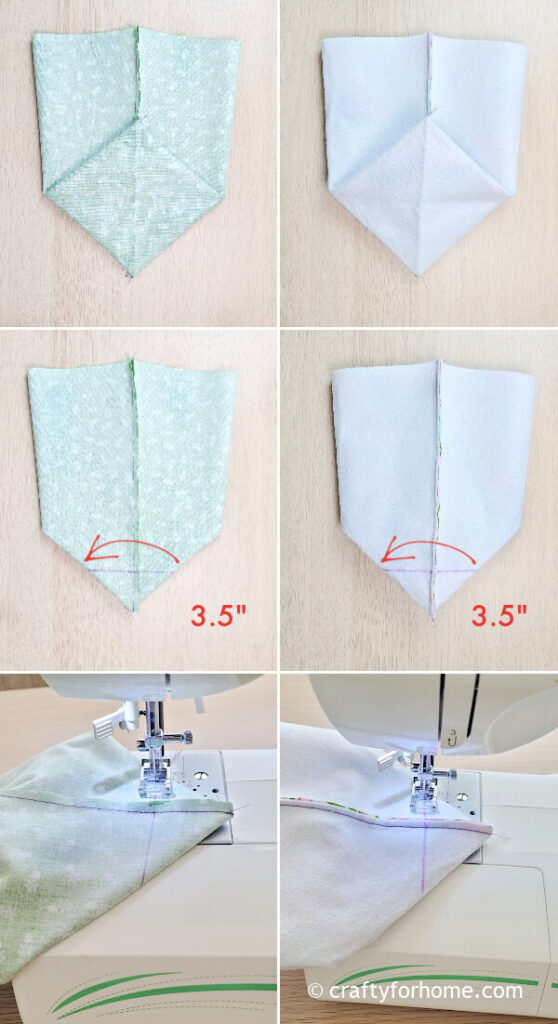
To create a boxed corner, align both bottom corners of the basket to form a triangle. The side seam would be precisely in the center.
Mark 3.5″ across the fold on both sides, then draw a line connecting the marked spots. Sew along the line.

Optional: Trim the excess material from each corner, or skip this step. Pin both ends of the basket strap to the outer fabric, then sew it to keep it in place.
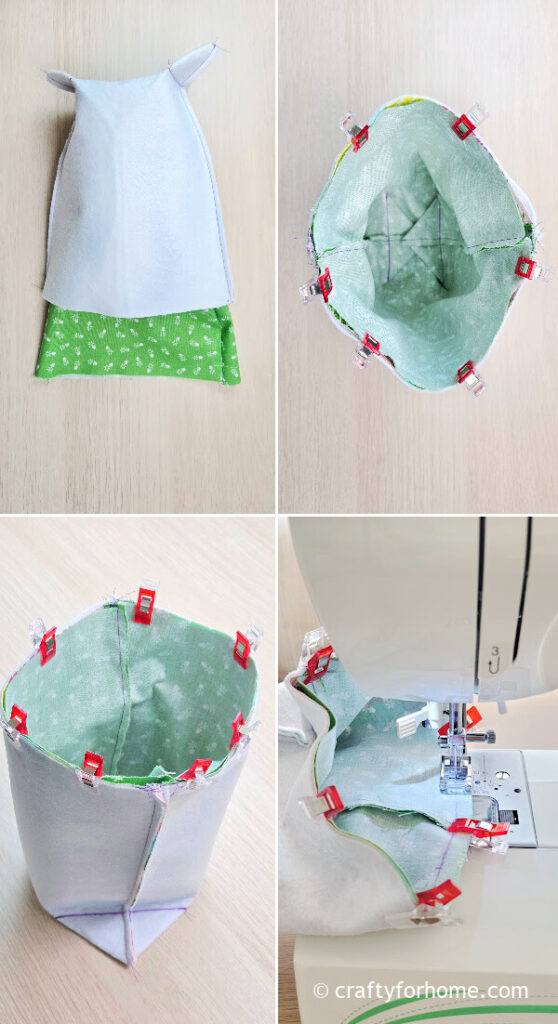
Turn the inner fabric right side out, then insert it into the outer fabric, pin it along the top edge. Sew along the top edge with 0.25” seam allowance, and skip 3″ for the opening gap.
Turn the fabric basket right side out through the opening. Use a chopstick if needed to push all corners.
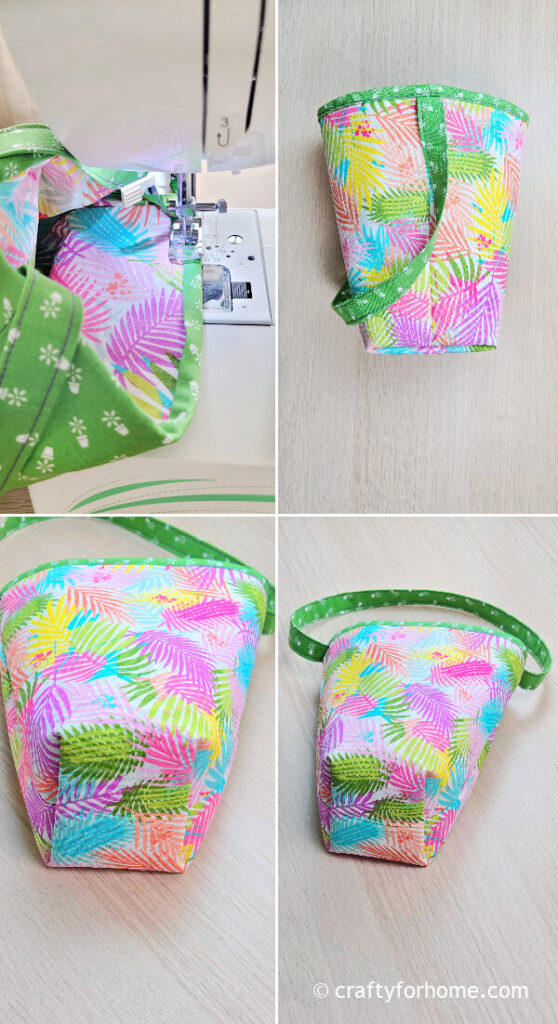
Push the inner fabric into the basket, leaving the top edge visible from the outside to create a binding along the edge.
Press the fabric basket with a clothes iron. Topstitch along the binding and close the opening at the same time.
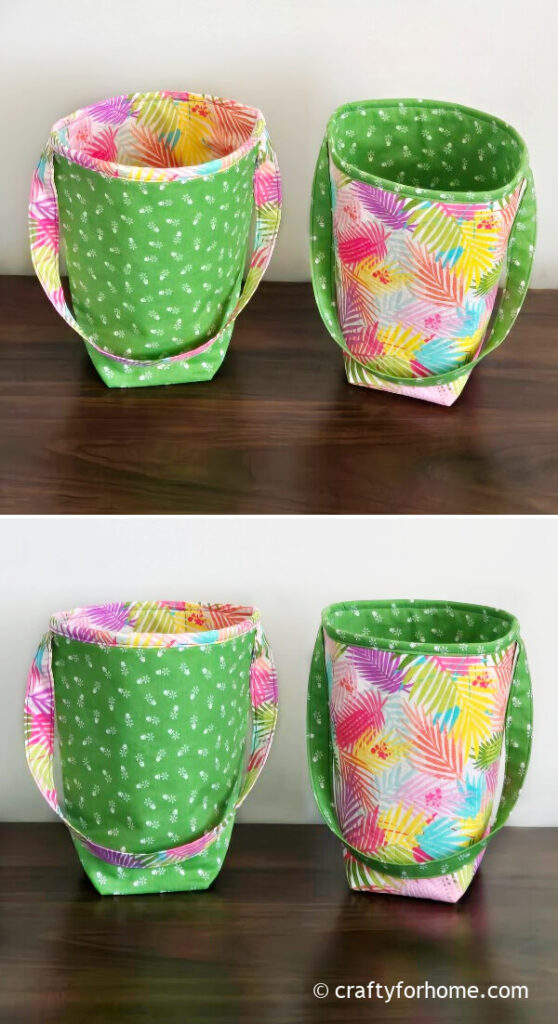
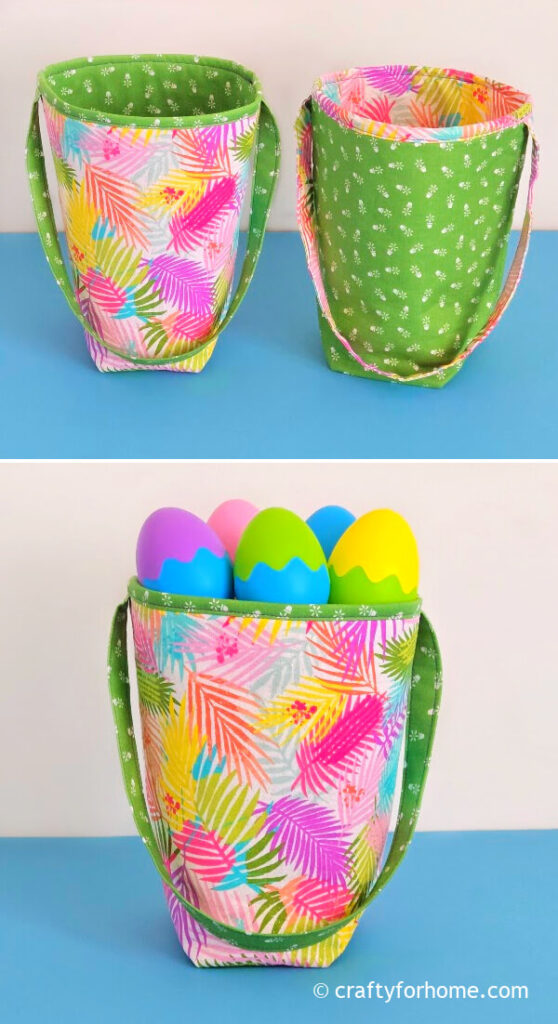
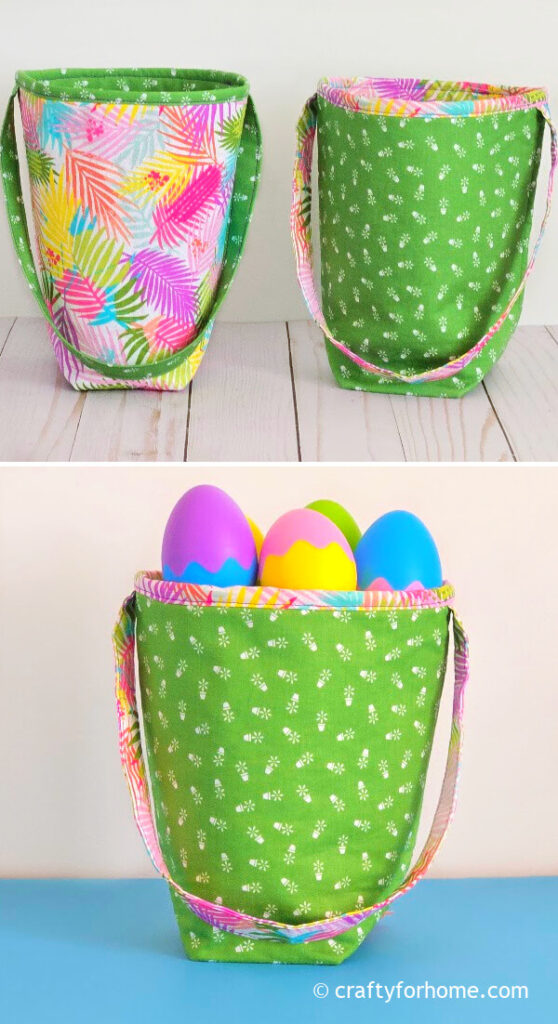
The fabric basket is ready to use now for any purpose around the house.
Size Of The Fabric Basket
The basket’s final measurements are 7.5″ tall and 3″ wide. Use the basket as a DIY Easter basket for a treat holder or use it for an Easter egg hunt.
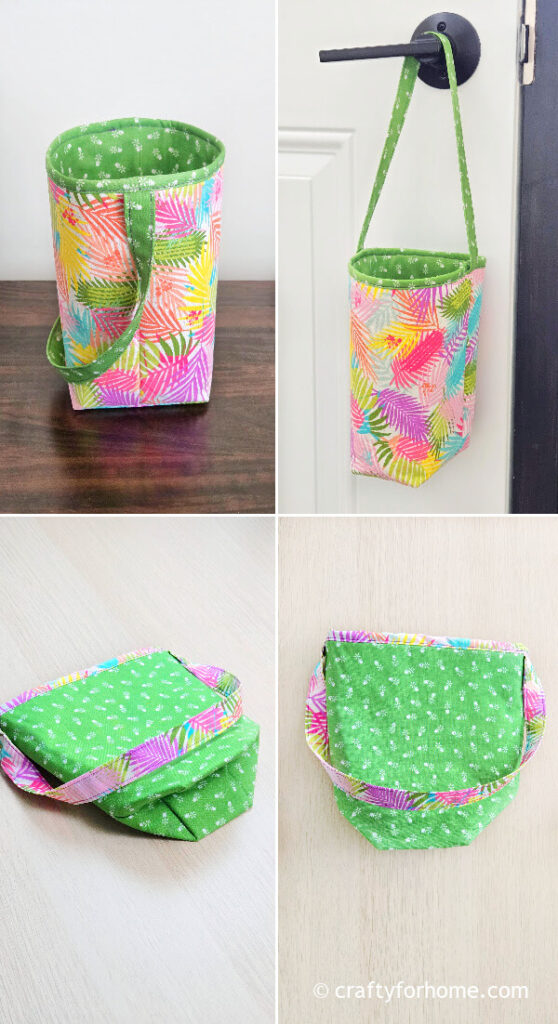
Hang it on the door handle for keys or pet leash storage. Put the basket in the pantry to keep small items like small onions or garlic.
Use it as a birthday favor basket by customizing the fabric print and color to match the theme. Fold the fabric basket flat for easy storage.
This fabric basket is useful for any purpose around the house, or as a DIY Easter basket. #Easterbasket #fabricbasket Share on XMore Easy To Sew Fabric Baskets
- Mini Fabric Basket From Charm Pack
- Convertible Basket To Hot Pad
- Mini Easter Basket With Fabric Bunny Ear
DIY Fabric Basket For Easter


Leave a Reply