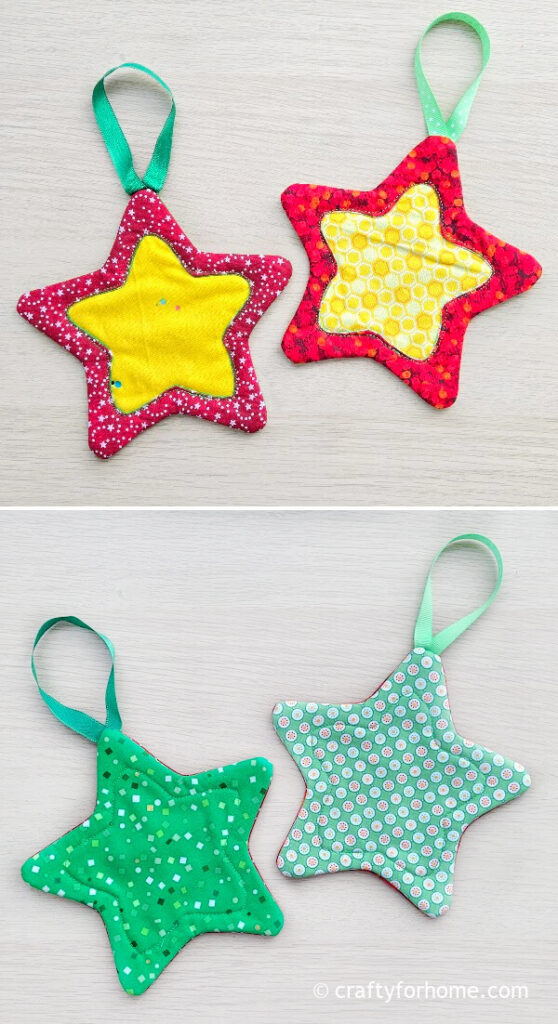
Turn fabric scraps or small fabric pieces into this fabric star ornament, perfect for decorating a Christmas tree, a DIY Christmas banner or as a gift tag.
Easy Fabric Christmas Star Ornament
When you have too many leftover fabric squares and the Holiday season is approaching, turn them into something fun, beautiful, and useful for decorating the tree.
As an Amazon Associate I earn from qualifying purchases. This post may contain affiliate links. Please see the Disclosure Policy for details.

This DIY fabric star is easy to make, and you will want to make lots of them because they’re a great alternative to breakable ornaments and can be reused for other purposes or next year’s season.
Supplies To Make a Star Ornament
Use scrap fabric, upcycled worn out clothes, or use a layer cake size fabric bundle. Use a ribbon, decorative cord, or decorative twine to hang the star ornament on the tree.
You can make your own star template. You will need one small star shape and one larger star shape template. The printable template is also available to download.
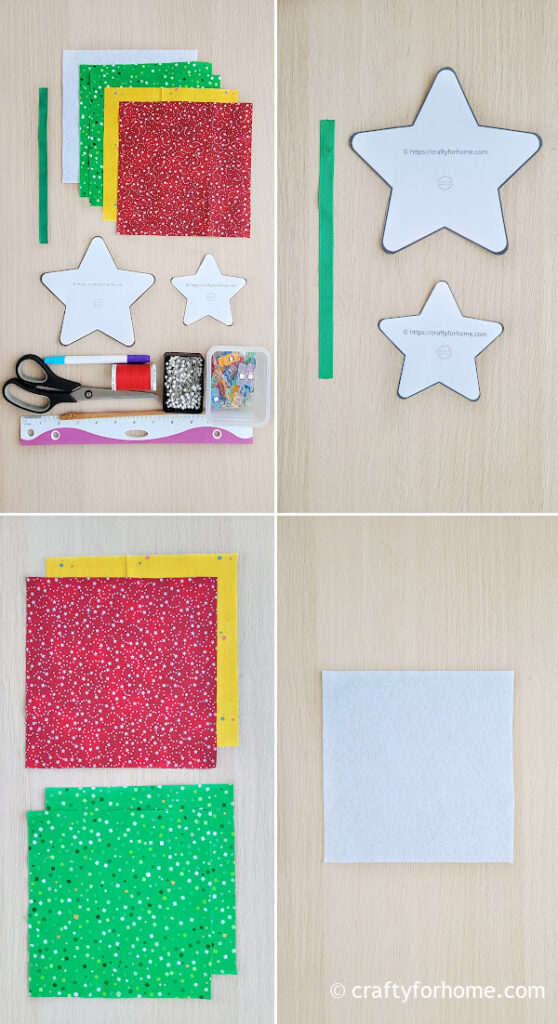
- 4 pcs of 7” x 7” fabrics (17.8 cm x 17.8 cm). One yellow fabric is for mimicking the bright light of the star
- 1 of 7” x 7” fusible fleece (17.8 cm x 17.8 cm)
- 8” ribbon (20.3 cm)
- Star templates. Click here to print the template.
- Disappearing ink fabric marker. I use this dual purpose fabric marker.
- Quilting clips or pins
- Ruler
- Thread
- Chopstick
- Thread
- Sewing machine
- Clothes iron
Christmas Star Ornament Tutorial
The video tutorial is also available. Click on this link to watch the DIY Star Ornament sewing video tutorial on my YouTube channel and subscribe for more videos.
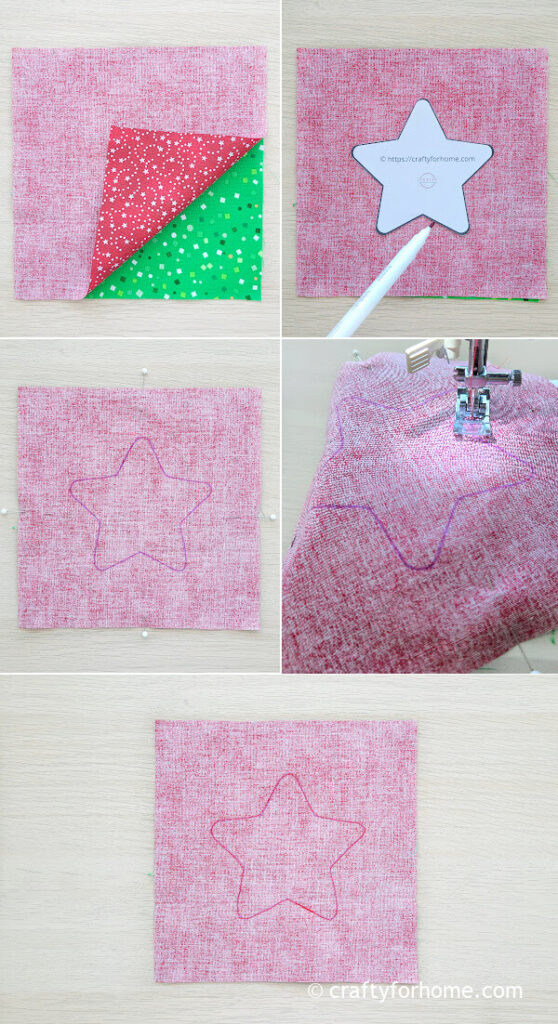
Pin the fabrics together for the front side, with the right sides facing each other. Trace the small star template in the center of the fabric. Sew along the traced line.
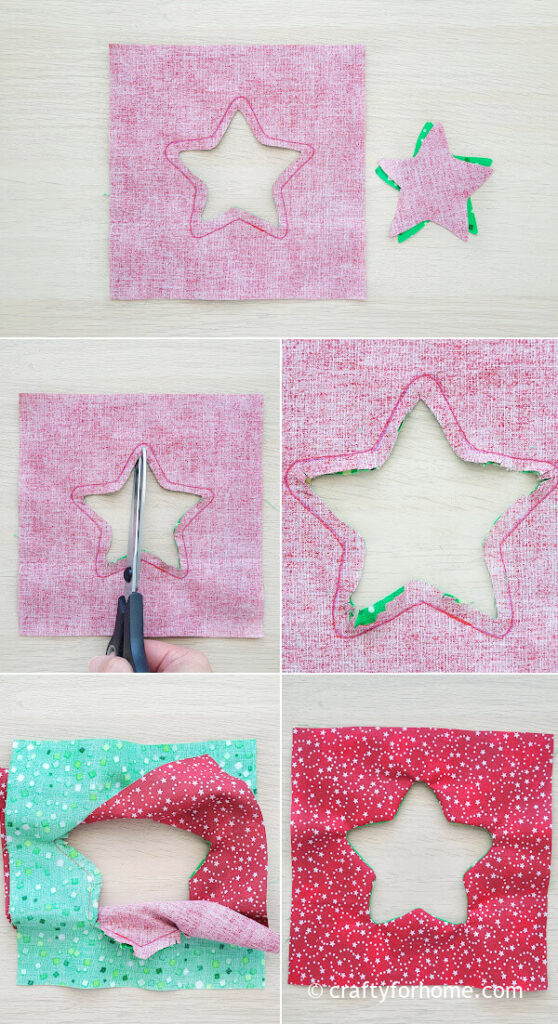
Trim the star shape 0.25” (0.63 cm) inside the stitched line. Fringe cut or clip around the star. Turn the fabric right side out through the star. Press the fabric with a clothes iron.
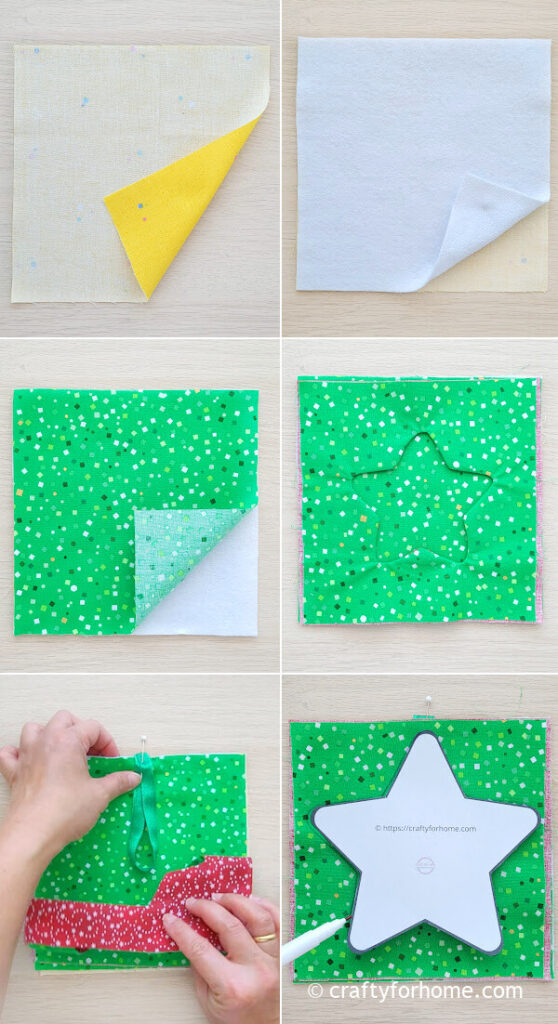
Pin together the yellow fabric with the right side facing down, fusible fleece, the right side of the other square fabric facing up, loop the ribbon and pin it in the top center, and the front layer with the star.
Trace the larger star template, making sure the smaller star shape is in the center.
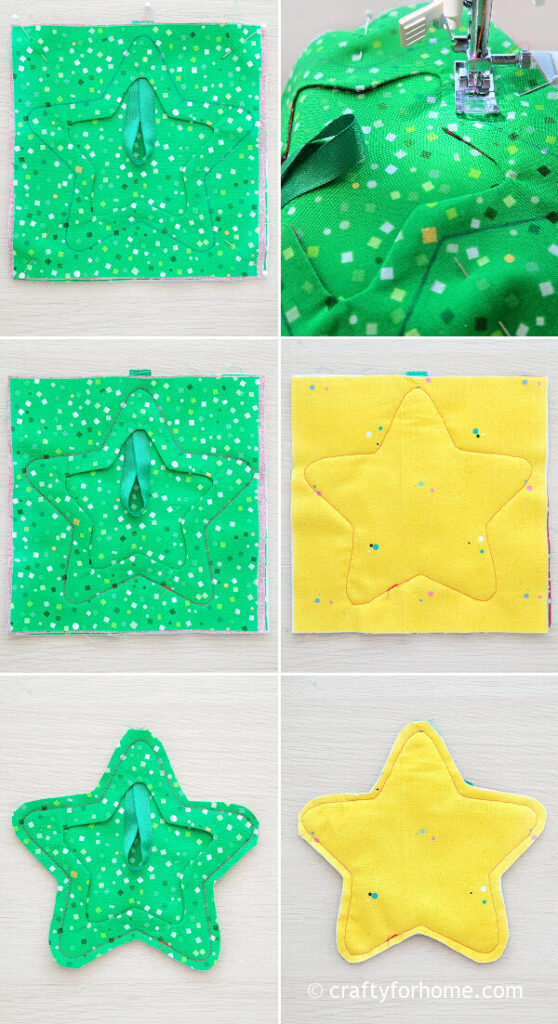
Sew along the traced line of the larger star shape. Trim the fabric 0.25” (0.63 cm) from the stitched line.
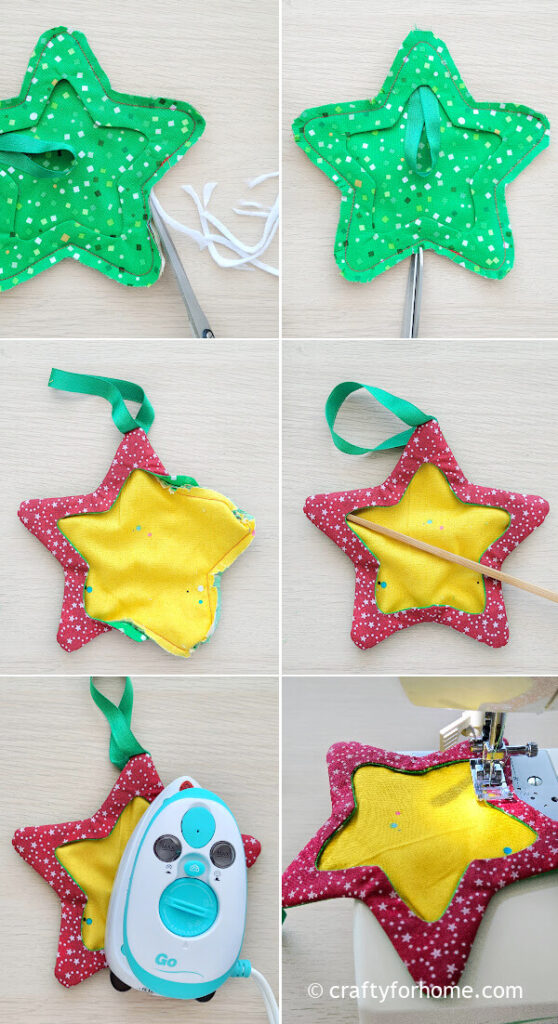
Clip the extra fusible fleece from the stitched line. Fringe cut or clip around the star. Turn the fabric right side out through the smaller star shape. The yellow fabric should be facing front.
Push around the edge using a chopstick. Press the fabric star with a clothes iron. Topstitch the hem on the front fabric along the edge of the small star.
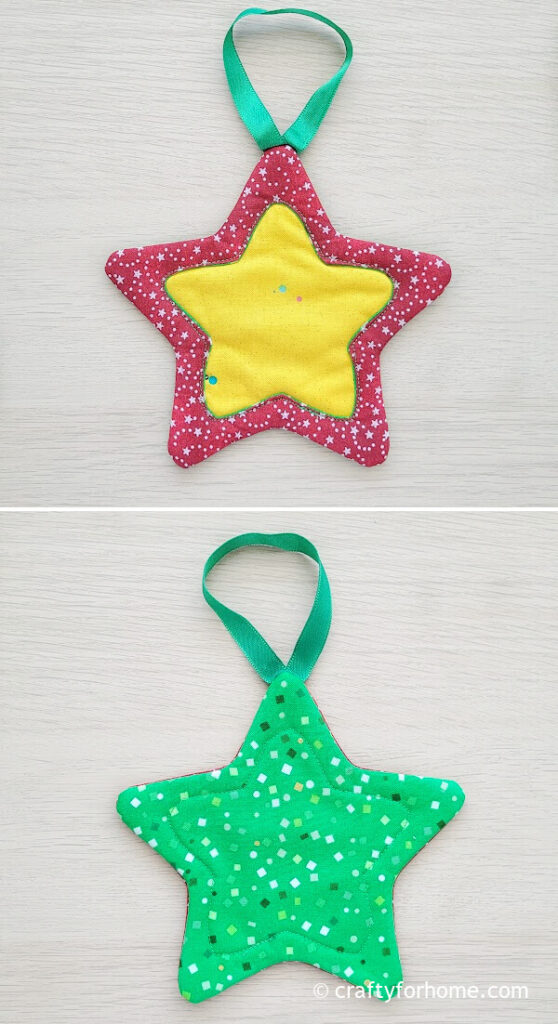
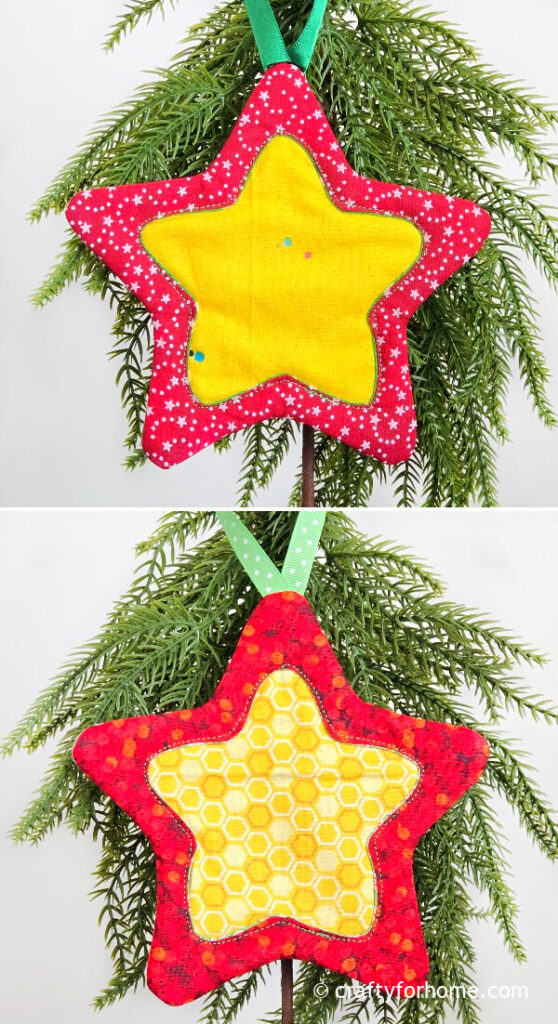
The DIY star tree ornament is now ready to use for decorating the Christmas tree.
The Size Of The Star Ornament
With this tutorial, the finished fabric star measures about 6” x 6” (15.2 cm x 15.2 cm).
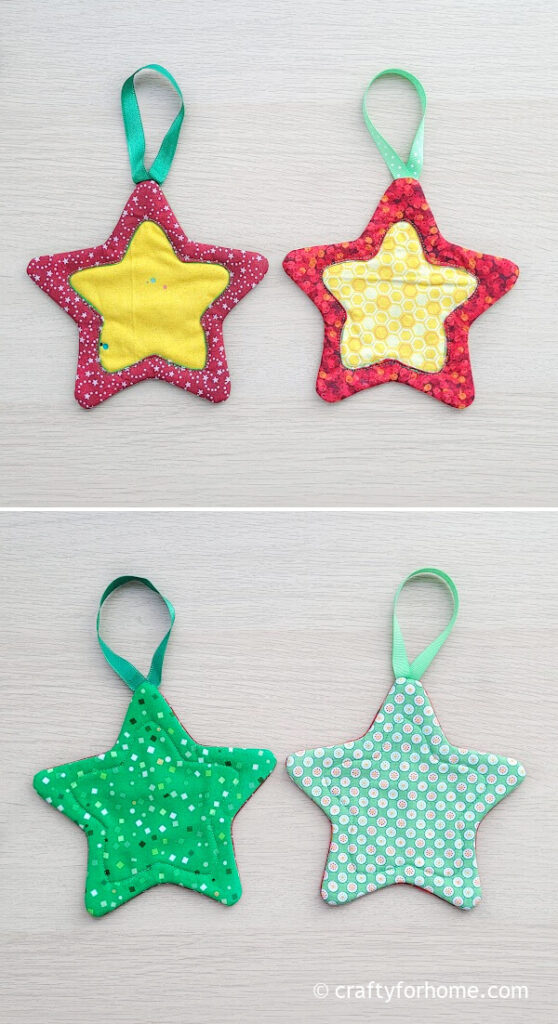
This small sewing project is easy to customize if you need different size fabric stars by adjusting the star template size and fabric needed.
Get The PDF

If it is more convenient to have the printable version of this tutorial for the project, you can purchase the PDF Format Of Star Ornament Template And Sewing Tutorial here. The e-book has the template and complete tutorials with pictures included. There are no ads or video displays on the PDF so that you can print it, and it will be available for you anytime you need the tutorial for your next project. Click on the e-book cover image above to purchase.
More Small Sewing Projects For Christmas
- Poinsettia Christmas Coaster Tutorial
- Gift Card Holder Sleeve
- Gift Card Holder Fabric Envelope
- Scrappy Fabric Gift Tag Tutorial
Easy DIY Reverse Applique Christmas Star Tree Ornament







Leave a Reply