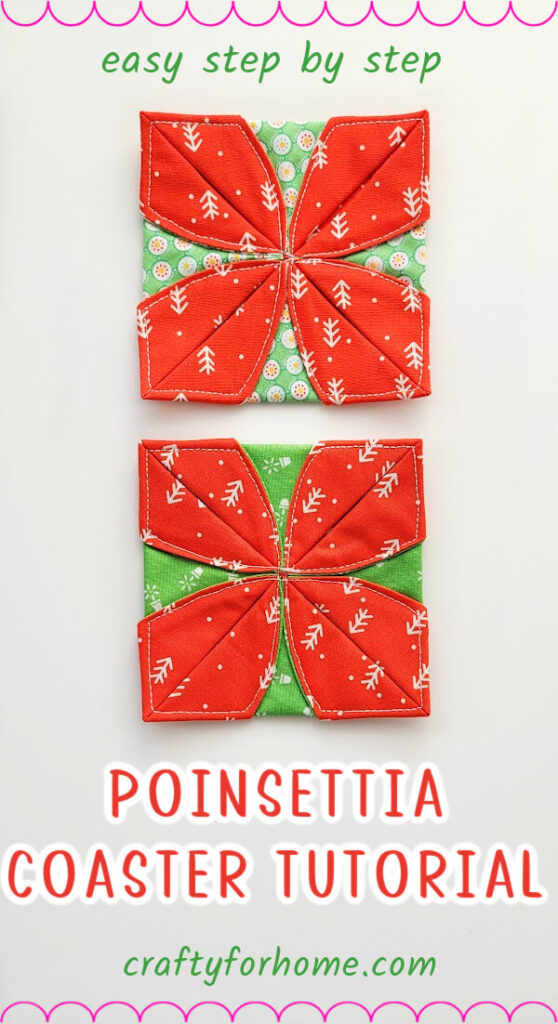
One of the easy poinsettia craft theme ideas is this Christmas coaster that you can make from fabric circles. A quick and easy Christmas project or gift idea.
How To Make a Christmas Coaster From Fabric Circles
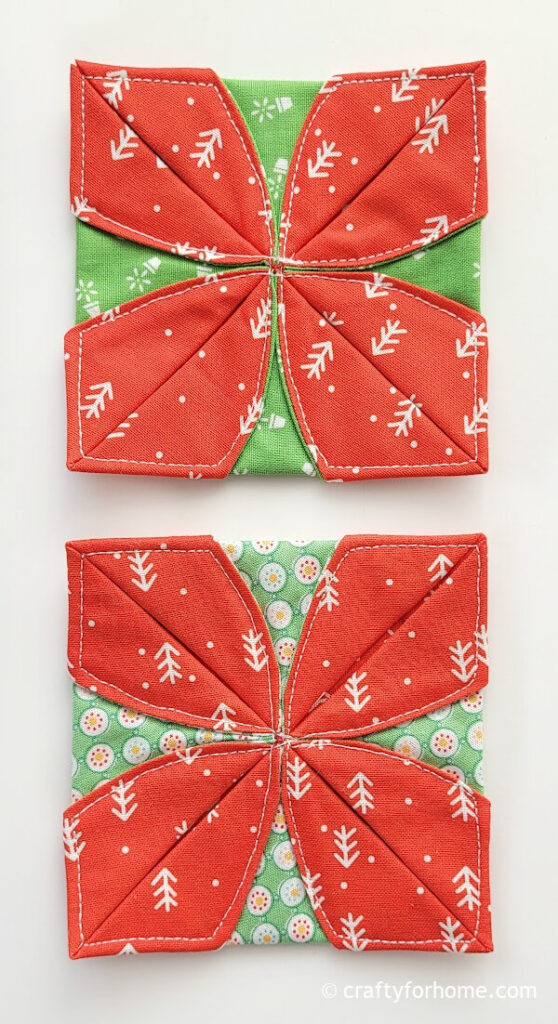
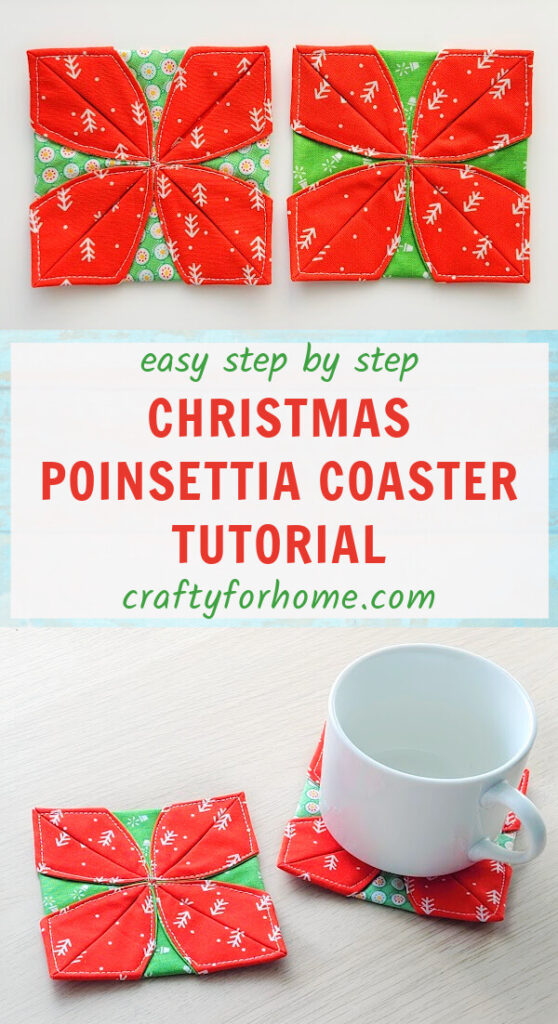
The poinsettia flower certainly has multiple petals. This coaster has four petals, but the shape and the pointy corners resemble the poinsettia flower.
As an Amazon Associate I earn from qualifying purchases. This post may contain affiliate links. Please see the Disclosure Policy for details.
Since this is a Christmas-themed sewing project, using red and green fabric is perfect for this coaster.
Supplies To Make Christmas Coaster
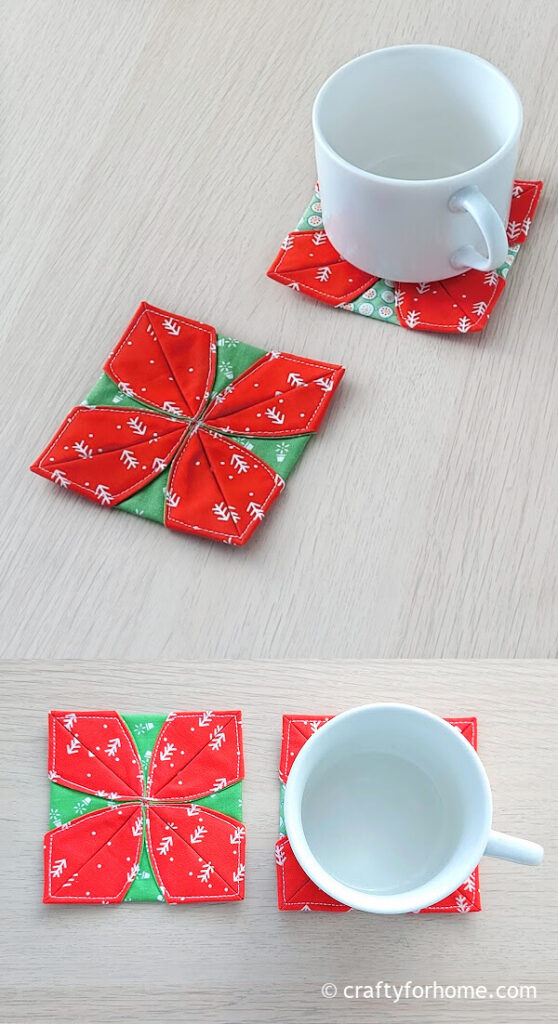
Certainly, you can use larger fabric circles than 8” in diameter. By using 8” diameter fabric, the coaster has just enough space for resting the mug.
Using only two pieces of fabric is thick enough for the finished coaster, so interfacing or batting is optional.
This Christmas craft idea is one of the sewing projects using 10” x 10” layer cake fabrics. You don’t have to measure it to an 8” diameter. You can use 10” diameter circle fabrics, so the coaster will be larger than this one.
- 1 of 8″ diameter red circle fabric
- 1 of 8” diameter green circle fabric
- Disappeared ink marker. I use this dual-purpose fabric marker
- Quilting clips or pins
- Thread
- Scissors
- Ruler
- Chopstick
- Sewing machine
- Clothes iron
Poinsettia Christmas Coaster Tutorial
The video tutorial is also available. Click on this link to watch the Poinsettia Christmas Coaster video tutorial on my YouTube channel and subscribe for more videos.
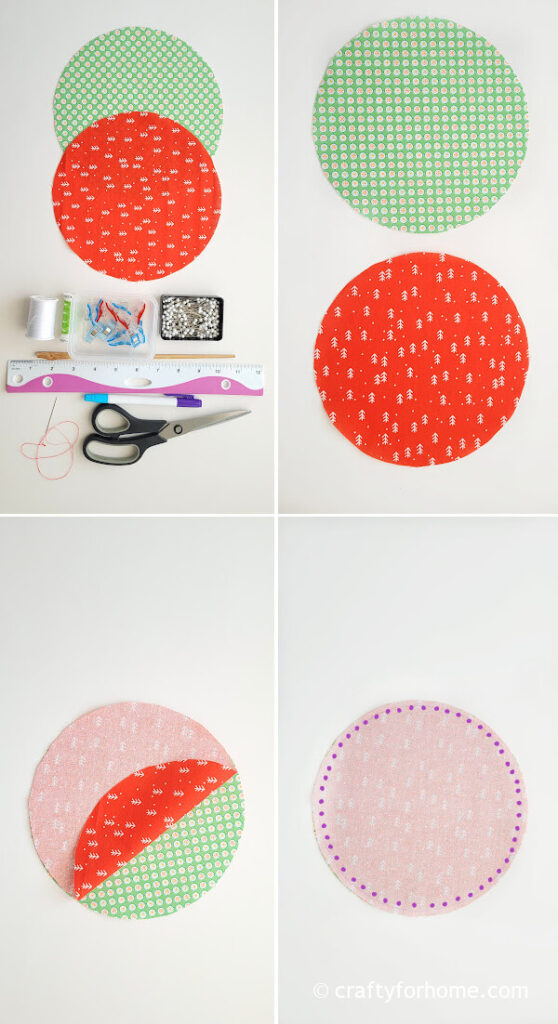
Pin together both fabric pieces with the right side of both fabrics facing each other. Sew along the edge with 0.25” seam allowance.
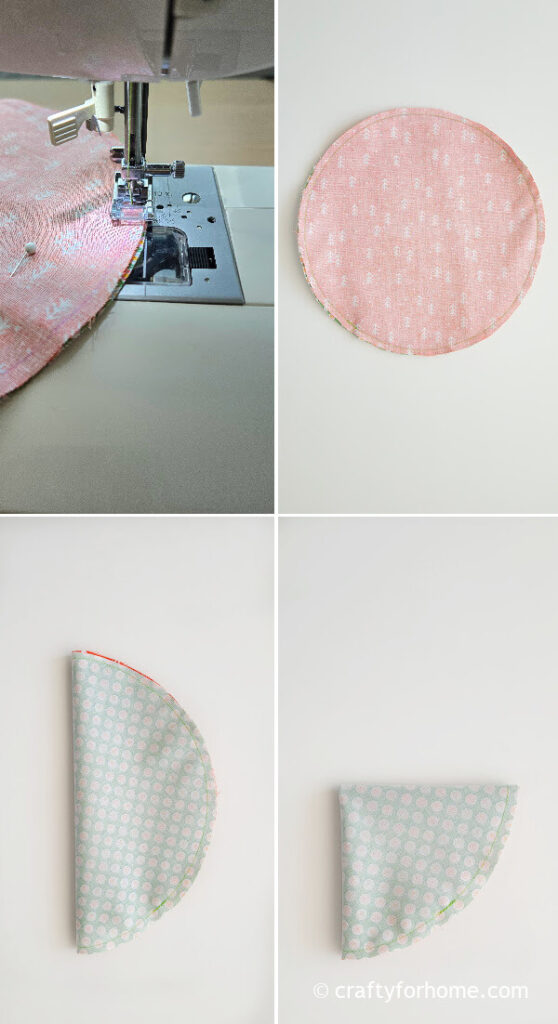
Fold the fabric in half twice to mark the center, open it up, then cut 1” in the center of one fabric for the opening.
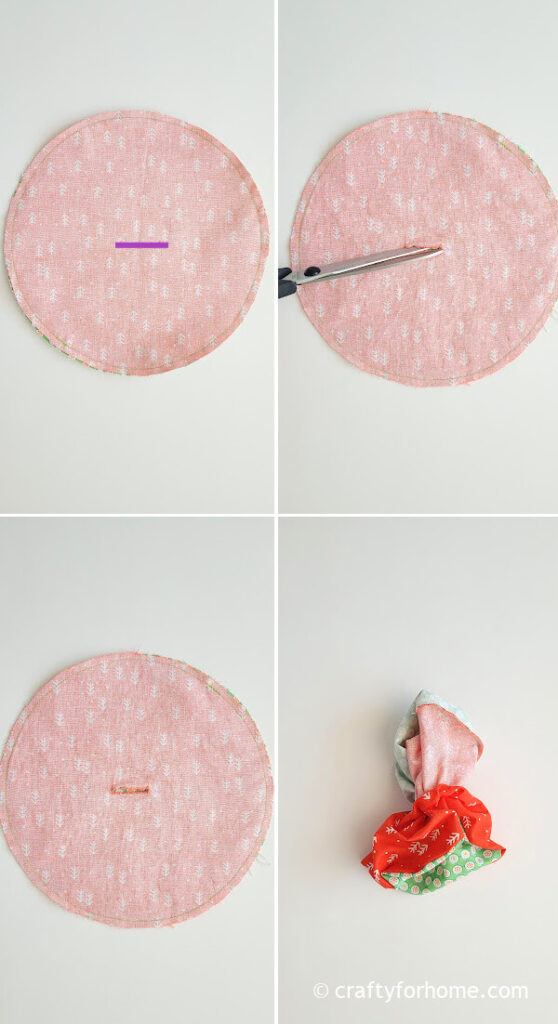
Then turn the fabric right side out through the opening.
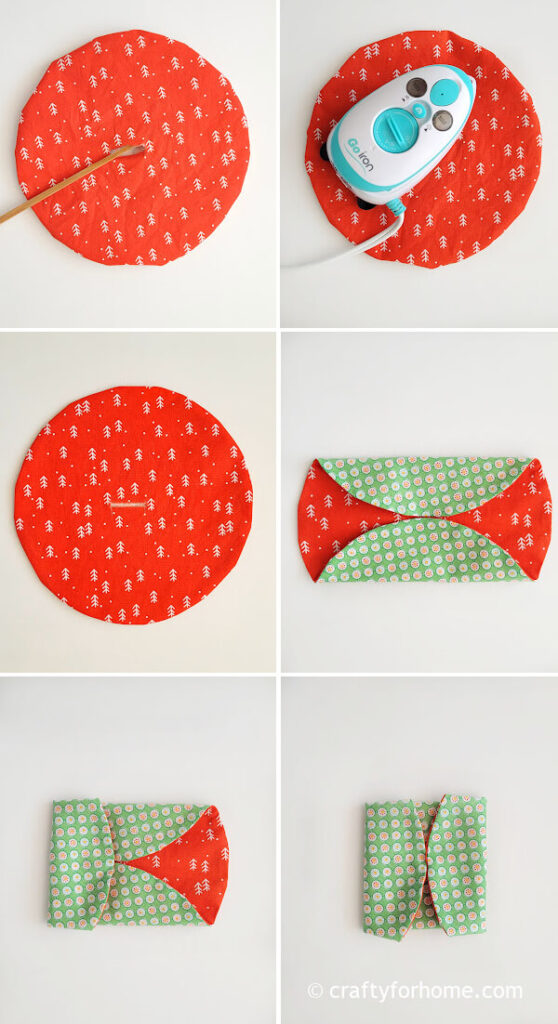
Push the fabric along the stitched edge with a chopstick. Press the fabric with a clothes iron. Create four folded edges toward the center, so that the circular fabric resembles a square shape.
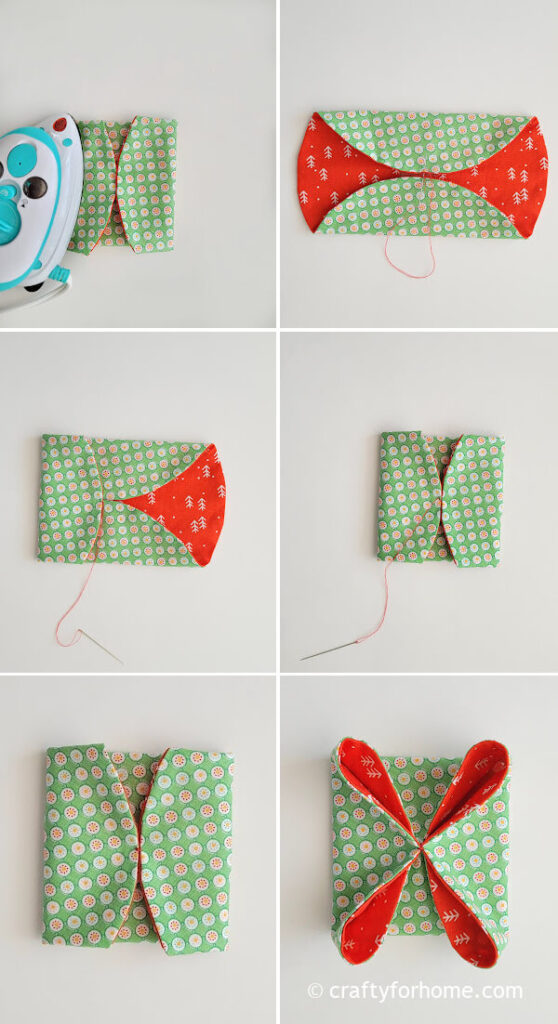
Press the fabric with a clothes iron. Use a hand-sewing needle to stitch the center where all four folds meet to secure it.
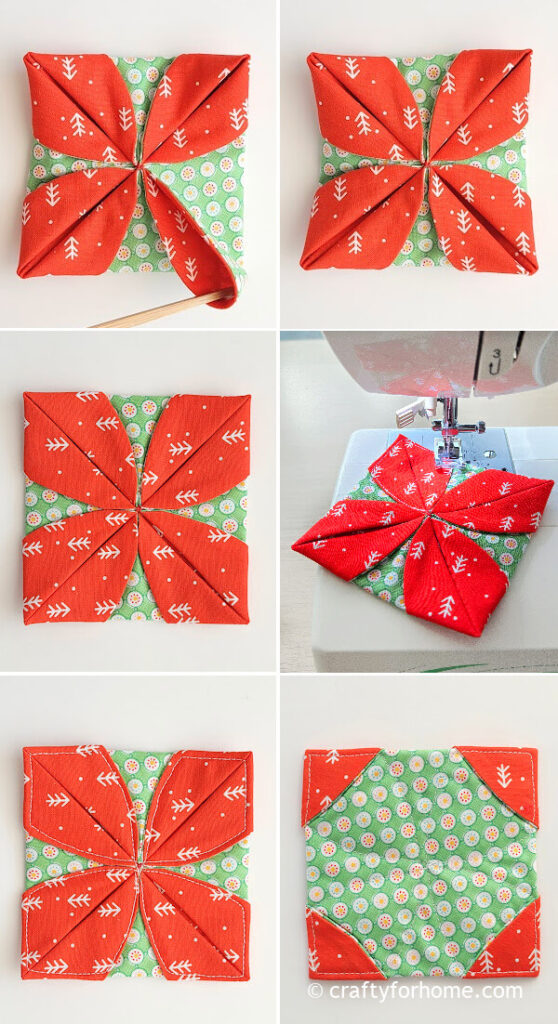
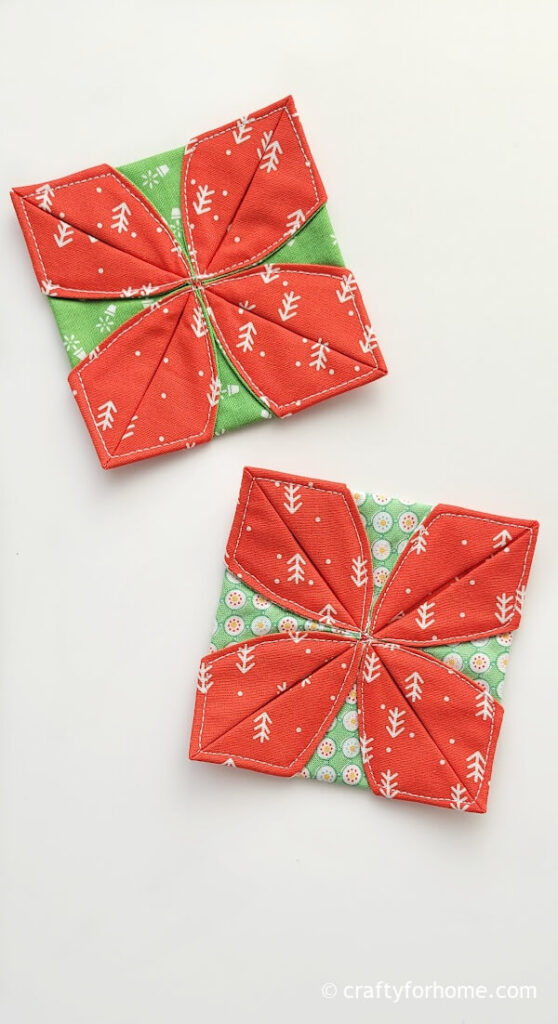
Flip each corner toward the back side, then pin it so that now it resembles four flower petals on the front side of the coaster. Once all four corners are pinned, press the coaster with a clothes iron. Topstitch each petal along the edges.
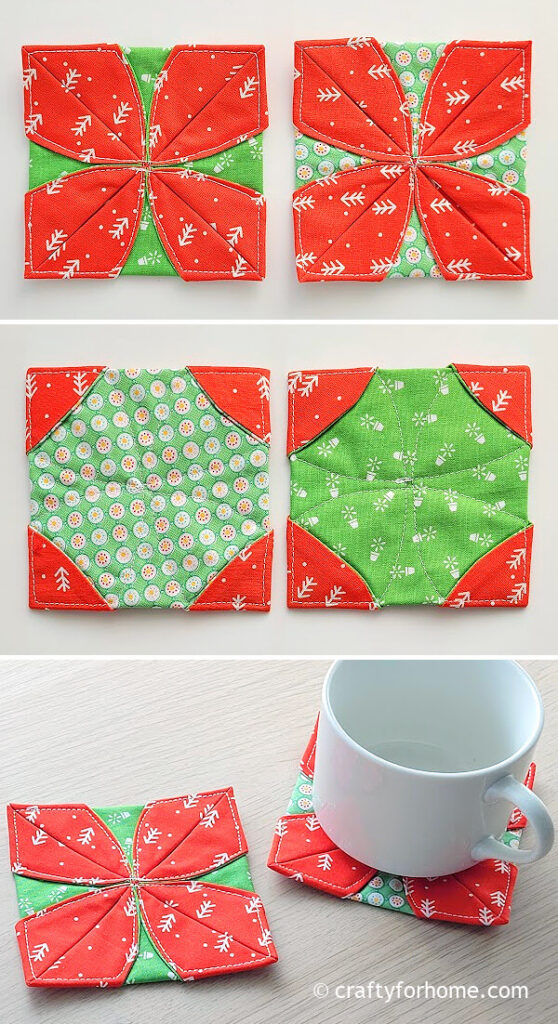
Optional: topstitch the center of each petal or leave it open. The Poinsettia Christmas coaster is ready to use now.
The Size Of The Coaster
The coaster has enough space for a mug. The final size of this poinsettia coaster is 3.75” x 3.75” or 9.525 cm x 9.525 cm.
If you make several of these coasters and stitch them together along the edge, it would turn into a DIY Christmas placemat or a Christmas table runner.
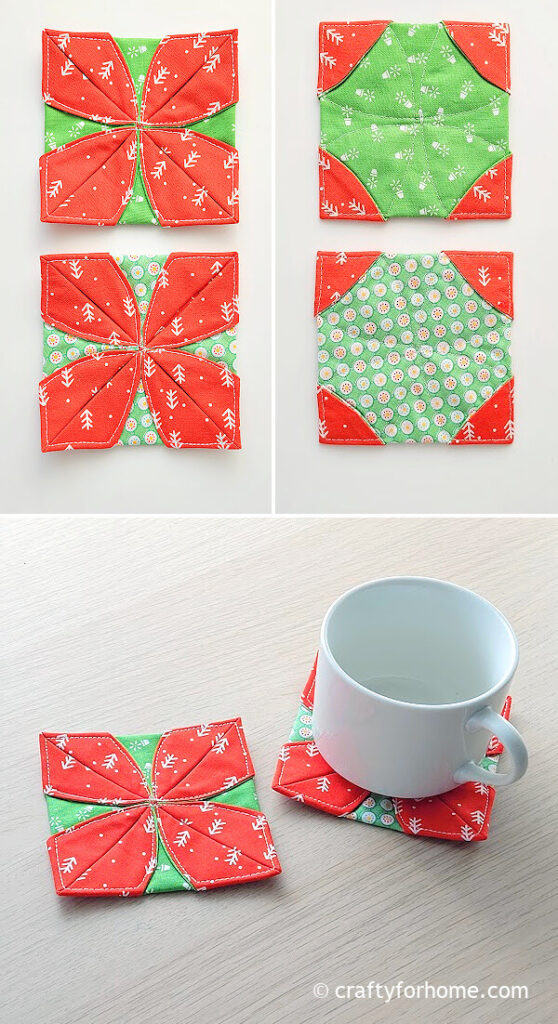
Add this holiday theme coaster to your December crafts. This super cute and easy-to-make coaster is great for stocking stuffers or as a gift idea.
Turn two circular fabrics into a festive Christmas coaster for a quick Holiday season decoration. #sewingprojectforChristmas Share on XMore Sewing Projects for Christmas
- Easy Fabric Ornament Tutorial
- Santa Belt Coaster Reverse Applique Quilt
- Christmas Ornament Mug Rug With Easy Binding
- DIY Gift Tag From Fabric Scraps
- Gift Card Sleeve For DIY Ornament
DIY Christmas Coaster From Circle Fabric


Leave a Reply