Easy sewing craft tutorial for the fall season or any time of the year on making leaf-shaped coasters made of fat quarter cotton fabric.
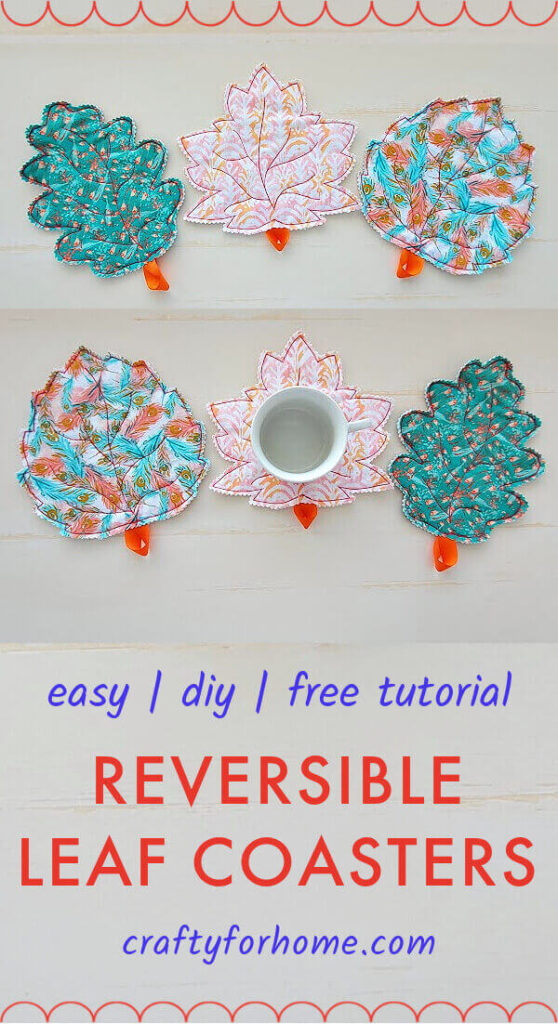
Easy Quilted Leaf Coaster Tutorial For Autumn Sewing Project
The reason I love autumn is the warm color leaves before it falls. Even though it is rare to have the full autumn color where I live here because we will have snow early most of the time.
To bring the autumn vibe indoors other than pumpkin bread and chrysanthemums on the planter, you can sew this adorable fall season coaster with the shape of a leaf that is almost the same size as a mug rug.
As an Amazon Associate I earn from qualifying purchases. This post may contain affiliate links. Please see the Disclosure Policy for details.
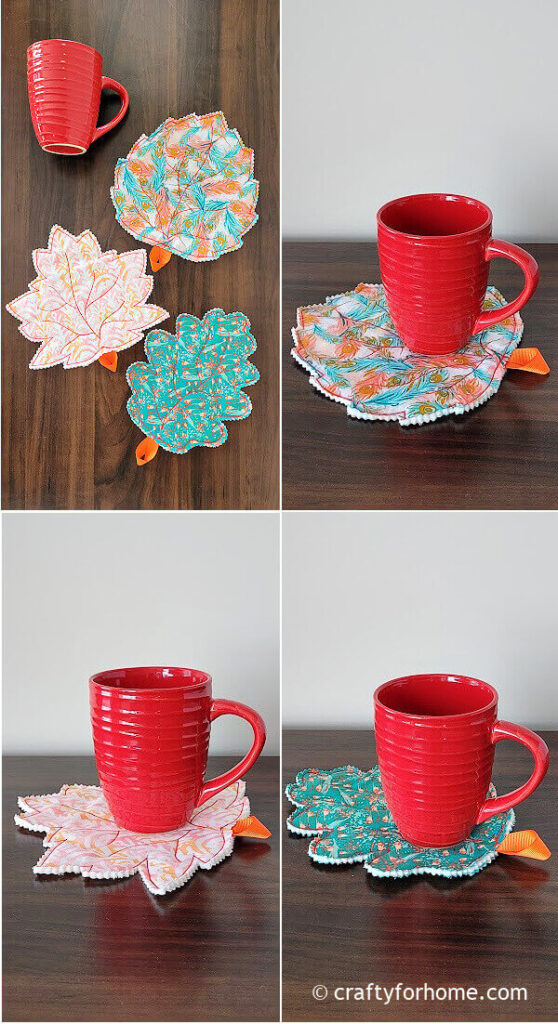
I have sets of ceramic coasters, but I thought sewing one from fabric was much more usable. Then, when you have a spill or condensation from the drink, just wipe it with the fabric coaster.
Also, the coaster is washable. Just throw it to the washer, done!
What You Need To Make Leaf-shaped Coaster
You only need half a meter/half yard fabric to make four coasters. Or use two pieces of cut fabric from one sheet of the fat quarter bundle to make one leaf coaster.
The template is only available as a printable PDF, and you can click here to purchase for only a few dollars.
If you want more like autumn feel, use the color for the fall season like orange, red, yellow. But, for the spring or summer theme, you can use any print or color you like.
There is no rule regarding color or print type, just sew some leaf coasters and have fun with the project.
I only use one sheet of quilt batting for the layer on each coaster. And use the same finishing method as the fabric bookmarks I made a while ago.
- Half meter or half yard fabric, alternatively use fat quarter fabric bundle.
- The template is available as a printable PDF, click here to purchase birch, oak, and maple leaf coaster template for only few dollars.
- Disappeared ink fabric marker, I like this dual-purpose fabric marker.
- Half-yard quilt batting, I use cotton batting. I also like to use this iron-on fusible fleece for small sewing projects.
- Ribbons, I use the grosgrain ribbon.
- Pin
- Quilting clip (not on picture)
- Scissors
- Pinking shears
- Thread (matched or contrast color)
- Sewing machine, I use the computerized Singer sewing machine
- Ironing machine
How To Make Leaf-shaped Coaster
See the Leaf Shaped Coasters video tutorial here on my YouTube channel, and subscribe for more videos.
To prevent shrinkage, you might want to prewash the fabric and press it with the ironing machine.
To make the sewing process easier, cut the fabric and the batting into these measurements below.
For one leaf coaster, cut the quilt batting into a 9-inches square.
Cut the fabric into two 9-inches squares.
Cut the ribbon into 4″ long.
For three leaf coasters, cut the quilt batting into three 9-inches squares each. Next, cut the fabric into six 9-inches squares each.
Cut the ribbon into three 4″ long each.
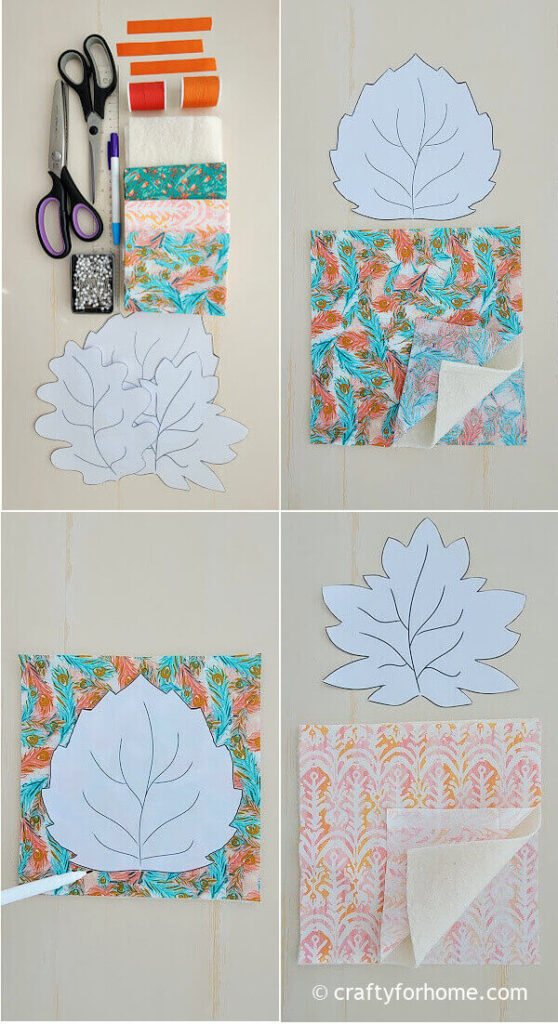
Sandwich the batting between two-layer fabrics with the wrong side facing each other.
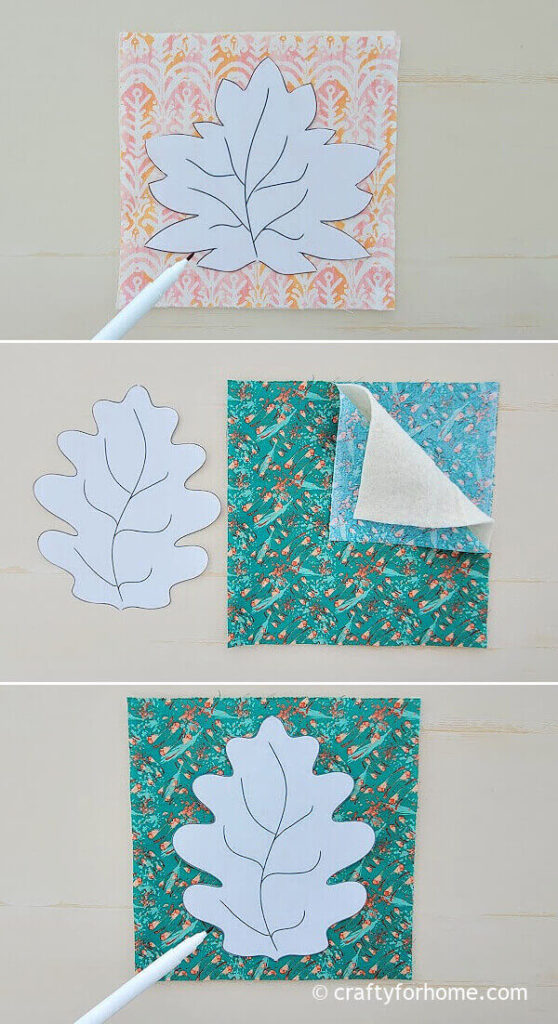
Using a disappeared ink marker, trace the maple, oak, and birch leaf pattern onto the fabric. Draw lines for the leaf veins.
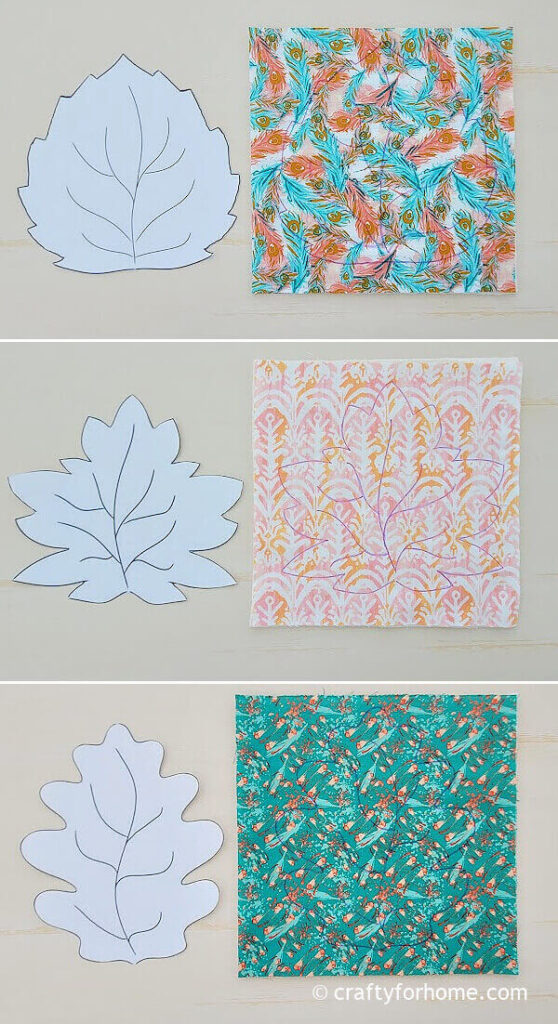
Draw lines for the leaf veins.
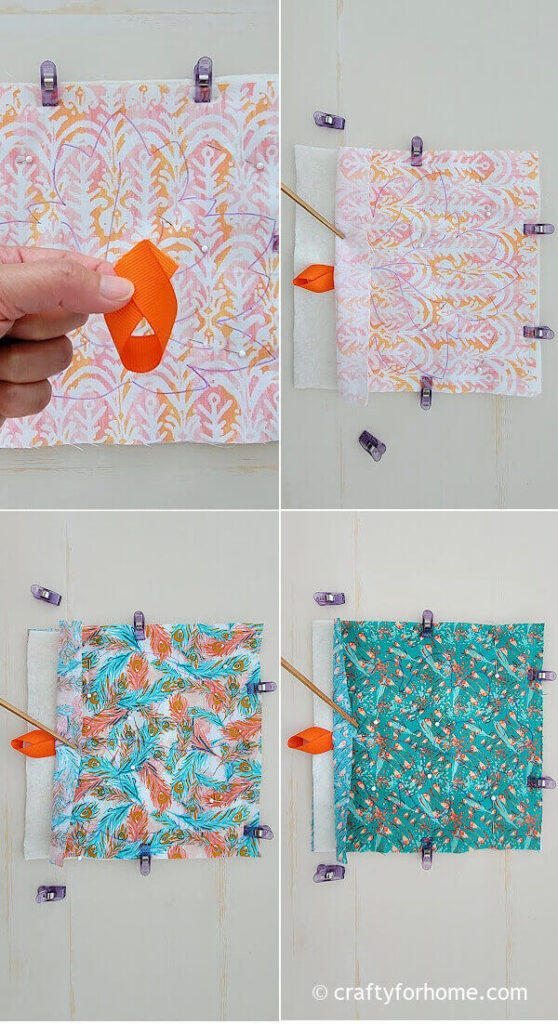
Loop the ribbon in half, pin the ribbon on the base (the spot for leaf stem).
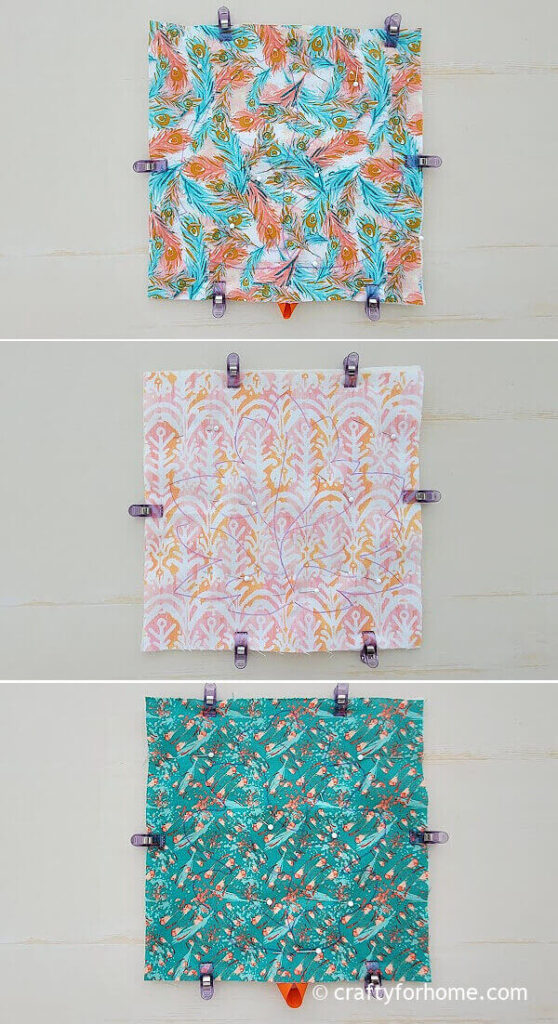
Pin the fabric layers with each template. You can use the quilting clips if that makes it easier to sew.
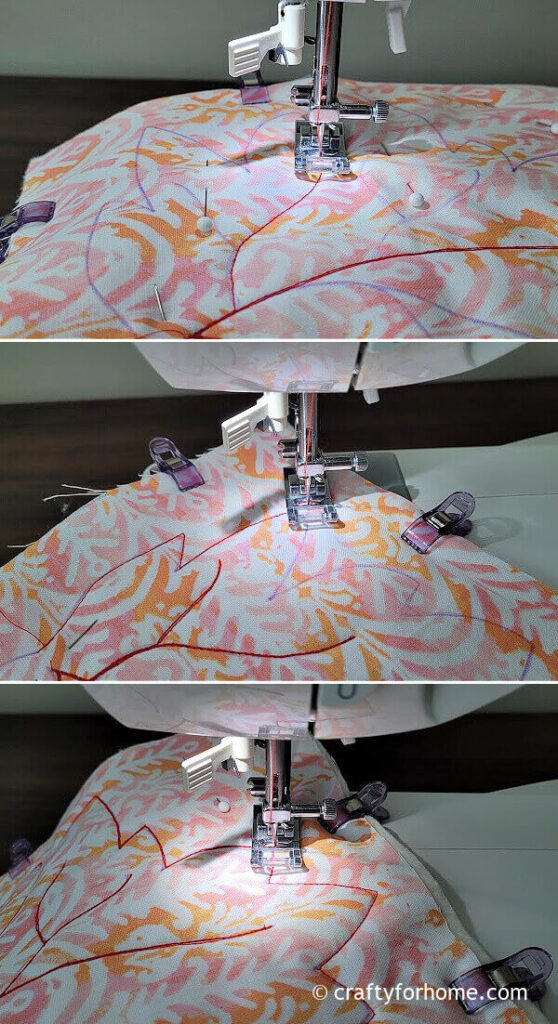
Double-stitch the leaf edge with a straight stitch or a small zigzag stitch.
Topstitch twice along the leaf vein lines.

Cut the leaf coaster around half an inch from the stitched lines. Use pinking shears to cut each coaster to prevent the fabric from fraying.
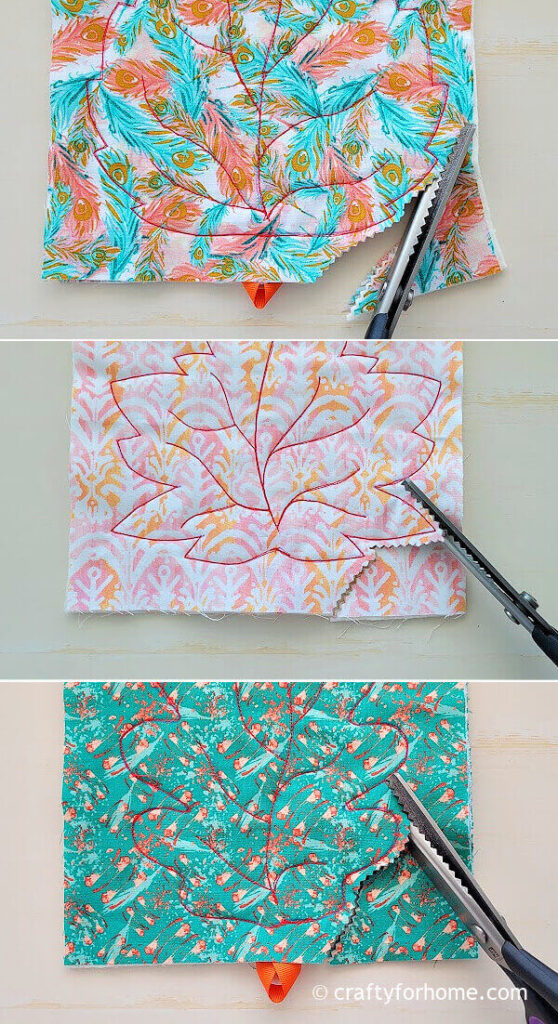
Trim the fabric one by one around the ribbon area to avoid cutting the ribbon off.
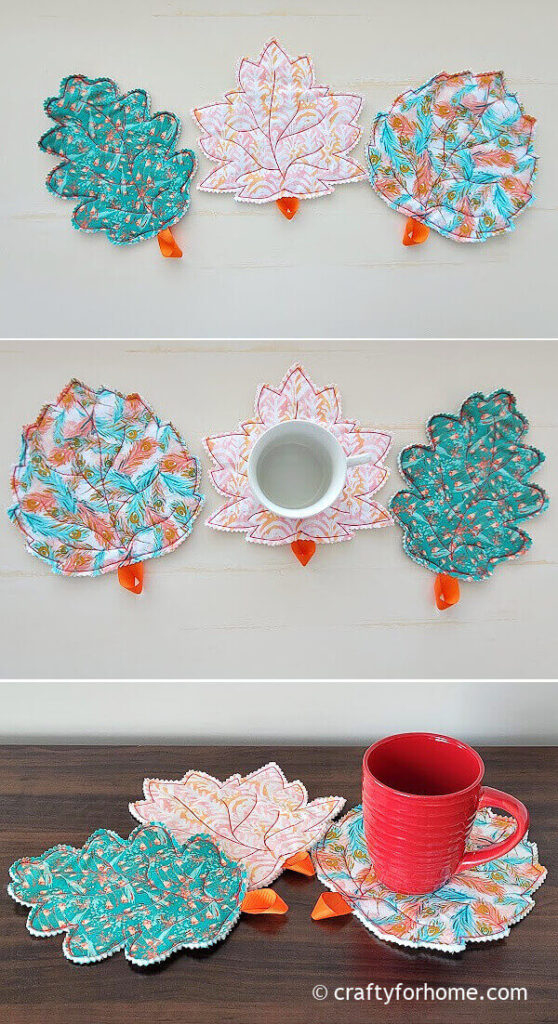
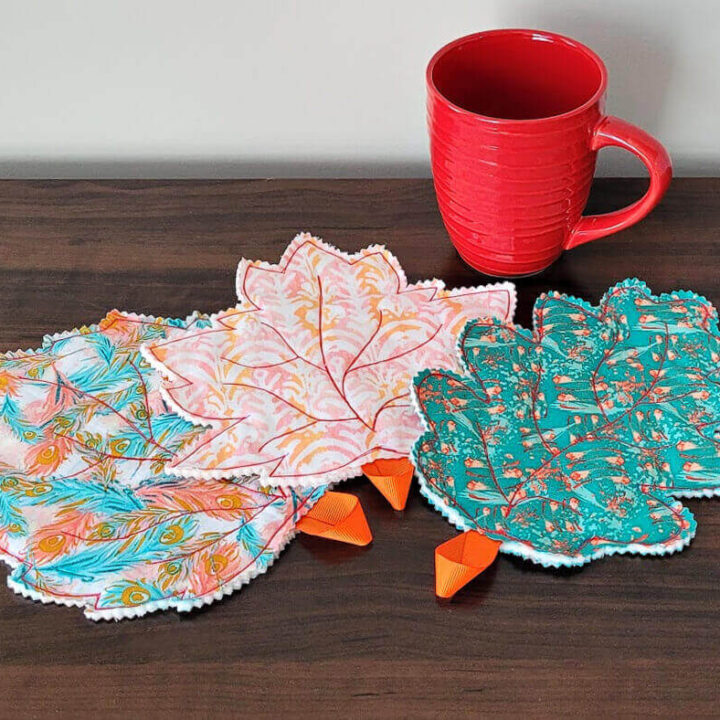
Your leaf-shaped coaster or mug rug is ready to use now.
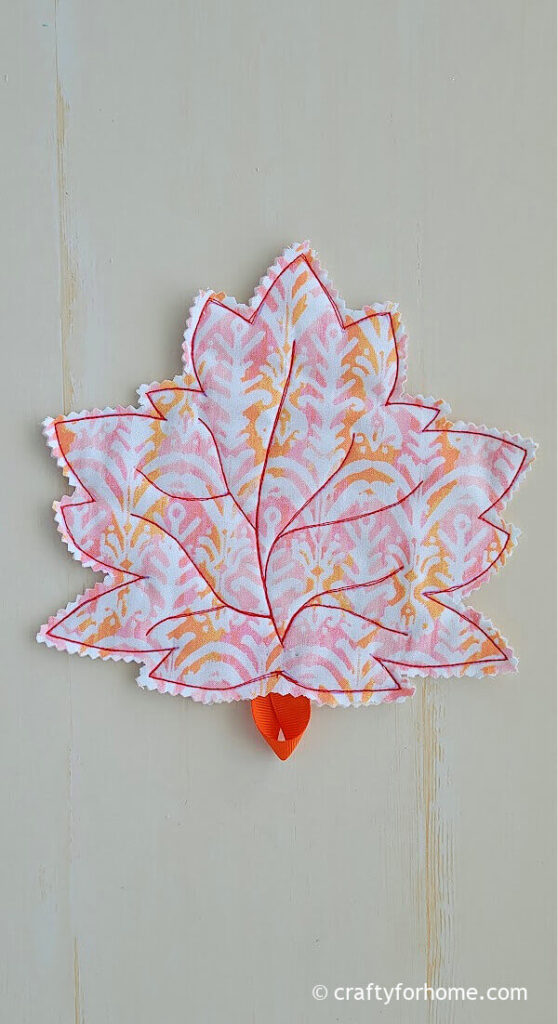
This one is a maple leaf-shaped coaster. The color might not be true to the actual leaf, but it is super adorable for sure!
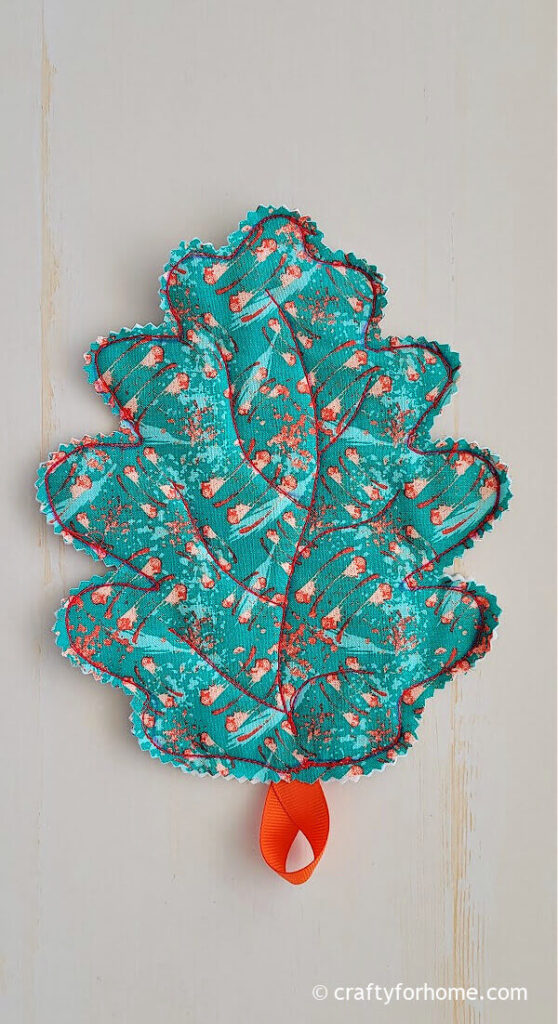
The image above is an oak leaf-shaped coaster. I don’t see many oak trees in our area here. But when I moved closer to the city last year, I was so surprised my neighbor has two oak trees in their backyard right by the fence. The tree is not too big, but it is fun to see squirrels climbing and jumping to pick acorns.
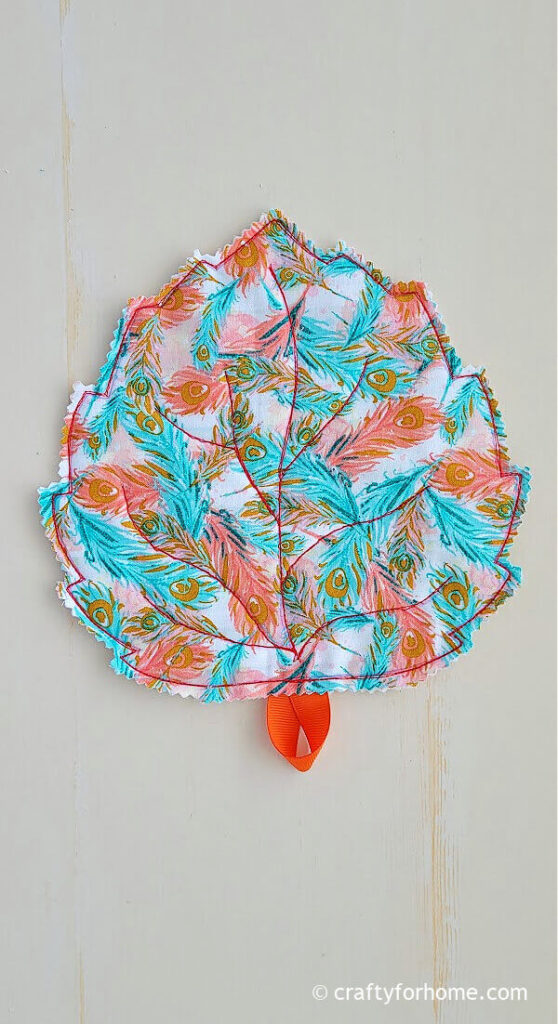
The beautiful feather fabric print on the image above is a birch leaf-shaped coaster. Lots of poplar and birch trees grow in our area here. It mostly turns yellow and orange color in the autumn.
Get The PDF
If it is more convenient to have the printable version of this tutorial for the project, you can purchase the printable PDF format of Leaf-Shaped Coasters Template And Tutorial for only $6.75
The e-book has the template and complete tutorials with pictures included. There is no ads or video display on the PDF so that you can print it, and it will be available for you anytime you need the tutorial for your next project. Click on the e-book cover image above to purchase.
More Of Sewing Project You Can Make From Charm Pack Bundle
- Carrot Tops Egg Cozy
- Fabric Ornaments
- Fabric Flowers
- Fabric Cord Holder
- Heart Garland
- Easy Hand Sanitizer Holder
More Of Easy Mug Rug And Coaster Tutorial
Use The Fabric Scraps Or Fat Quarter Fabric To Make These DIY Leaf-shaped Coasters For The Autumn Craft Project.
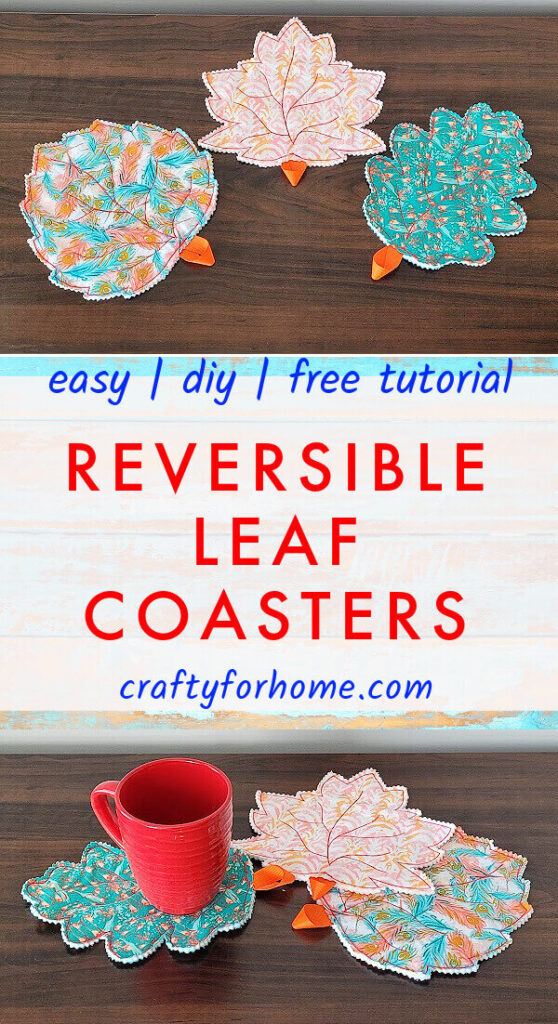
Easy To Sew Leaf Shaped Coasters
Easy sewing craft tutorial for the fall season or any time of the year on making leaf-shaped coasters made of fat quarter cotton fabric.
Materials
- Half meter or half yard fabric, alternatively use fat quarter fabric bundle
- Maple leaf coaster template
- Oak leaf coaster template
- Birch leaf coaster template
- Half-yard quilt batting or iron-on fusible fleece
- Grosgrain ribbon
Tools
- Disappeared ink fabric marker
- Pin
- Quilting clip (not on picture)
- Scissors
- Pinking shears
- Thread (matched or contrast color)
- Sewing machine
- Ironing machine
Instructions
- You might want to prewash the fabric and press it with the ironing machine to prevent shrinkage.
To make the sewing process easier, cut the fabric and the batting into these measurements below.
For one leaf, cut the quilt batting and into a 9-inches square.
Cut the fabric into two 9-inches squares.
Cut the ribbon into 4" long.
For three leaves, cut the quilt batting into three 9-inches squares each. Next, cut the fabric into six 9-inches squares each.
Cut the ribbon into three 4" long each. - Sandwich the batting in between two-layer fabrics with the wrong side facing each other.
- Trace the maple, oak, and birch leaf pattern onto the fabric using a disappeared ink marker. Draw lines for the leaf veins.
- Loop the ribbon in half, pin the ribbon on the base (the spot for leaf stem).
- Pin the fabric layers with each template. You can use the quilting clips if that makes it easier to sew.
- Double-stitch the leaf edge with a straight stitch or a small zigzag stitch.
Topstitch twice along the leaf vein lines. - Cut the leaf coaster around half an inch from the stitched lines. Use pinking shears to cut each coaster to prevent the fabric from fraying.
- Trim the fabric one by one around the ribbon area to avoid cutting the ribbon off.
- Your leaf-shaped coaster or mug rug is ready to use now.
Notes
Don't forget to grab the Maple, Oak, Birch Leaf Coaster Templates.
The estimated cost doesn't include the template.
For the video version, you can see the video tutorial here for the Reversible Leaf-Shaped Coasters.


Leave a Reply