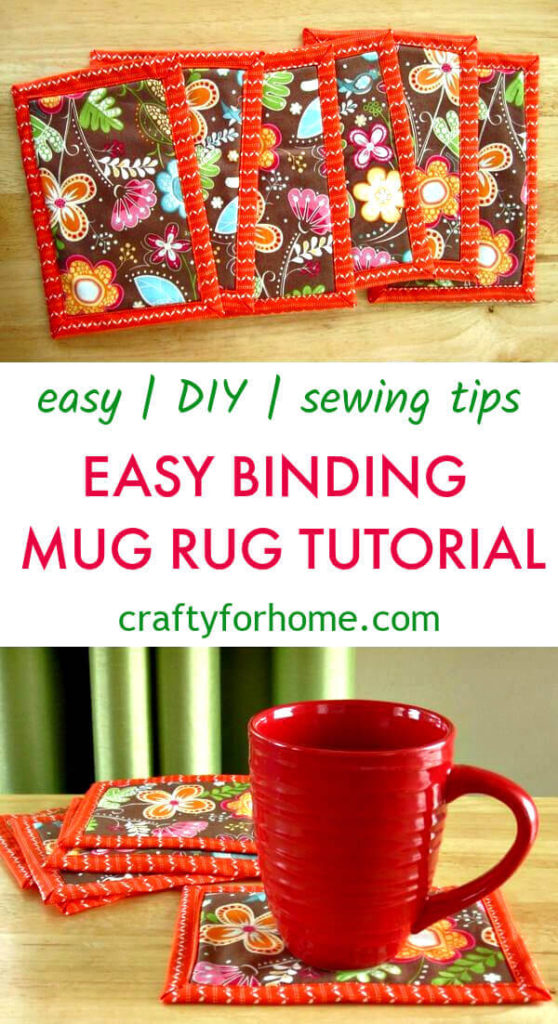
An easy sewing craft on how to make a mug rug with the easy binding tutorial using the backside of the fabric.
Use this helpful guide for binding a mug rug.
What is a better way to cozy up the morning coffee cup? Make a mug rug, of course. Based on combining the popular post of Self Binding Napkins and Mitered Cloth Napkins, this binding technique is easy to do and look stylish even for small sewing projects.
As an Amazon Associate I earn from qualifying purchases. This post may contain affiliate links. Please see the Disclosure Policy for details.
This easy mug rug tutorial is using the fabric from the backside to make the binding. So you don’t need the bias tape or any piece of fabric for the binding.
I use two sheets of the fat quarter cotton quilt for this project, with half a yard of quilt batting or fusible fleece. From this size of fabric, you will get six pieces of mug rugs.
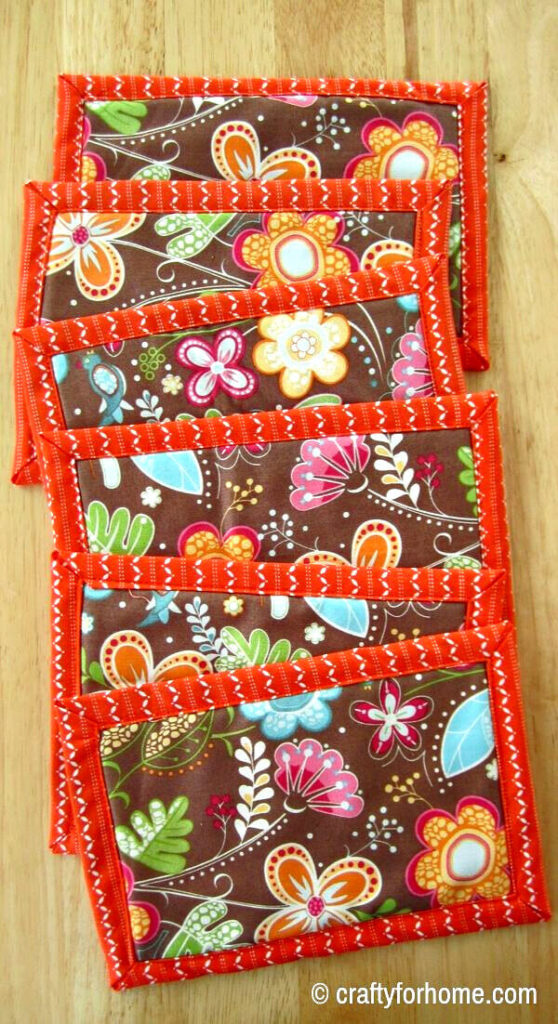
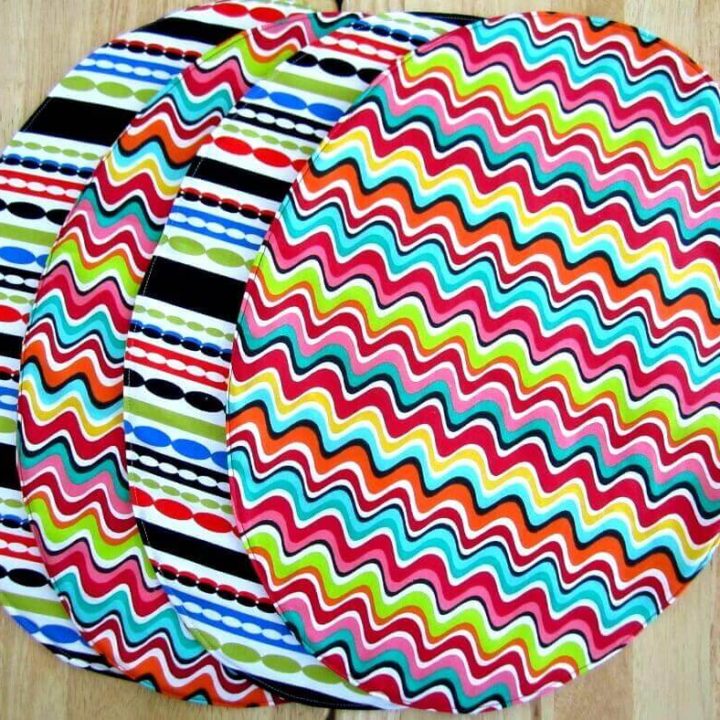
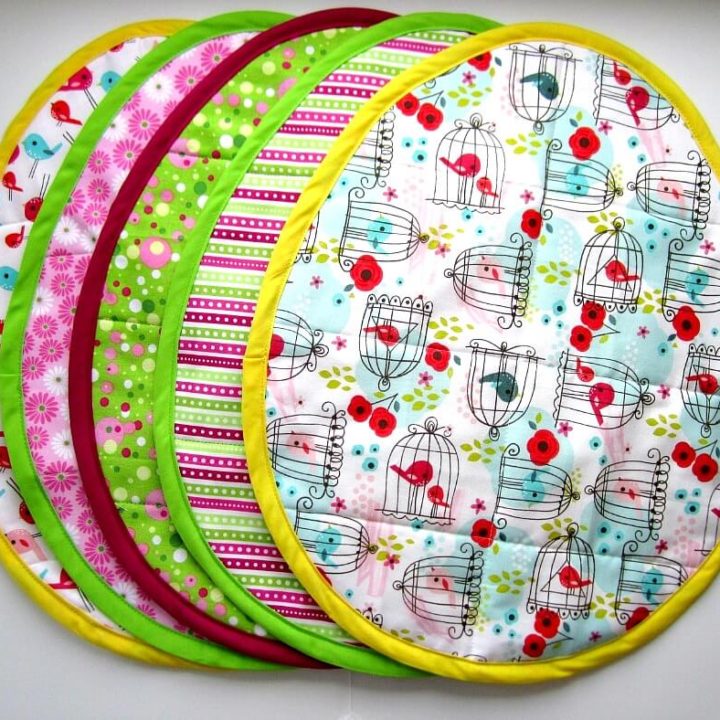
By using fat quarter fabric, I like the look of mix and match fabric print. Both sides of the mug rug will have a different print or color.
If you are using fabric by yard or meters, then you only need half a yard or half a meter of fabric. Then, cut in half to make two pieces of fat quarter size.
All you have to do is cut each material into six rectangles. From there, sandwich the two-piece of fabric with quilt batting, sew it with a straight stitch and create the binding style for finishing.
What You Need To Make Easy Binding Mug Rugs
- 2 pieces of fat quarter cotton fabric, same print or mismatched
- Half a yard of quilt batting or my favorite fusible fleece
- Disappeared ink fabric marker
- Ruler
- Pin
- Thread, match or contrast color
- Sewing machine or hand stitch needle
- Ironing machine
How To Make Easy Binding Mug Rugs
Cut the fabric for the front side into 6 pieces rectangles size 18.3 cm x 12.2 cm or 7.2 inches x 4.8 inches.
Cut the fabric for the backing into 6 pieces rectangles size 23 cm x 18 cm or 9 inches x 7 inches each.
Cut the quilt batting or fusible fleece into 6 pieces rectangles size 18.3 cm x 12.2 cm or 7.2 inches x 4.8 inches.
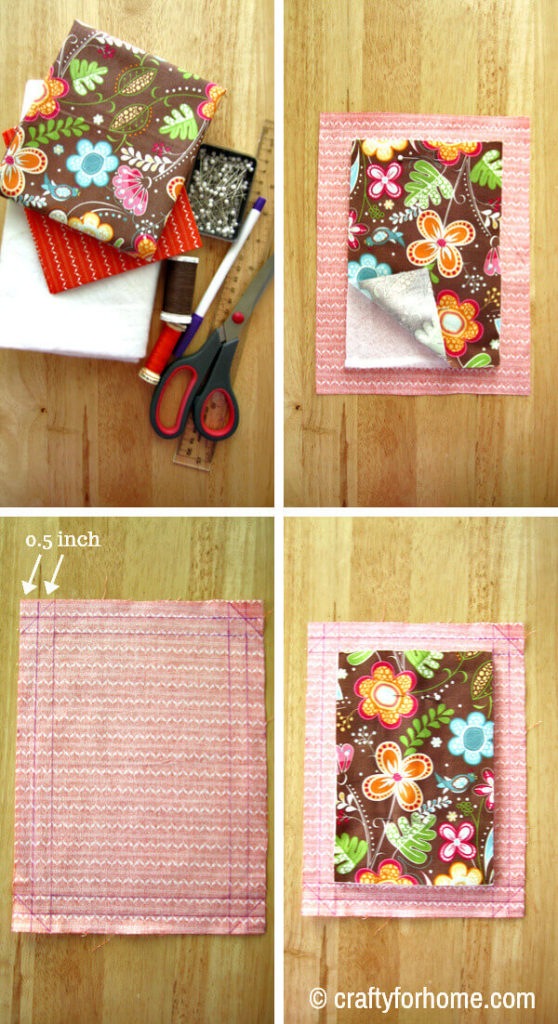
Sandwich the material with the right side of the fabric for the backing facing down, quilt batting, fabric for the front side facing up.
The fabric for the backing will be larger than the quilt batting and the fabric for the front. Pin all material together to keep it in place.
To make it easier to position the batting and the front side of the fabric in the middle of the larger size of the fabric, mark two lines 1/2 of an inch between lines take it in from the edge of the backing side of the fabric.
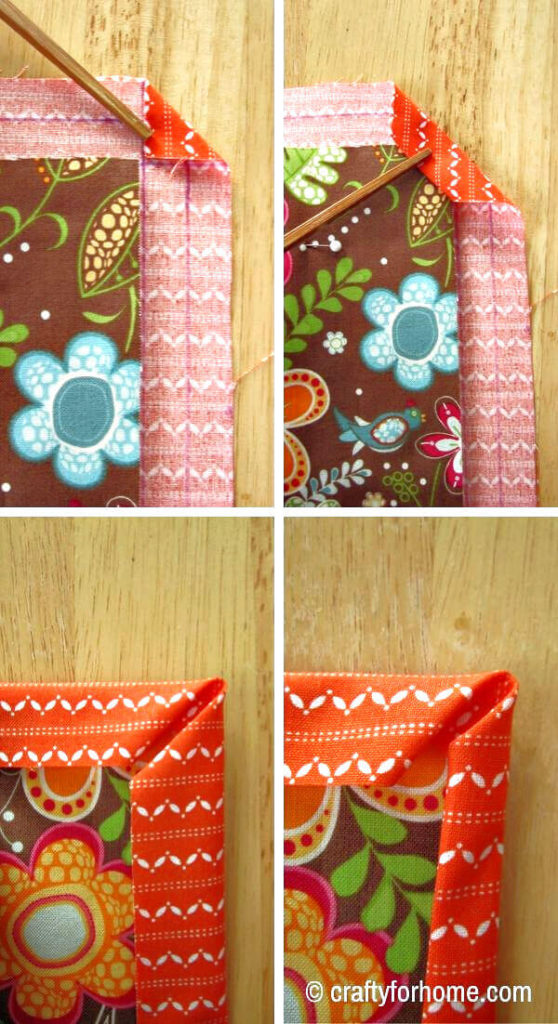
The lines are also to mark where you fold the fabric for the binding. Fold the corner of the larger fabric to the front so it will be facing the corner of the smaller fabric. Then fold one more time.

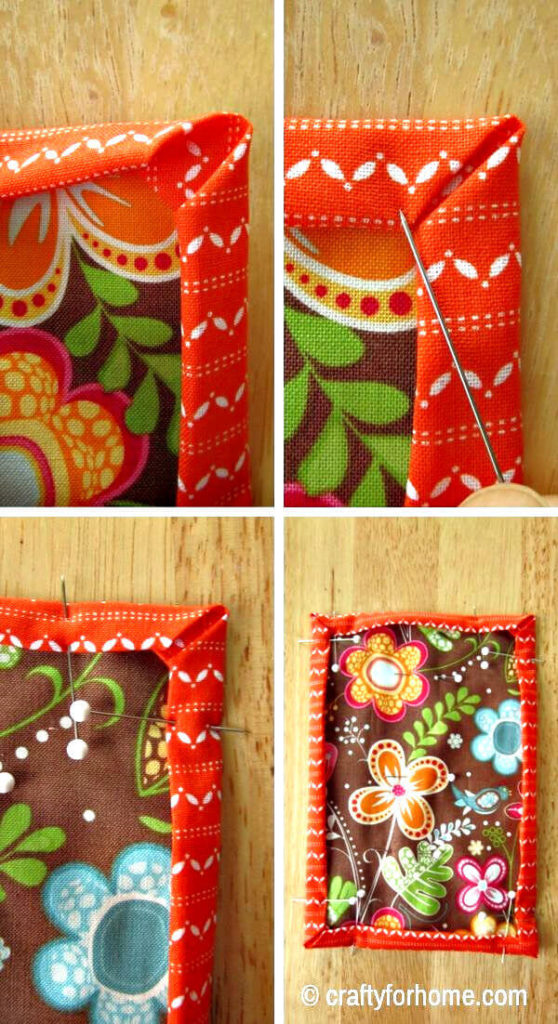
Fold the edge of the larger fabric twice so that you will make four mitered corners. Pin it then press it with an ironing machine.
Ironing first will make it easier to topstitch the binding. Topstitch the binding for the finishing.
Size Of The Mug Rug
The mug rug will be a small rectangle size approx 7.28 inches x 4.9 inches or 18.5 cm x 12.5 cm. It would be enough space for the base of the morning coffee mug, and one or two cookies or one of the favorite pumpkin muffins.
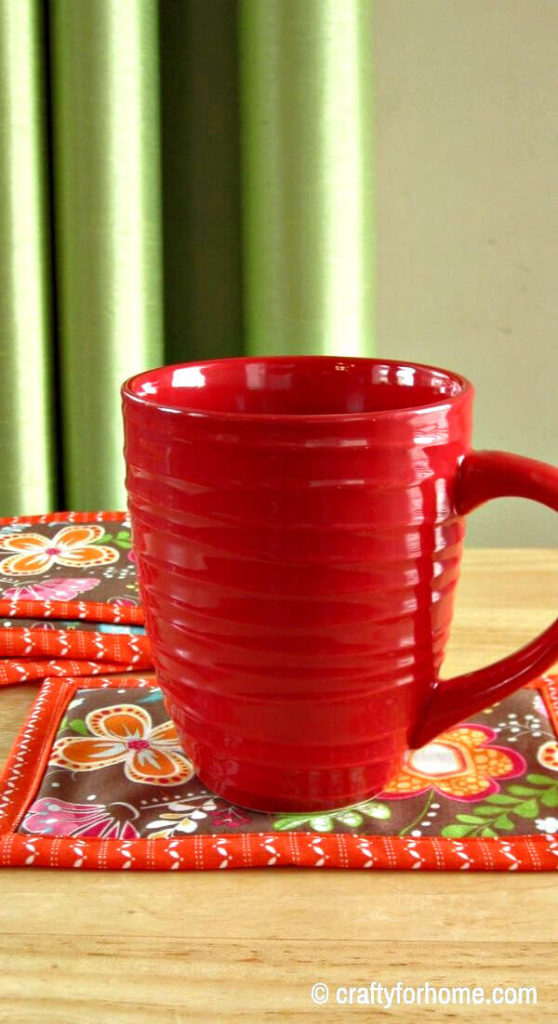
If there are condensations from the cup, then you wipe it off with the mug rug. The mug rug is entirely washable, so you don’t have to use a disposable paper towel to clean up the cookie crumb or spilled coffee on the table.
The mug rug also makes an excellent homemade gift idea for any occasion. You make a set with different colors or prints to match the event like a set of mug rugs with holiday print, or heart print for Valentine. The mug rug also makes a wonderful mother’s day gift or DIY wedding party favor.
You can also make a whole set of mug rugs and placemats with the same fabric print. This oval-shaped placemat is the easiest one to make as well as this rectangle DIY Valentine mug rug.
DIY And Easy Binding Mug Rug From A Mix And Match Cotton Fabric Print
YOU MAY ALSO LIKE
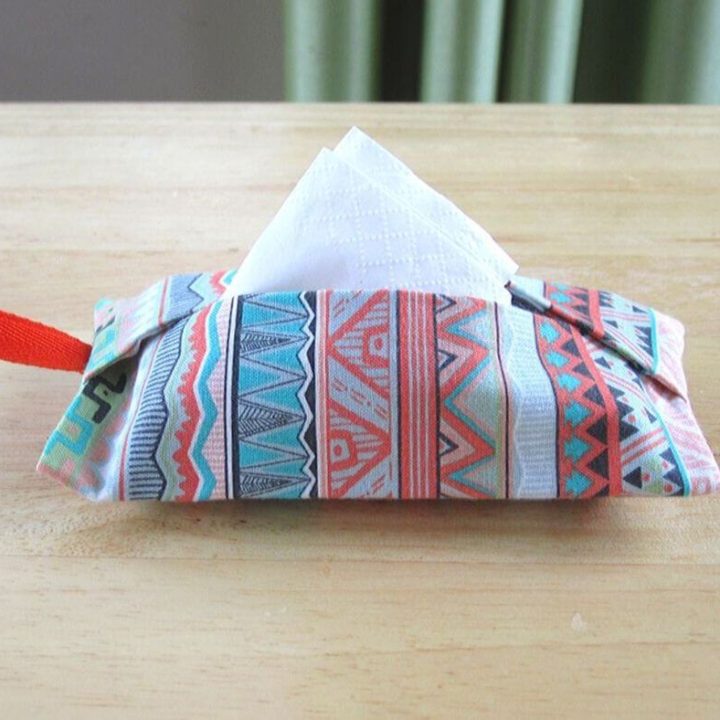
How To Sew Pocket Tissue Holder
Make this 10 minutes pocket tissue holder from fat quarter cotton fabric perfect for traveling, back to school craft or DIY gift ideas.
Oval Shaped Placemat Tutorial
How easy it is to sew an oval-shaped placemat. The placemat is perfect for your DIY home decor or homemade gift ideas.
How To Sew Easter Egg Placemat
These Easter egg placemat tutorials are easy to follow and fun to do for Easter sewing project ideas, and you can do it in one afternoon.


These are so pretty! You make them look so easy, too. The colors remind me of the Pioneer Woman. 🙂
Thank you so much, I love the bright color from the binding that pops against the flowery print too!
I am trying to access the binding a mug rug but the phots cover the instructions. Tried from Pintrest & website. I am looking to see where the lines are drawn and the measurement. Thank you
Hi, Lesley, I changed the layout of the post, to make it easier to see the instructions. All instructions shows on pictures with descriptions below each pictures. I hope it helps.
Hi, thanks for the idea, these mug rugs are easy to make and a great gift. I can’t wait to make them for holidays.
Hi, Laura, thank you for stopping by. Yes, it is very easy to make, and perfect for the holidays! Also, it is a fun handmade gift by mix and matches the holiday fabric prints!
So excited to start these, I have several tea and coffee drinkers that I feel certain will enjoy these …thank you for the easy directions.
Thank you, I am glad the tutorial is easy to follow. I am sure they will love the gift you made special for them.
Love the clear steps in your instructions. I’m a plain simple old lady who loves making practical gifts for friends. Like your choice of fabric too. Thank you.
Thank you, I am so glad that the step by step tutorial is easy to follow, and handmade gifts are always the best!
Omg I love this… I’m a sewing beginner and at the moment I absolutely loathe binding but I think even this binding technique is one I could actually do!!
Yes, this binding technique is much easier than using bias tape.
I’m anxious to try your easy binding, sounds easy. Thanks!
Hi, it is very easy. Please let us know how it goes.
I like this self binding idea very much. I’m having trouble with 4.8 inches and 7.2 inches. None of my rulers have those measurements. Changed to fractions that would be 4 4/5 inches and 7 1/5 inches. I’d like to round off the numberss. How about 4 3/4 inches and 7 1/4 inches?
Hi Sheilah, yes, absolutely, you can round off the numbers. The measurements of all materials don’t have to be the same; you can make them smaller or bigger than the ones in the tutorial as long as the length and width of the fabric for the backing is 1″ larger than the material for the front side. The measurements I provided were based on metric and converted to inches.