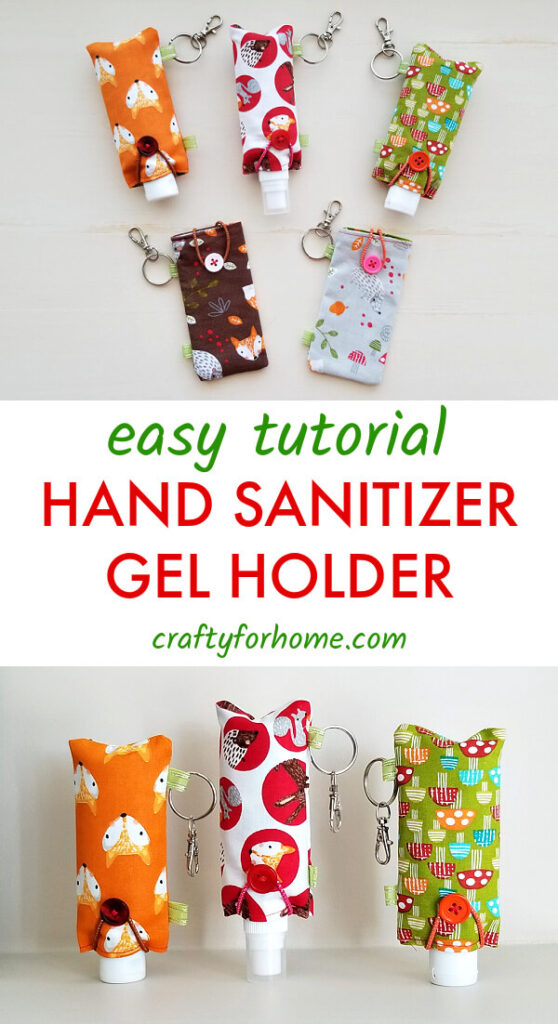
This sewing tutorial is a quick 10 minutes craft to make an easy DIY fabric hand sanitizer holder from any fabric scraps or charm pack.
A helpful guide on how to make hand sanitizer holder
Are you thinking about how to make a hand sanitizer case? Surprisingly it is straightforward and quick to make with any extra fabrics from your previous project or upcycle your used shirts. This quick hand sanitizer holder tutorial has a similar appearance as the ice pop cozy one.
As an Amazon Associate I earn from qualifying purchases. This post may contain affiliate links. Please see the Disclosure Policy for details.
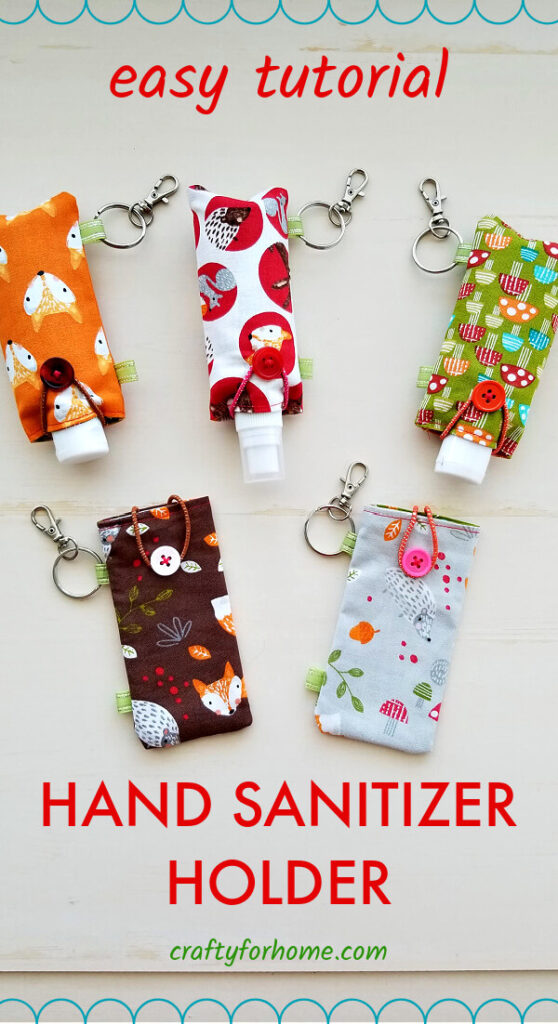
The best materials to sew hand sanitizer holders are cotton fabric, fleece, flannel, outdoor fabric, home decor fabric, linen, or canvas. They are easy to work with by using a regular sewing machine or hand sewing needle.
If you are using felt fabric with this tutorial, you can make the no-sew one.
Why You Need Hand Sanitizer Holder
A fabric hand sanitizer holder will ease your mind because of the function and practical way to carry this around. Easy and convenient when you need it at a specific time, like in the park or while you walk the dog.
You won’t get any spill on the purse anymore. You also won’t keep looking for it by digging around the base of your bag.
Hand Sanitizer Holder For Backpacks.
Use the swivel lobster clasp to attach it to the backpack.
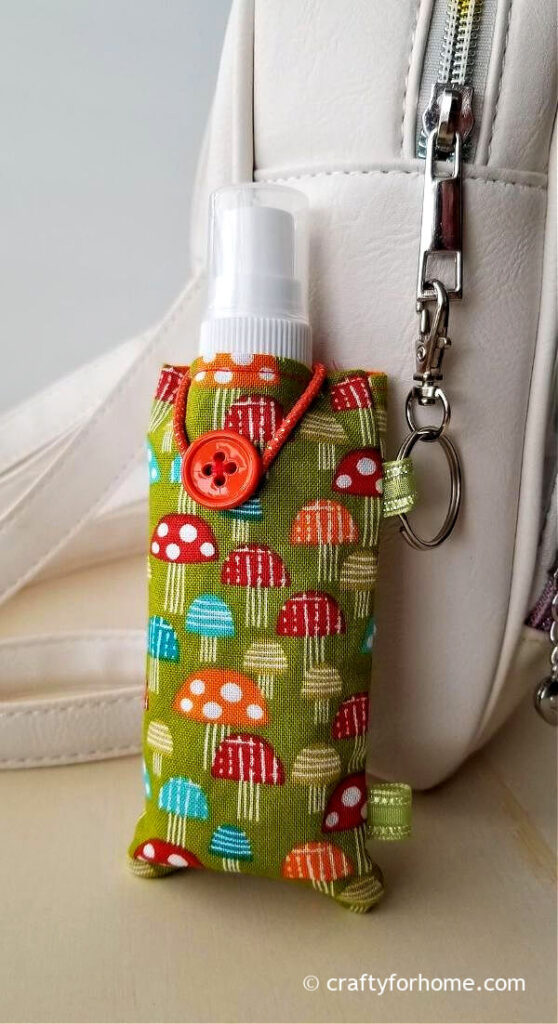
It is a necessary little thing to bring for a beach day, playtime in the park, back to school, after-school sports class, or hiking trips.
Hand Sanitizer Holder For A Key Chain
If you have multiple keys and always bring them around whenever you go somewhere, attach the bottle pouch on the key fob wristlet ring.
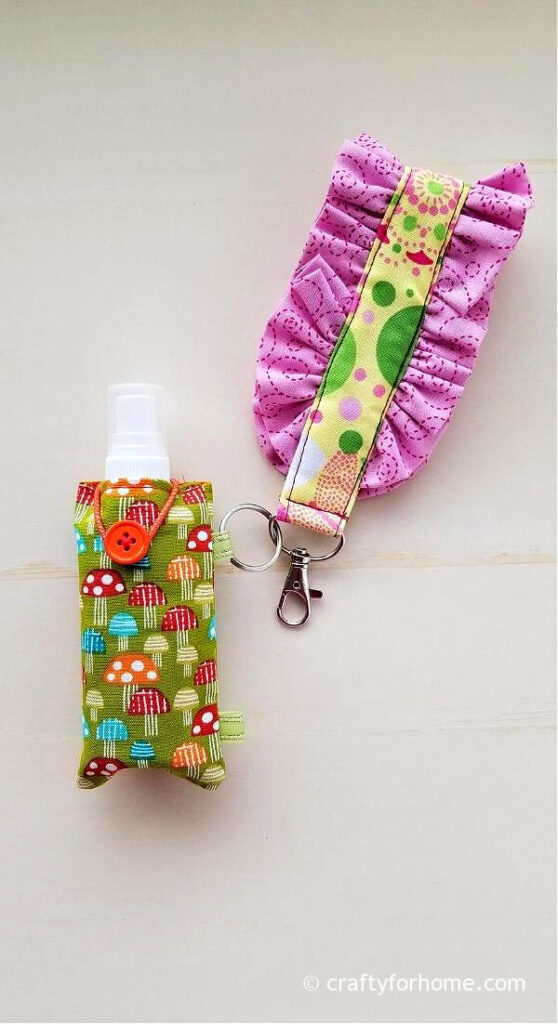
This DIY keychain ruffled wristlet is easy to make, and you can match the fabric with the bottle holder.
Hand Sanitizer Holder For Travel
It is an important little thing to include in your traveling packing list. Bring this convenient hand gel bottle cozy with you on vacation, shopping, or road trips. You can attach it to your purse by using the keyring and the swivel lobster clasp.
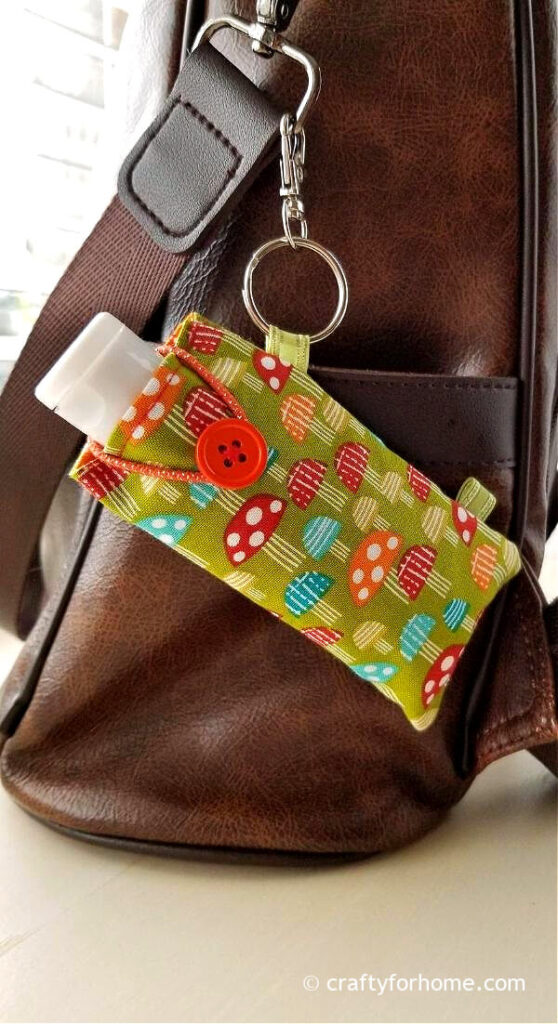
Also, add the pocket tissue holder on the same keyring. Now you have the necessary things within reach when you need them anytime.
Supply To Make Hand Sanitizer Holder
I use this mix and match fun foxes printed charm pack, which is precisely 5″ x 5″ squares. Here is the link for you to get more charm packs fabrics.
I also use the thin hair elastic to secure the closure. It is colorful one, so I can match it with the fabric color I use. You can use any small elastic you have available on hand.
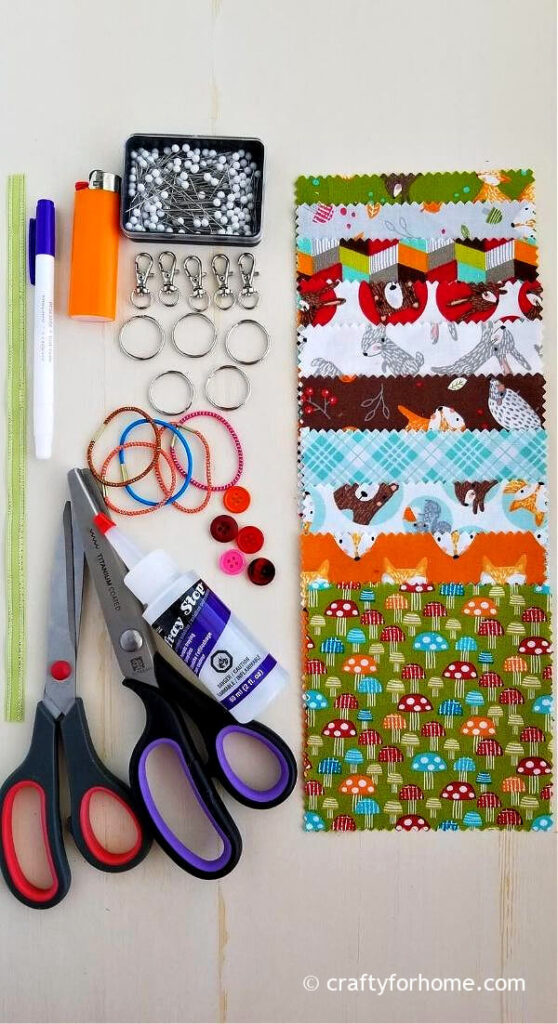
Charm packs fabric packages usually come with the zig-zag edge from pinking shears so that the fabric edge won’t fray. If you use any fabric scraps, you can use a zig-zag stitch, the fray-check liquid sealant, or pinking shears.
- Charm packs cotton fabric or any cotton fabric size 5″ x 5″.
- Thin hair tie elastic or this thin elastic cord
- Circle Ring Lobster clasp
- Key Ring
- Pinking shears (optional) or fray check liquid sealant (also optional)
- Grosgrain ribbon or any ribbon available
- Button
- Pins
- Thread
- Sewing machine, I use the green one similar to this computerized Singer sewing machine, or hand sewing needle
How To Sew Hand Sanitizer Holder
See the Easy Fabric Hand Sanitizer Holder video tutorial here.
Prepare two sheets of 5″ x 5″ charm pack cotton fabrics. If you use scrap fabric, then cut two sheets of 5″ x 5″ squares. Cut the ribbon into two of 1″ each and use the lighter to seal the raw edge. Cut the elastic into 4″.
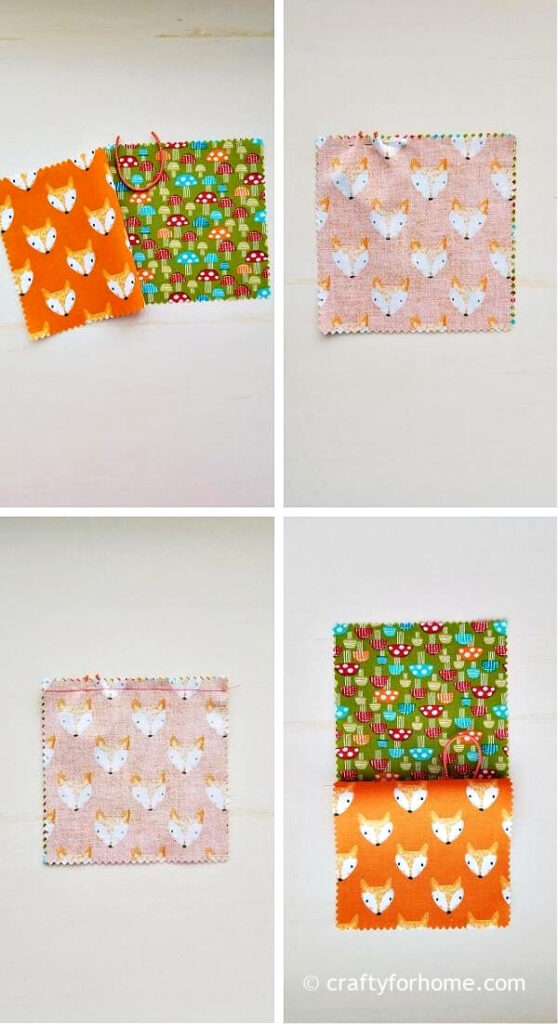
Sandwich the fabric with this order, the wrong side of the first fabric sheet facing down, elastic, and the second fabric sheet’s wrong side facing up.
Position the elastic about 1 inch from the edge. Sew the fabric to secure the elastic. Turn the fabric around, so now you have both of the wrong side fabrics facing each other.
Fold the ribbon in half, then pin it with the ribbon’s raw edge is aligned with the fabric edge. Next, fold the fabric half sideways.
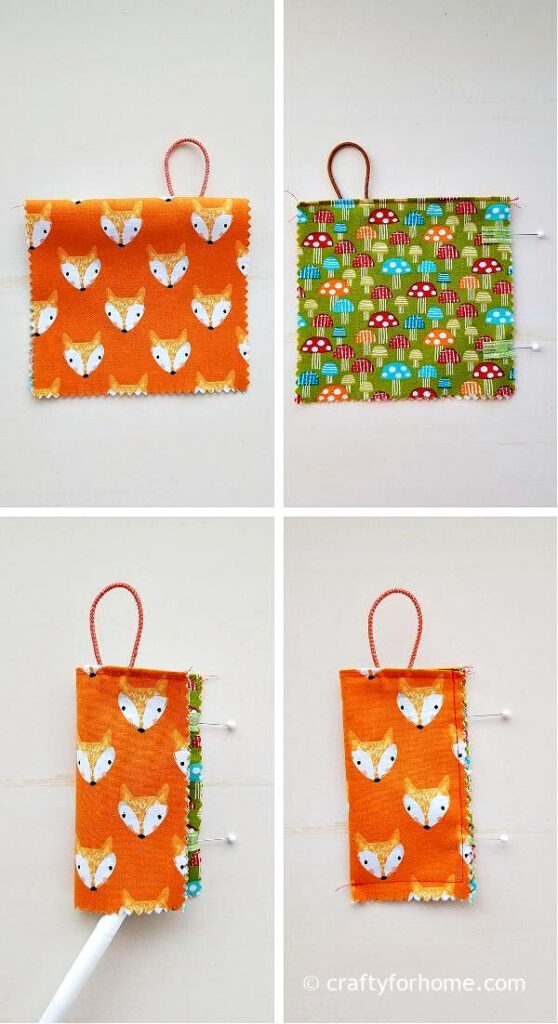
Sew along the raw edge. If you use scrap fabric, then trim the edge with pinking shears or apply fray check sealant. If none are available, then use a zig-zag stitch.
Sew the button about 1 inch below the opening. Insert the hand sanitizer, loop the elastic, and secure it on the button.
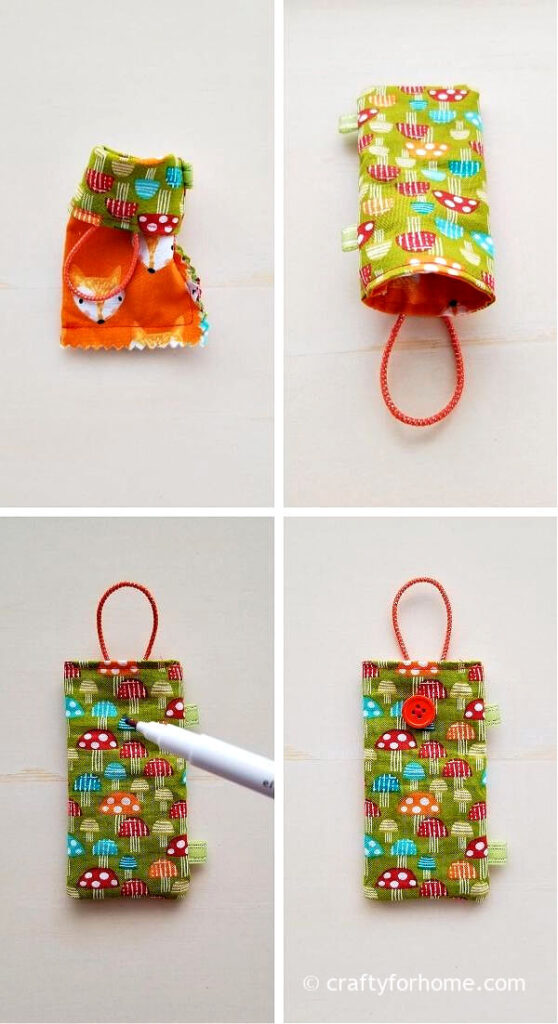
Attach the keyring to one of the ribbons. The hand sanitizer holder is ready to use by attaching the keyring to the lobster clasp ring.
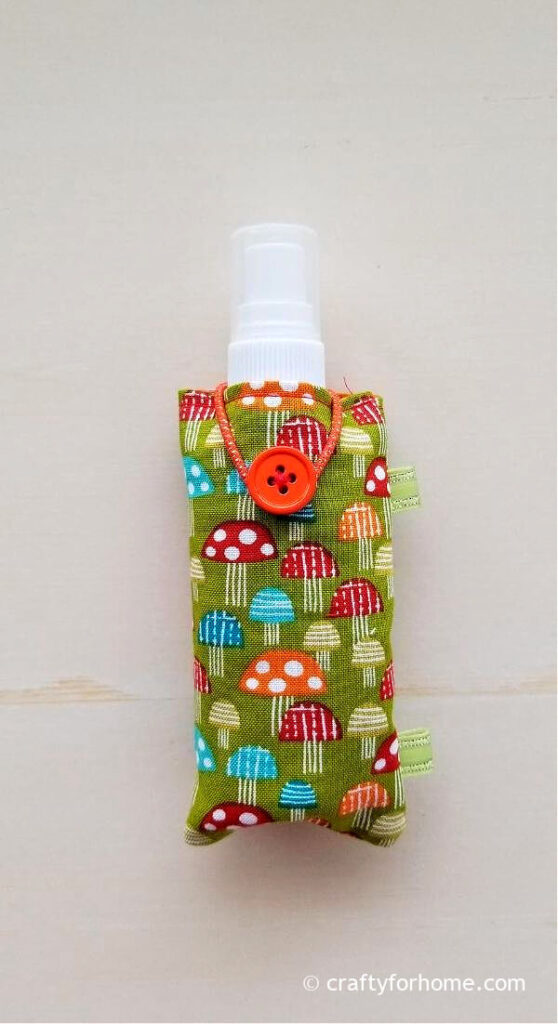
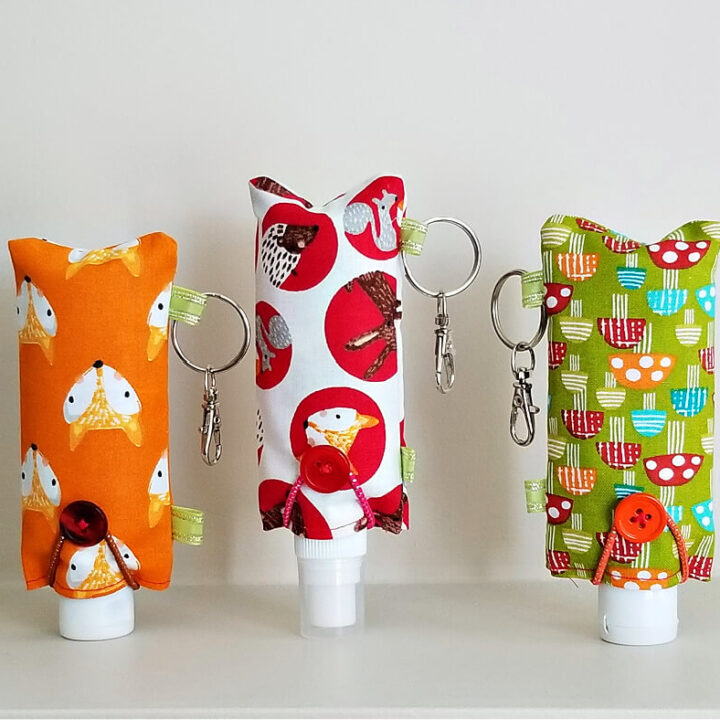
This pouch is fit for a 60 ml sanitizer bottle. The two different ribbon positions will give you the option to hang the hand gel holder upright or upside down.
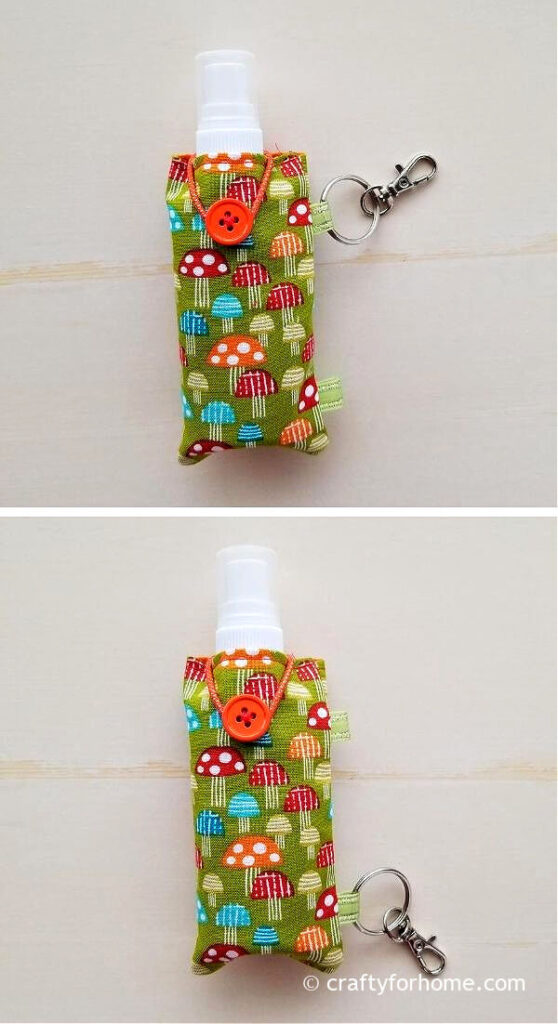
If you use the ribbon on the top to attach the keyring, the bottle will be upright to prevent leakage if you forget to close the lid.
If you use the ribbon on the bottom to attach the keyring, then the bottle would be upside down, making it easier to squeeze the gel out of the bottle.
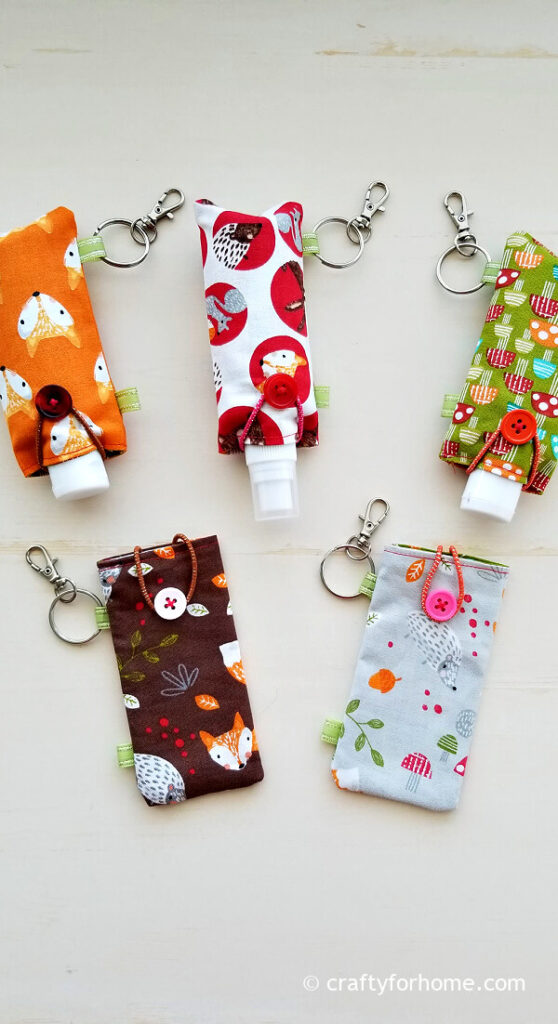
But I am sure it would be fine if you use the spray bottle one, whether it is an upright or upside-down position. And to be honest, my kids and I like the spray bottle better than the gel one. How about you?
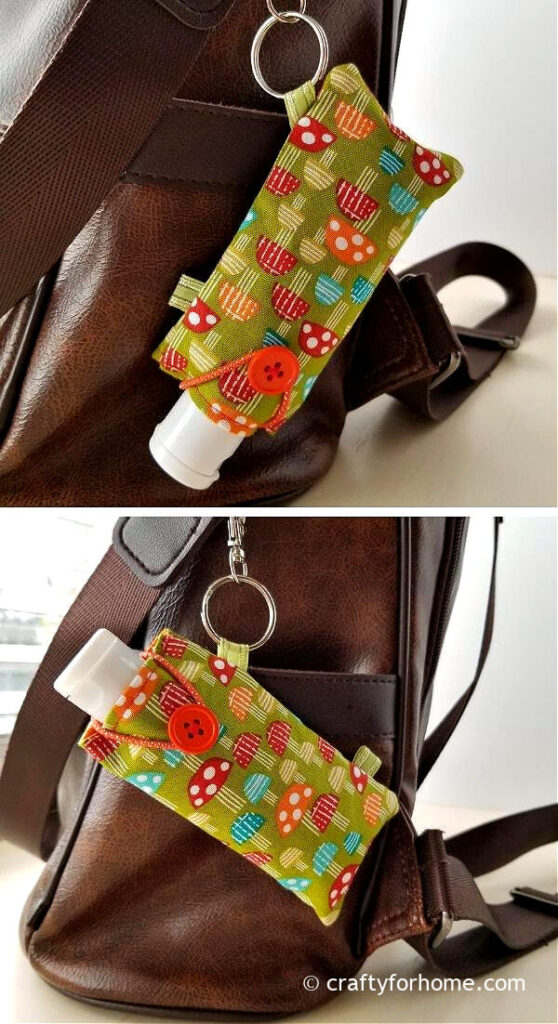
This picture above shows you how it looks upright and upside down when I attach it to the backpack.
This hand sanitizer holder makes it easier for you to find it than keeping it inside your bag. #sanitizerholder #sanitizerpouch Share on XThis easy DIY hand gel holder is a perfect addition for back-to-school needs, stocking stuffers, birthday party favor, or handmade gift ideas. The hand sanitizer case is a little functional thing. Once you make one set, you will find yourself making more sets because it is easy and quick to make.
Doesn’t have time to make one? No worries, you can get one or more from some artisans. Here are some hand sanitizer holders with fun prints and designs.
More Fabric Scraps Projects
- 4 Different Ways To Make Fabric Flowers
- Make Easy Fabric Heart Garland
- Easy Fabric Ornaments
- Easy Fabric Gift Card Holder Tutorial
- Reversible Coffee Cozy Sleeve Tutorial
This DIY hand sanitizer holder is a quick sewing project and fun to make.
Printable Instruction For Making Easy Fabric Hand Sanitizer Holder
Easy Fabric Hand Sanitizer Holder
This sewing tutorial is a quick 10 minutes crafts to make an easy DIY fabric hand sanitizer holder from any fabric scraps or charm pack.
Materials
- Charm packs cotton fabric or any cotton fabric size 5" x 5".
- Thin hair elastic
- Circle Ring Lobster clasp
- Key Ring
Tools
- Pinking shears (optional) or fray check liquid sealant (also optional)
- Ribbon
- Button
- Pins
- Thread
- Sewing machine or hand sew needle
Instructions
- Prepare two sheets of 5″ x 5″ charm pack cotton fabrics. If you use scrap fabric, then cut two sheets of 5″ x 5″ squares. Cut the ribbon into two of 1″ each and use the lighter to seal the raw edge. Cut the elastic into 4″.
- Sandwich the fabric with this order, the wrong side of the first fabric sheet facing down, elastic, and the second fabric sheet’s wrong side facing up.
- Position the elastic about 1 inch from the edge. Sew the fabric to secure the elastic. Turn the fabric around, so now you have both of the wrong side fabrics facing each other.
- Fold the ribbon in half, then pin it with the ribbon’s raw edge is aligned with the fabric edge. Fold the fabric half sideways.
- Sew along the raw edge. If you use scrap fabric, then trim the edge with pinking shears or apply fray check sealant. If none available, then use a zig-zag stitch.
- Sew the button about 1 inch below the opening. Insert the hand sanitizer, loop the elastic, and secure it on the button.
- Attach the keyring to one of the ribbons. The hand sanitizer holder is ready to use by attaching the keyring to the lobster clasp ring.
Notes
Make sure to see the complete steps of picture tutorials in the post for more detailed instructions.
For the video version, you can see the video tutorial here for Easy Fabric Hand Sanitizer Holder.

This is exactly what I was looking for! It was so quick and easy. Thank you for sharing!
Thank you and I am so glad that the tutorial is easy to follow for you too.
The only tutorial that has a spray bottle example along with the traditional one ! I spent days looking for one and could not find any. And this tutorial was very easy, and explained amazingly ! Thank you !
Hi Kayla, thank you so much. I’m so glad the tutorial helped with the project.