This easy DIY fabric bookmark tutorial is a quick sewing project to turn the stash of fabric scraps into something that would be a perfect gift for someone who likes to read.
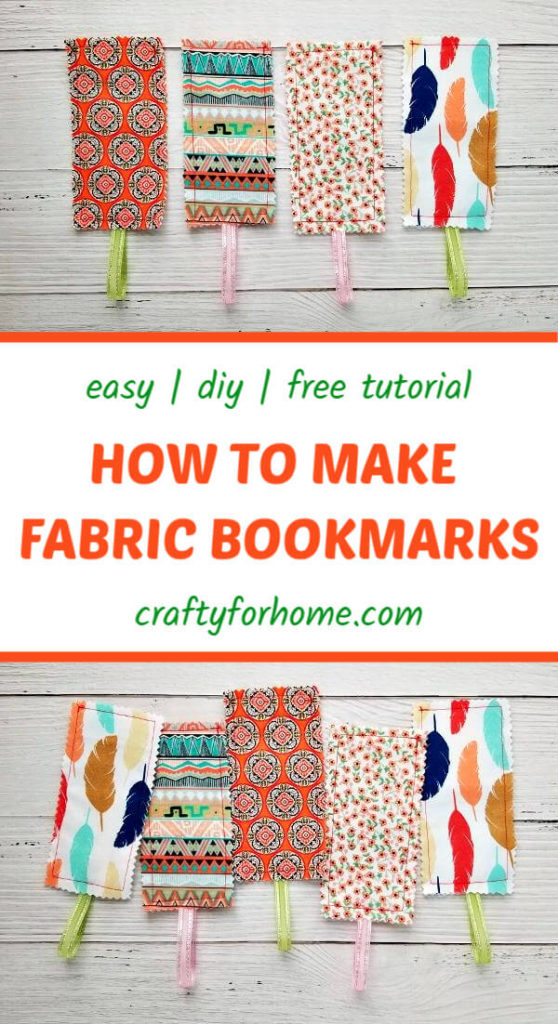
Use This Fun And Helpful Guide On How To Make Fabric Bookmarks
Do you like to spend time reading books? Or maybe you have loved ones who love to read. Then sew this easy fabric bookmark to make in just 5 minutes. Yes, you can make it in just 5 minutes, about the same time as making this ribbon lanyard.
As an Amazon Associate I earn from qualifying purchases. This post may contain affiliate links. Please see the Disclosure Policy for details.
The idea to make bookmarks was after I saw the scraps I had accumulated from some previous project, like the pocket tissue holder I published here a while ago.
Making bookmarks is also a perfect afternoon project to use up those fabric scraps or upcycle used clothes, handkerchiefs, or any fabric that is not too bulky.
What You Need To Make Fabric Bookmarks
Use the iron-on non-woven fusible interfacing between the fabric for stabilizer and add stiffness to the bookmark, but it won’t make it bulky. If it is not available, the craft paper also works, as long as you can sew it through.
To make a bookmark, you cut a long rectangle of fabric. If you want different prints on both sides, then cut two pieces of fabric.
You can use any thin cotton fabric for this project. However, quilt-weight cotton is the perfect material to use.
You won’t need much if you only make one or two bookmarks. So, I use this leftover quilt cotton from the self-binding napkins.
- Fabric scraps (cotton quilt, handkerchief, or used shirt)
- Iron-on non-woven fusible interfacing this one has double -sided adhesive
- Pinking shears
- Thread
- Ribbon, lace, yarn, or baker twine (whichever you have on hand)
- Pin
- Sewing machine
- Ironing machine
How To Make Fabric Bookmarks
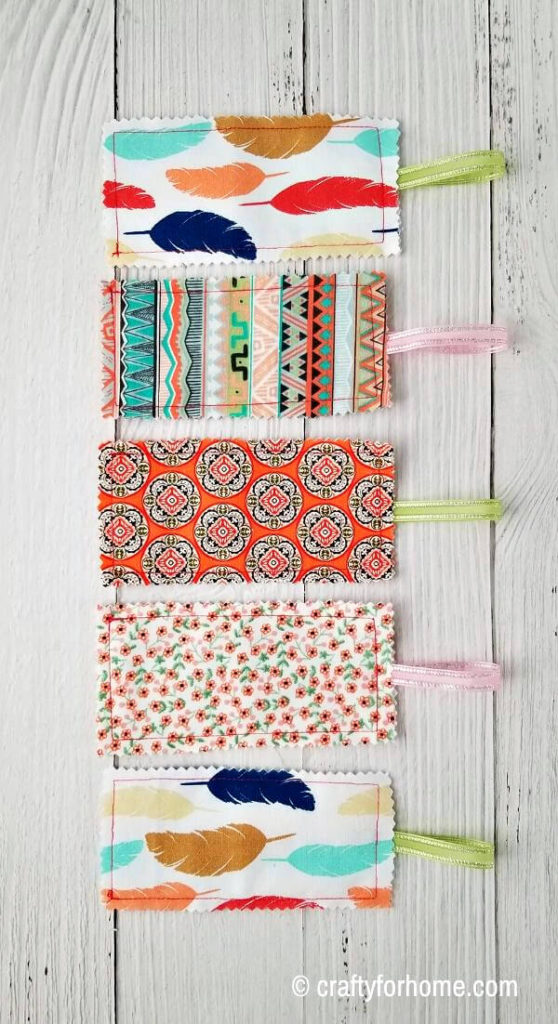
Cut the fabric into 12 inches x 3 inches for the same print on both sides. If you want a different print on both sides, then cut the fabric into two pieces of 6 inches x 3 inches.
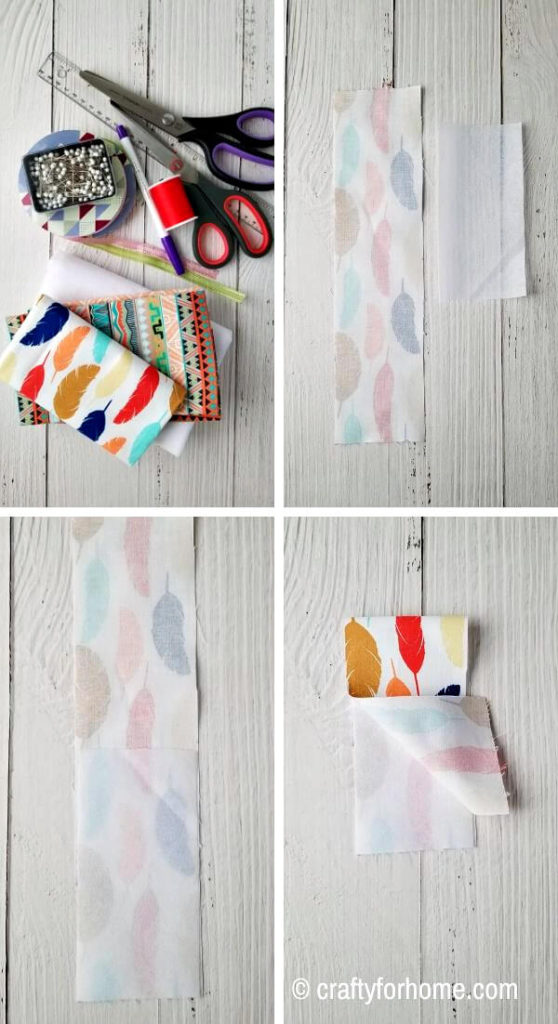
Cut the non-woven fusible interfacing into 6 inches x 3 inches.
Cut the ribbon, lace, yarn, or baker twine into 6 inches.
For the same print on both sides, put the interfacing on the wrong side of the fabric. Fold the fabric in half. Make sure the wrong side of the fabric is facing each other.
For different print on both sides, sandwich the fabric in this order, right side fabric facing down, interfacing, right side fabric facing up.

Press it with the ironing machine to make the interfacing stick on one side of the fabric. Make sure to cover it with another bigger size of cloth to prevent the ironing machine from touching the glue on the interfacing.
Fold the ribbon in half, then tuck both ends in between the fabric. Pin it. Sew straight around 1/2″ from the edge and sew the ribbon at the same time.
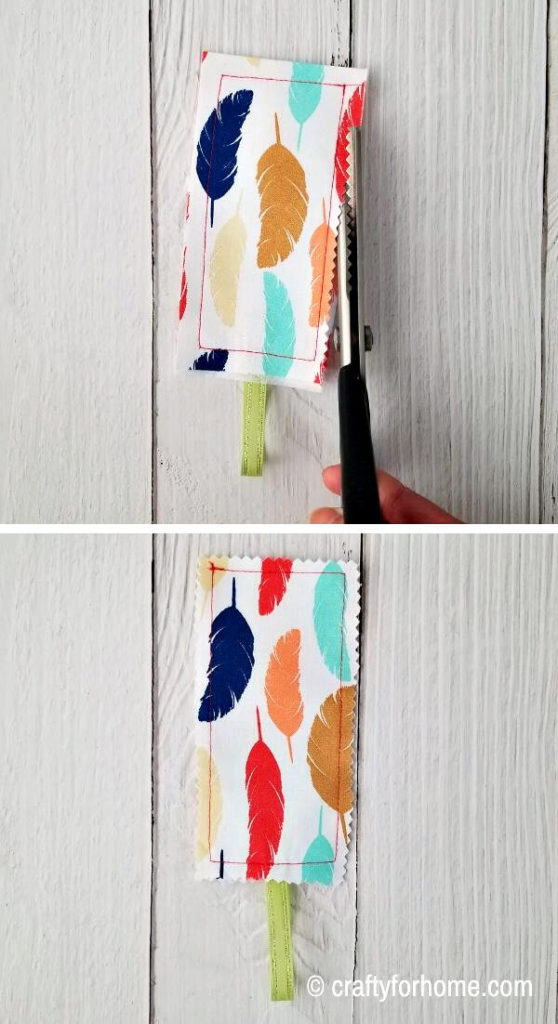
Use the pinking shears to trim the edge to prevent the fabric from fraying. Be careful not to cut the ribbon by accident. Trim the fabric one by one around this area.
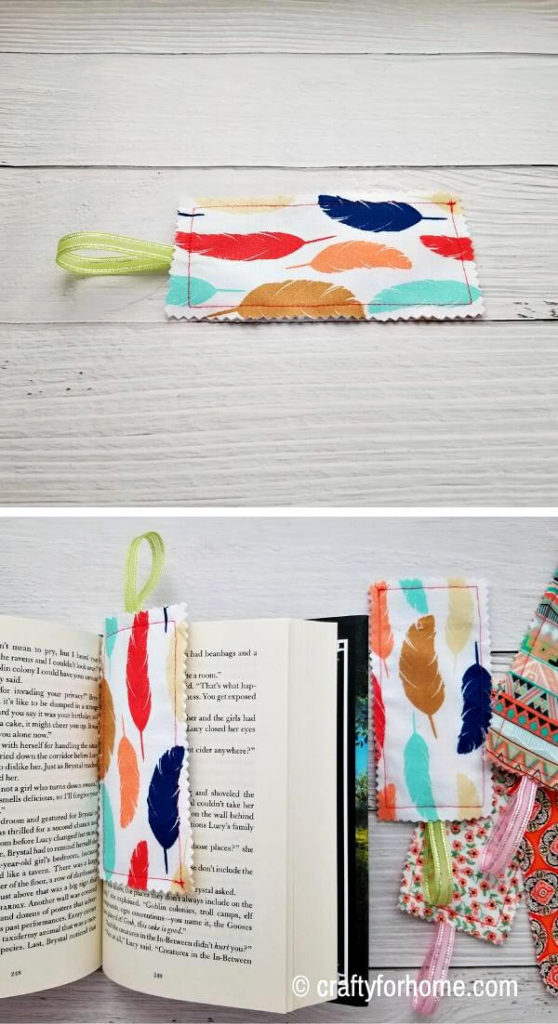
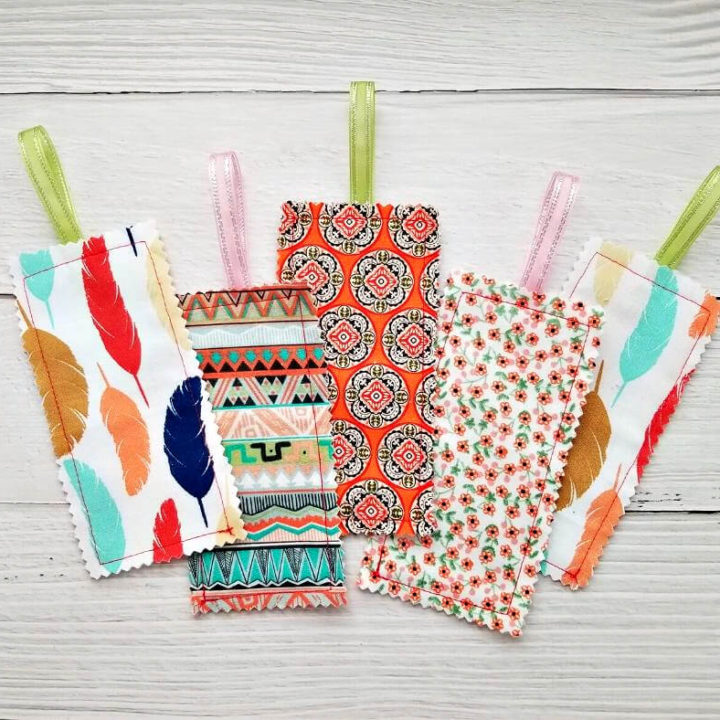
Your handmade fabric bookmarks are ready to use now.
You can add the yarn tassel or yarn pompom to embellish the ribbon. It adds charms to the bookmark.
Sewing this DIY fabric bookmark is fun and beginner-friendly because there is no complicated sewing technique. Anyone who is learning to sew can make this.
Kids can do this for their weekend project, school project, or summer camp crafts with grown-up supervision, of course. It is also perfect for a homemade teacher gift or anyone who loves to read.
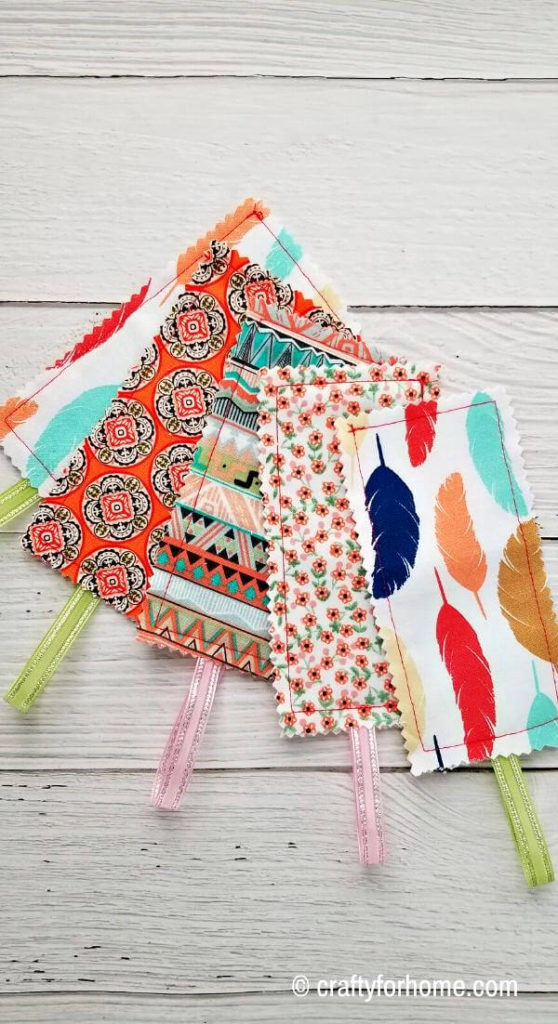
Sewing a fabric bookmark is a fantastic idea to turn these fabric scraps into something new.
Make a bookmark from fabric scraps with this super easy tutorial. #fabricbookmarks #DIYbookmarks Share on XMore Of Sewing Project From Fabric Scraps
- Easy Fabric Gift Card Tutorial
- How To Sew Freezie Cozy
- Coffee Cup Cozy Tutorial
- Carrot Top Egg Cozy
- Hand Sanitizer Holder Tutorial
- Cord Holder Tutorial
Which One Is Your Favorite DIY Fabric Bookmarks From This Tutorial?
Sew Easy DIY Fabric Bookmarks
This easy fabric bookmark tutorial is one of a quick sewing project to turn the stash of fabric scraps into something that would be a perfect gift for someone who likes to read.
Materials
- Fabric scraps (cotton quilt, handkerchief, or used shirt)
- Iron-on non-woven fusible interfacing
- Ribbon, lace, yarn, or baker twine (whichever you have on hand)
Tools
- Pinking shears
- Thread
- Pin
- Sewing machine
- Ironing machine
Instructions
- Cut the fabric into 12 inches x 3 inches for the same print on both sides. If you want a different print on both sides, then cut the fabric into two pieces of 6 inches x 3 inches.
- Cut the non-woven fusible interfacing into 6 inches x 3 inches.
- Cut the ribbon, lace, yarn, or baker twine into 6 inches.
- For the same print on both sides, put the interfacing on the wrong side of the fabric. Fold the fabric in half. Make sure the wrong side of the fabric is facing each other.
- For different print on both sides, sandwich the fabric in this order, right side fabric facing down, interfacing, right side fabric facing up.
- Press it with the ironing machine to make the interfacing stick on one side of the fabric. Make sure to cover it with another larger cloth to prevent the ironing machine from touching the glue on the interfacing.
- Fold the ribbon in half, then tuck both ends in between the fabric. Pin it. Sew straight around 1/2″ from the edge and sew the ribbon at the same time.
- Use the pinking shears to trim the edge to prevent the fabric from fraying. Be careful not to cut the ribbon by accident. Trim the fabric one by one around this area.
- Your handmade fabric bookmarks are ready to use now.
Notes
Make sure to see the complete steps of picture tutorials in the post for more detailed instructions


Leave a Reply