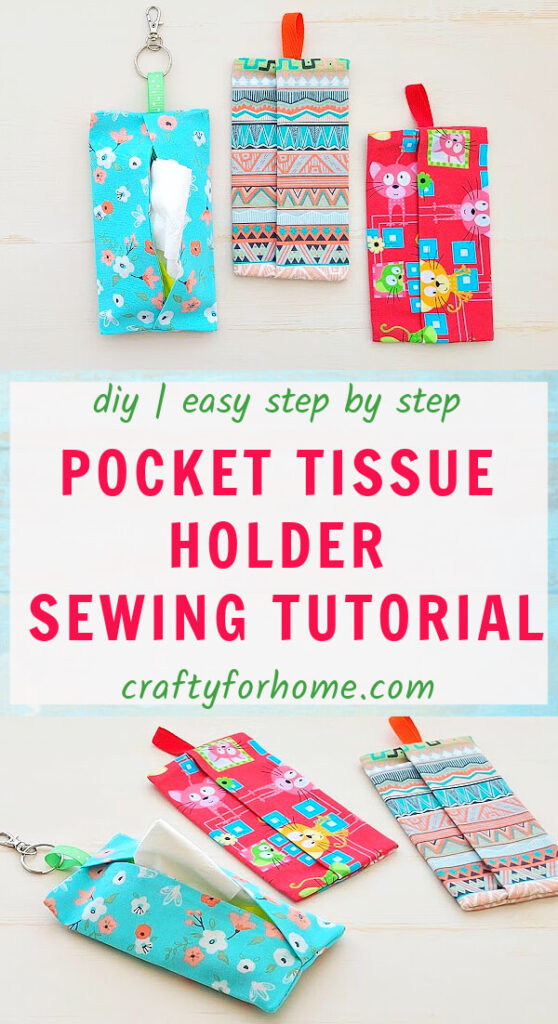
Make this 10 minutes pocket tissue holder from fat quarter cotton fabric perfect for traveling, back to school craft or DIY gift ideas.
Use This Guide To Make Pocket Tissue Holder
Pocket tissue is a little thing that sometimes you look for it in an unexpected place. Yep, I got that all the time, when I am in the lounge waiting for an airplane, or when we walk in the mall, the kids asking for a tissue. So, even it looks like an unnecessary thing, but you need to have it on hand all the time.
As an Amazon Associate I earn from qualifying purchases. This post may contain affiliate links. Please see the Disclosure Policy for details.
To make it looks more beautiful other than plastic wrappers, you can make the pocket size tissue case from fabric. It won’t take a long time to sew it. I can say in ten minutes you can make a pocket tissue holder that is beautiful and useful.
What You Need To Make Pocket Tissue Pouch
This project needs a little amount of fabric. It is a great way to repurpose used clothes, or if you have a stash of fabric scraps.
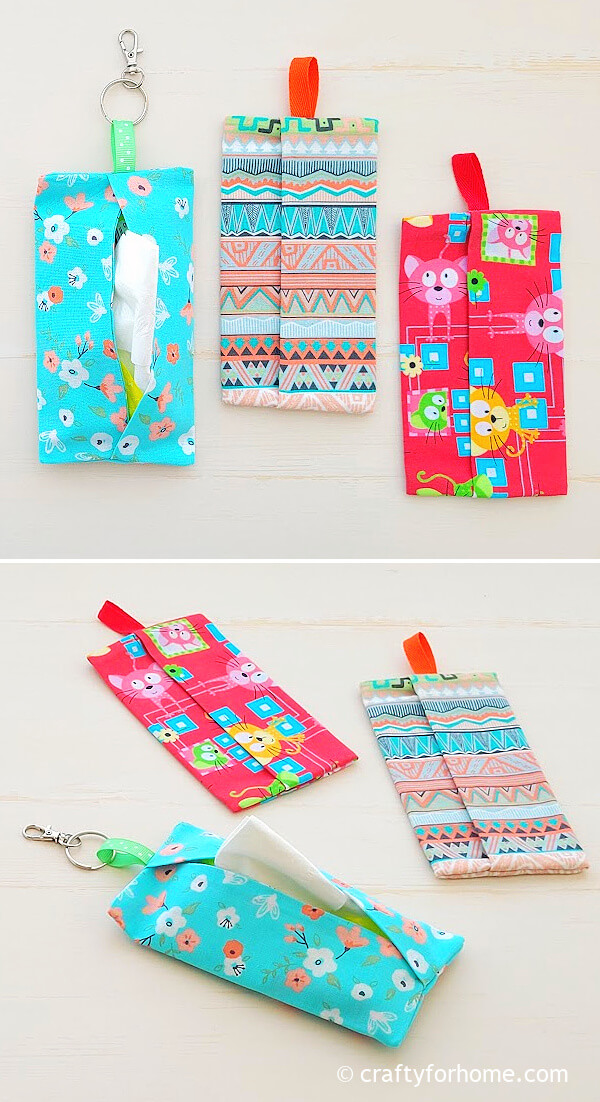
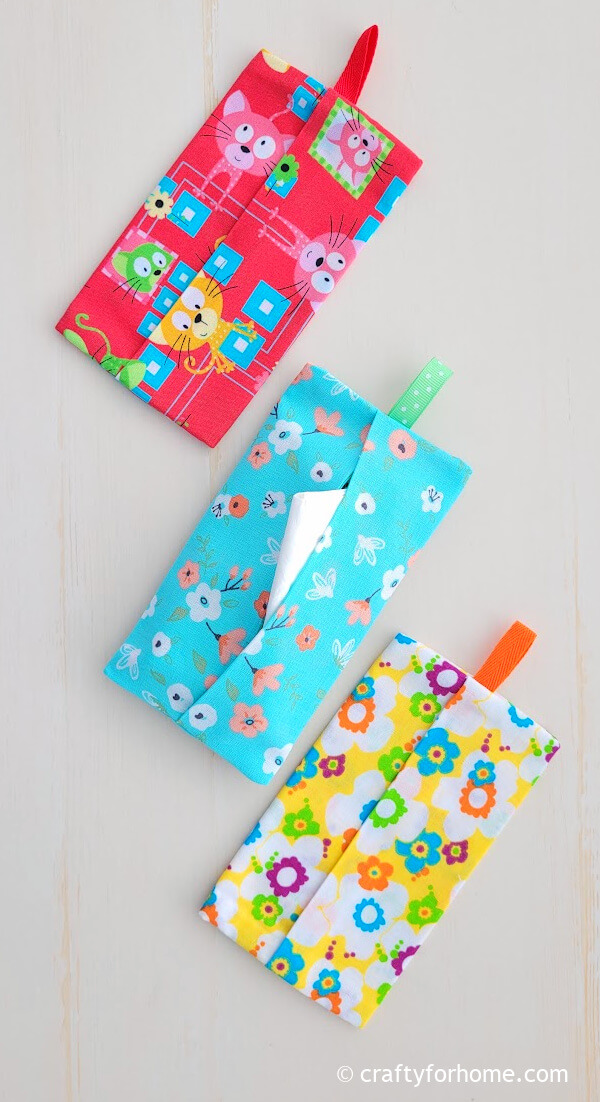
I use fat quarter cotton fabric because it’s inexpensive and fun prints. You will get three pieces of pocket tissue holders if you are using one of this type of fabric size. You can get a fat quarter bundles in any craft store or online fabric store.
- 1 pcs fat quarter cotton fabric
- Disappeared ink fabric marker
- Ribbon
- Thread
- Scissors
- Lighter
- Sewing machine
- Ironing machine
How To Sew Pocket Tissue Holder
The video tutorial is also available. Click on this link to watch the Pocket Tissue Holder video tutorial on my YouTube channel, and subscribe for more videos.

Measure the fabric into 7.2 inches x 14.5 inches or 18.5 cm x 37 cm. Cut the ribbon 3.3 inches long or 8.5 cm, fold it in half and burn the cut edge by using a lighter to prevent fraying.
Fold the fabric with the right side facing each other. Sew along the raw edge and leave 4 inches for the opening.
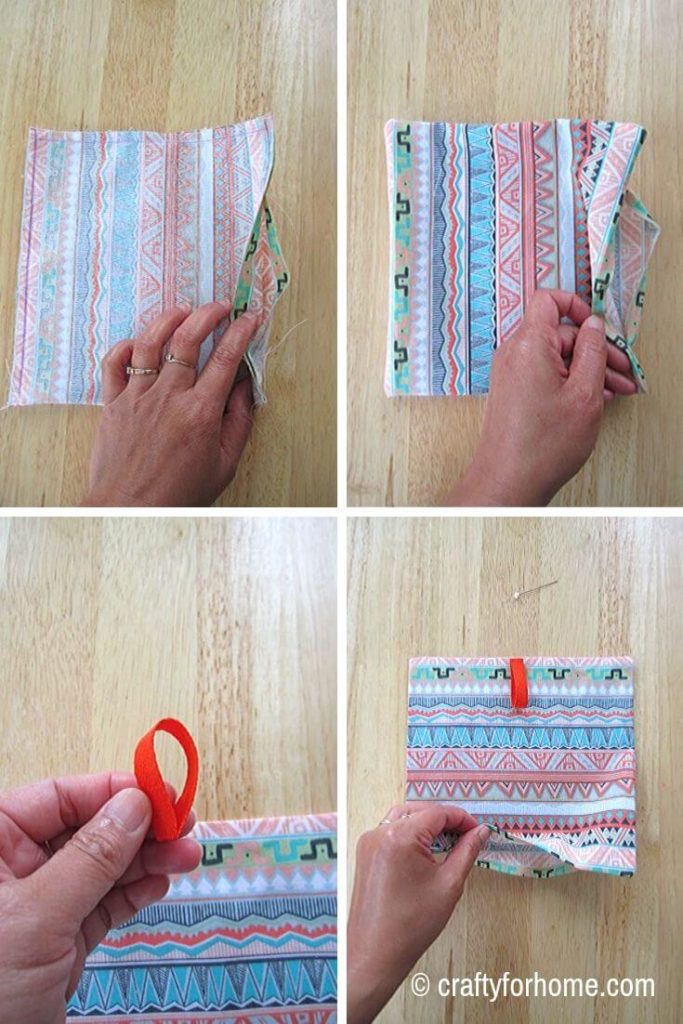
Turn the fabric inside out then press it with ironing machine. Put the ribbon on one of the stitched sides.

Fold the fabric about 2 inches from each edge of the short length. Topstitch along the short sides, this will also close the opening at the same time. Turn it right side out.
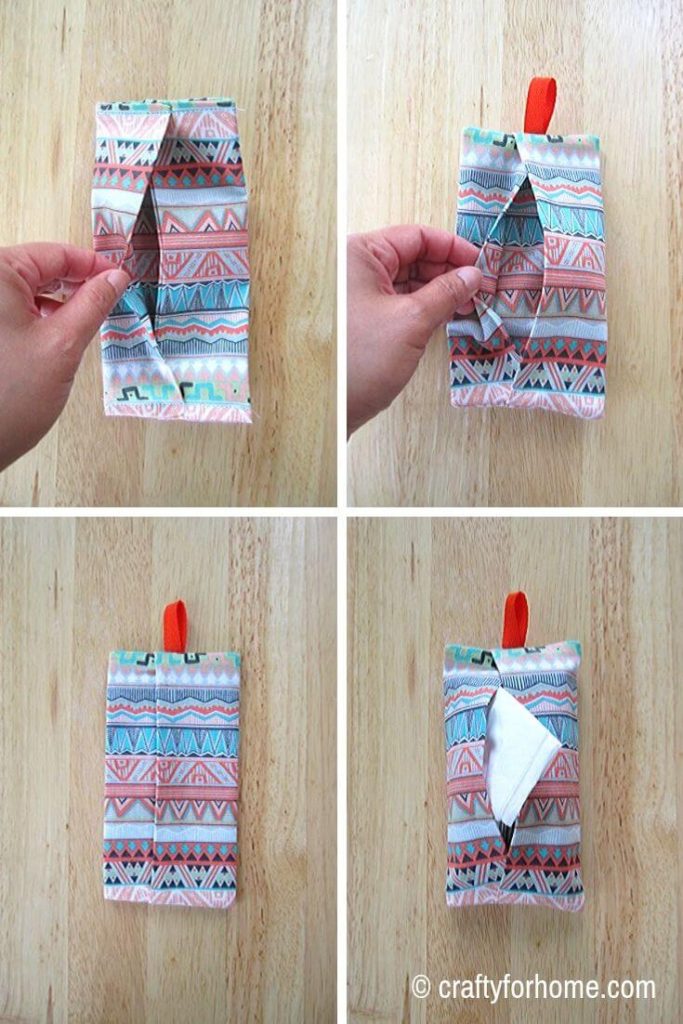
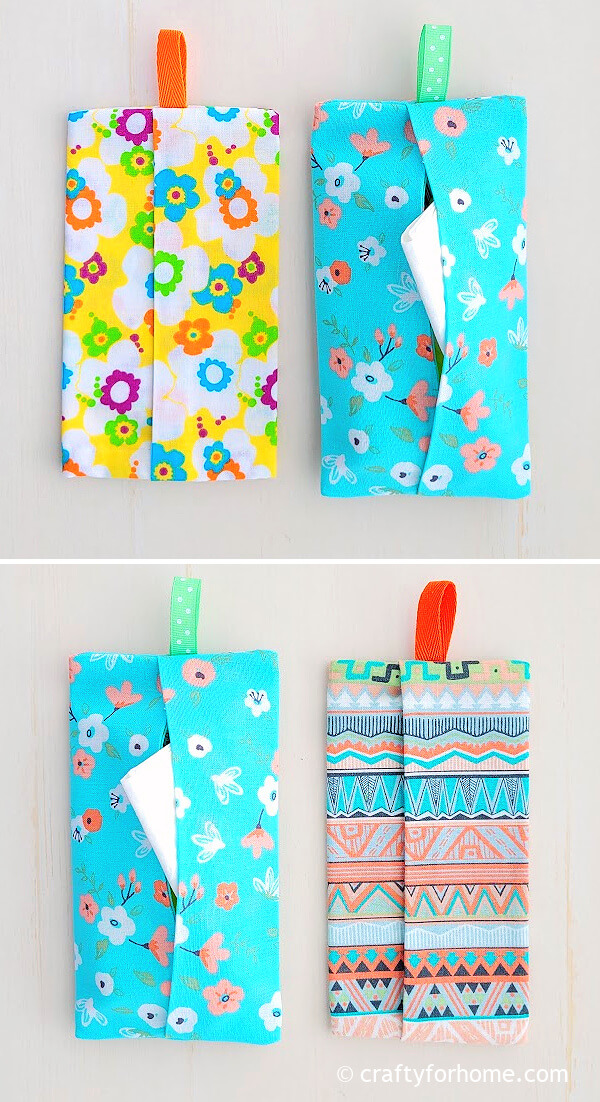
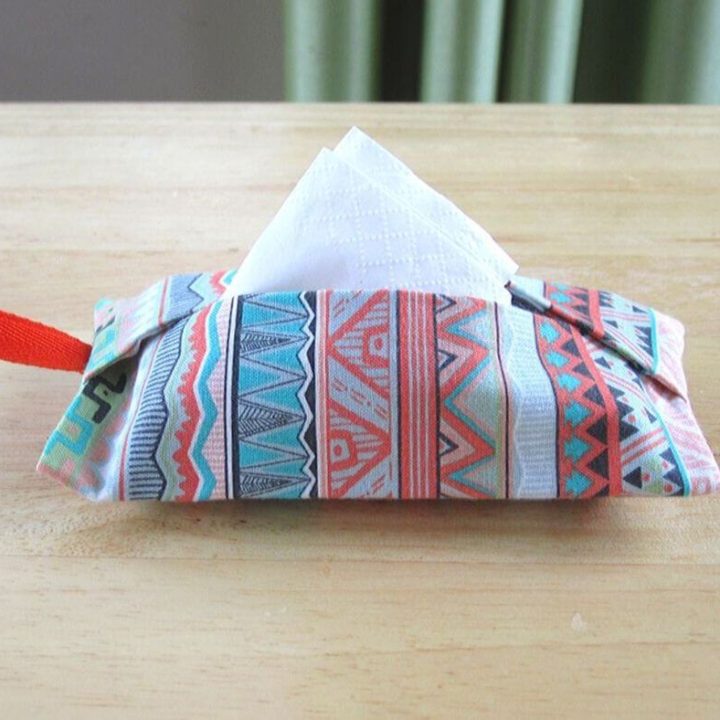
Now you have a beautiful and perfect pocket tissue holder. The best thing with this pocket tissue holder is that there is no raw and frayed fabric visible. The final size is about 5.9 inches x 3.1 inches or 15 cm x 8 cm that will fit most pocket tissue size.
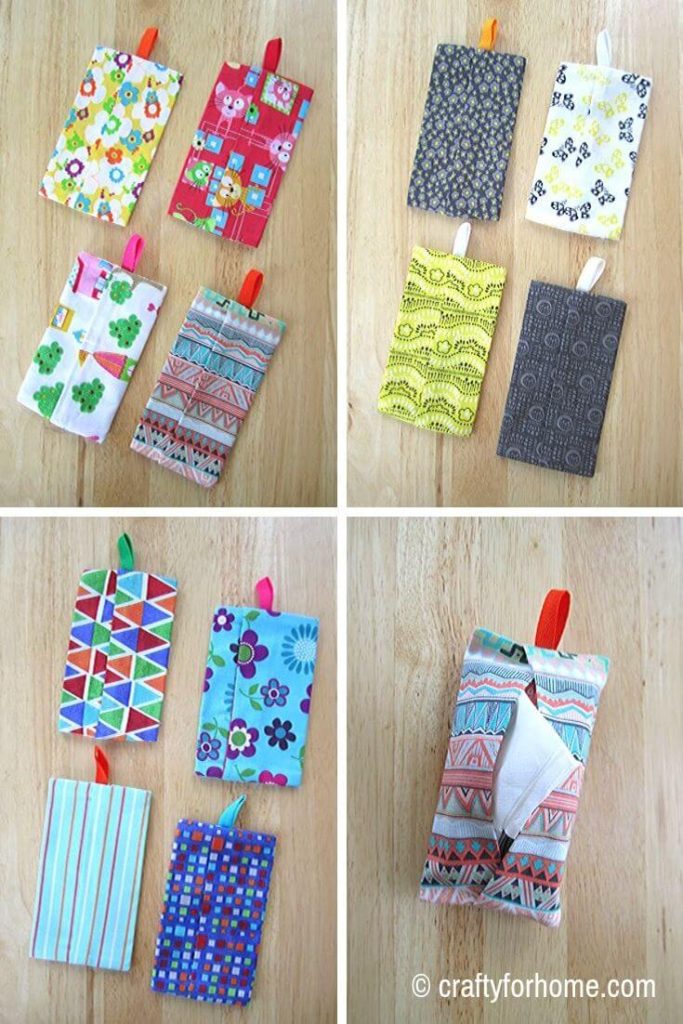
Remove the plastic wrapper then put all the tissue into the holder. You can also keep the wrapper, tear the plastic in the middle then insert the whole package onto the tissue holder.
Pocket Tissue Holder For DIY Gift Ideas
You can make a bunch of this easy pocket tissue case for back to school, birthday party favor, or stocking stuffers. Keep one or two on your purse for traveling or anytime when you need it. Attach the tissue holder as a backpack charm that also useful at the same time.
Tissue holder is also great for DIY gift ideas like teacher appreciation gift, Christmas gift, or Mother days gift. Kids love this tissue holder, especially if it using bright and cheerful print. It is also one of an easy sewing craft you can do with kids.
Here are more easy projects you can do from scrap fabric.
- How To Sew Freezie Cozy
- Easy Felt Envelope
- 4 Easy Way To Make Fabric Flowers
- Easy Fabric Flower Fall Wreath
- Fabric Tissue Box Cover
- Easter Egg Treat Pouch
DIY Pocket Tissue Holder From Fabric
How To Sew Pocket Tissue Holder
Make this 10 minutes pocket tissue holder from fat quarter cotton fabric perfect for traveling, back to school craft or DIY gift ideas
Materials
- 1 pcs fat quarter cotton fabric
- Ribbon
Tools
- Disappeared ink fabric marker
- Thread
- Scissors
- Lighter
- Sewing machine
- Ironing machine
Instructions
- Measure the fabric into 7.2 inches x 14.5 inches or 18.5 cm x 37 cm.
- Cut the ribbon 3.3 inches long or 8.5 cm, fold it in half and burn the cut edge by using a lighter to prevent fraying.
- Fold the fabric with the right side facing each other.
- Sew along the raw edge and leave 4 inches for the opening.
- Turn the fabric inside out then press it with ironing machine.
- Put the ribbon on one of the stitched sides.
- Fold the fabric about 2 inches from each edge of the short length.
- Topstitch along the short sides, this will also close the opening at the same time.
- Turn it right side out.
Notes
Make sure to see the complete steps of picture tutorials in the post for more detailed instructions.


Leave a Reply