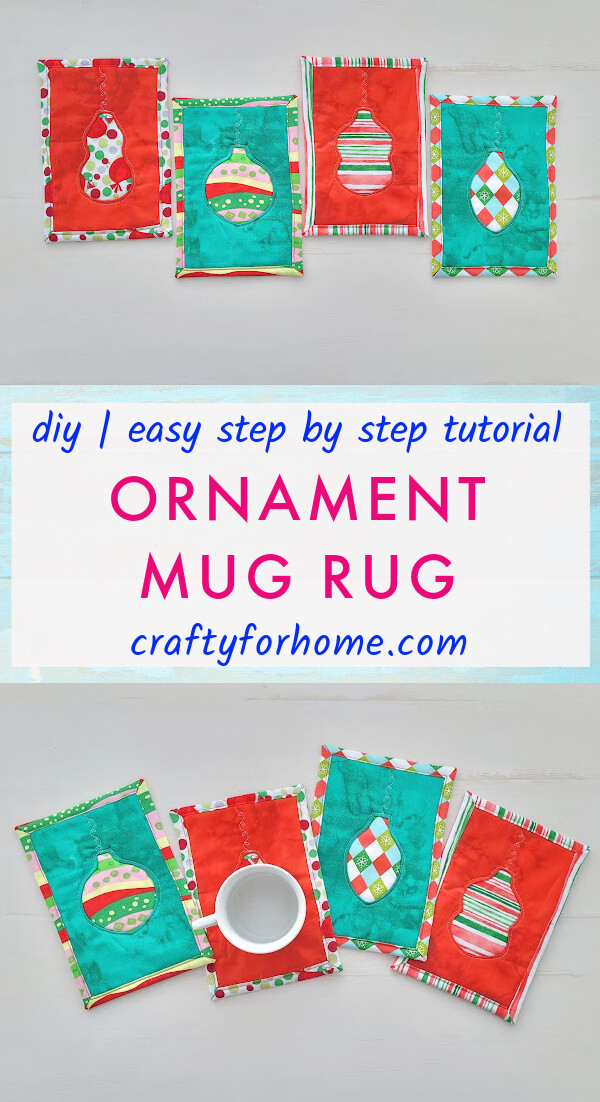
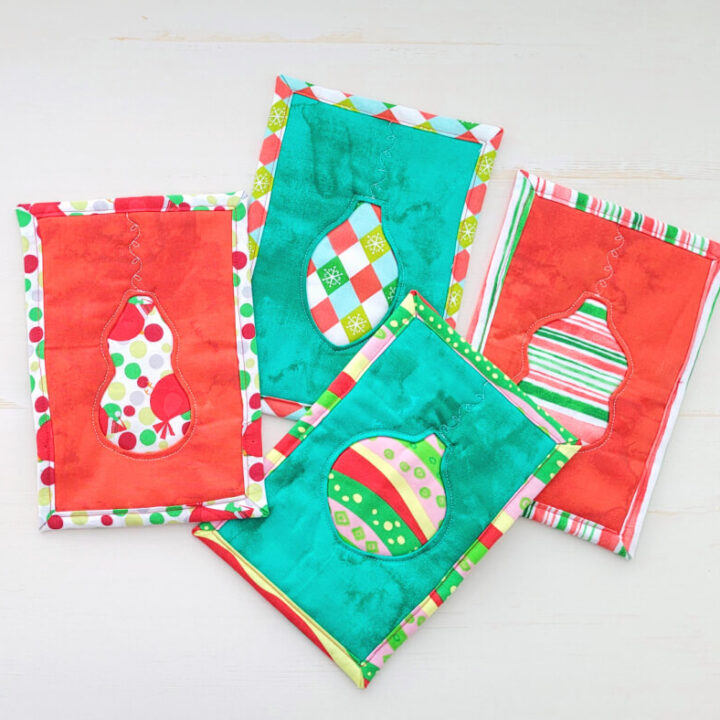
Easy Christmas ornament mug rug you can make for the holiday season with the reverse applique method. Easy to customize the ornament shape and size of mug rugs.
DIY Holiday Mug Rug
This fun mug rug is for everyone to enjoy a morning coffee, or milk and cookies on the eve for someone special who comes to visit through the chimney.
As an Amazon Associate I earn from qualifying purchases. This post may contain affiliate links. Please see the Disclosure Policy for details.
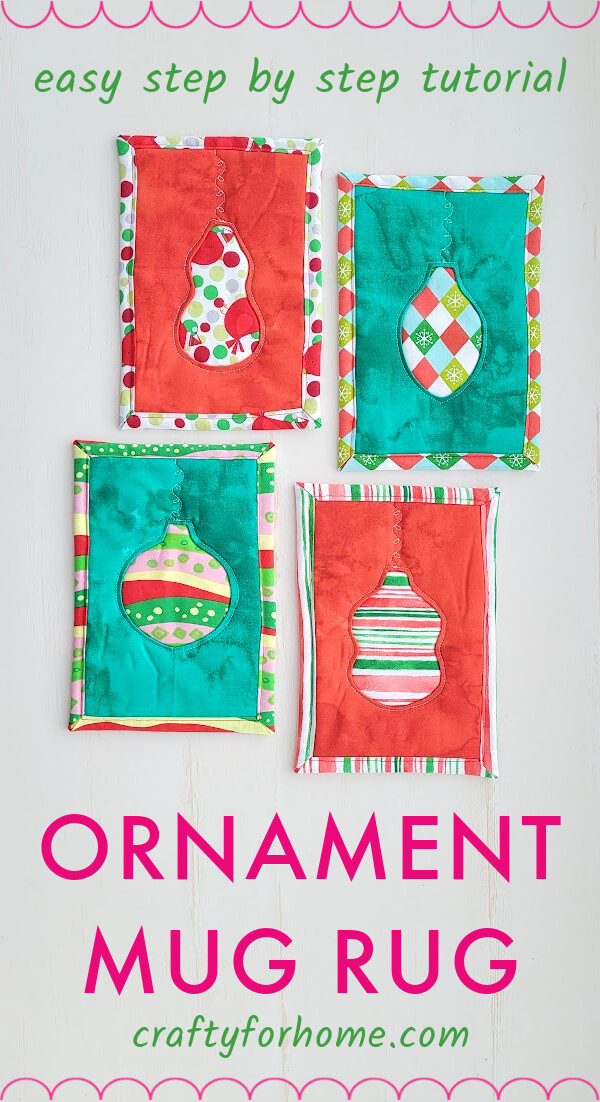
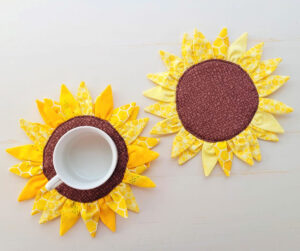
The mug rug uses reverse applique, like the flower shape coaster. Make one ornament shape or various shapes for a more festive mug rug.
Supply To Make Holiday Ornament Mug Rug
There would be two sheets of same-size fabric for the front side layer and middle layer for the ornament shape, one sheet of larger-size fabric for the backing, and one sheet of batting the same size as the fabric for the front.
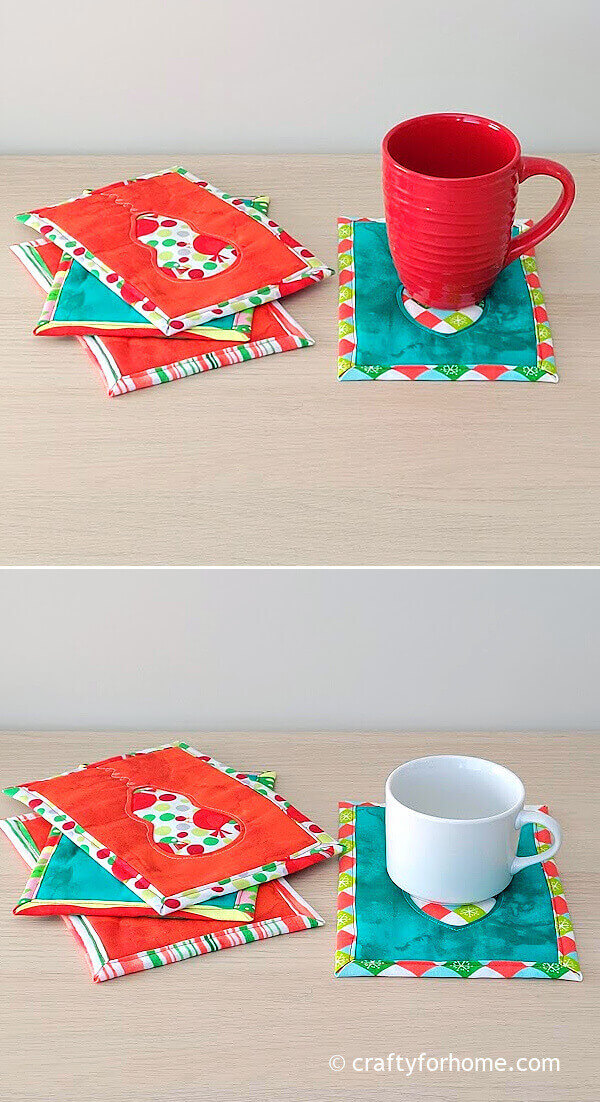
Use the same print or colour for the backing and middle layer and a contrasting colour for the front layers.
You can also use solid plain colour for the front and backing layer and a different fabric print for the ornament shape (middle layer).
Use any batting available, cotton, polyester or polyester mix, the regular one or the iron-on fusible fleece.
Disclaimer: This mug rug is not for microwave use. If you want to use it for the microwave, use all 100% cotton fabric, batting, and thread.
If you want to skip the measuring process, the mug rug pattern with all four ornament templates, complete with the sewing tutorial, is available in PDF version, and you can click here to purchase the PDF for only a few dollars.
- Fat quarter cotton fabric, or fat eighth size fabric, or layer cakes size fabric, or scrap fabric
- Free ornament shape template.
- Quilt batting
- Disappeared ink marker. My favourite one is the dual-purpose fabric marker.
- Thread, match and contrast colour
- Ruler
- Scissors
- Pins or quilting clips
- Sewing machine
- Ironing machine
Step By Step Holiday Ornament Mug Rug Tutorial
If you want to watch the video tutorial instead, click here for the Holiday Ornament Mug Rug video tutorial on my YouTube channel and subscribe for more videos.
Cut all materials into these measurements:
- Cut 2 sheets of fabric into 8″ x 5.5″ each for the front side
- Cut 1 sheet of contrasting colour/print into 8″ x 5.5″ for the ornament shape.
- Cut 1 sheet of fabric into 10″ x 7.5″ for the back
- Cut 1 sheet of batting into 8″ x 5.5″
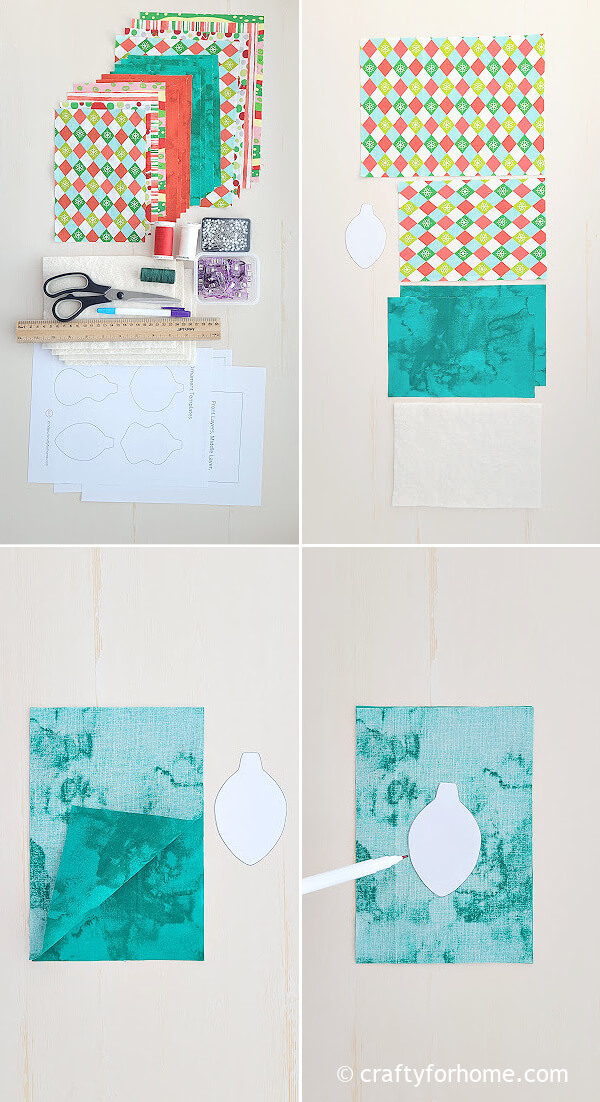
Pin together two fabric sheets for the front side. Trace the ornament template in the middle.
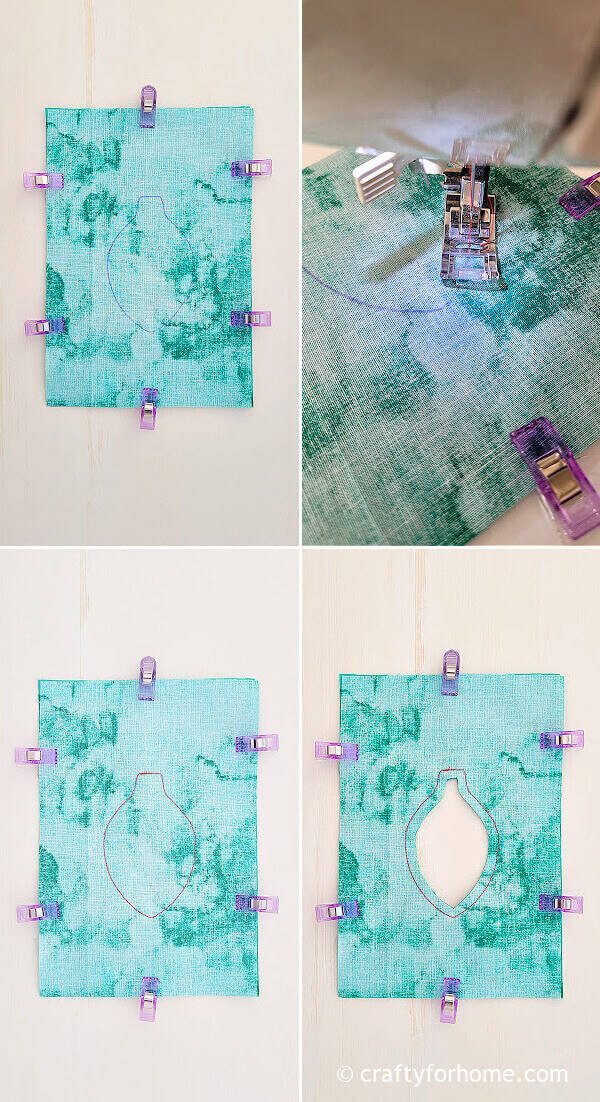
Sew along the traced line. Cut the ornament shape off inside 0.25″ from the stitching line.
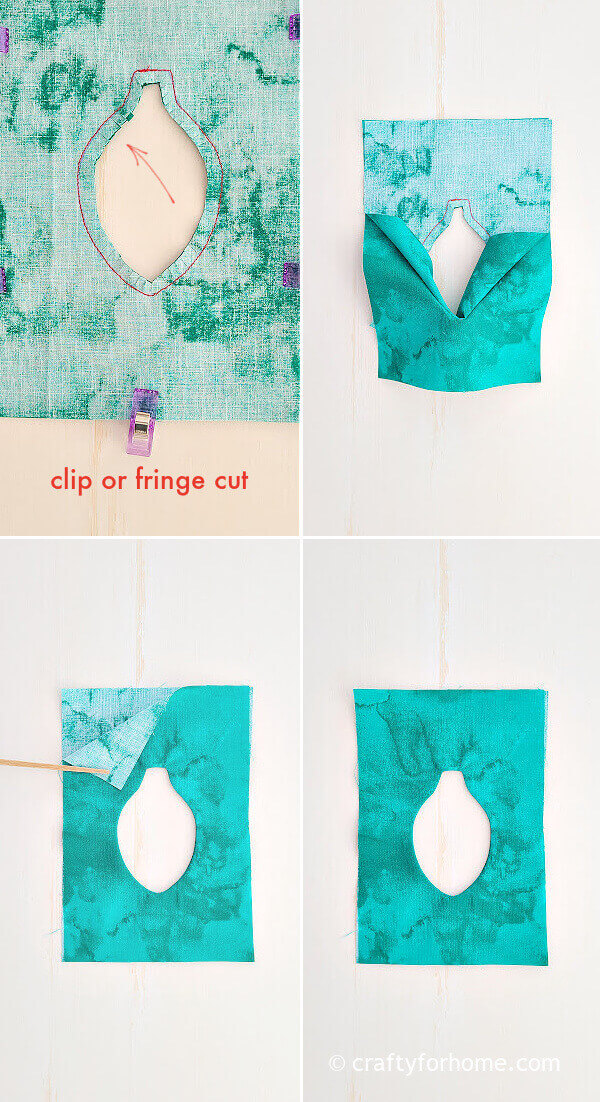
Clip inside the curve along the stitched line, like making a fringe, and leave a little space between the cut and the stitch, so you don’t cut the stitch off.
Lets the magic happen. Turn the fabric right side out so the raw edge of the stitched ornament shape is inside.
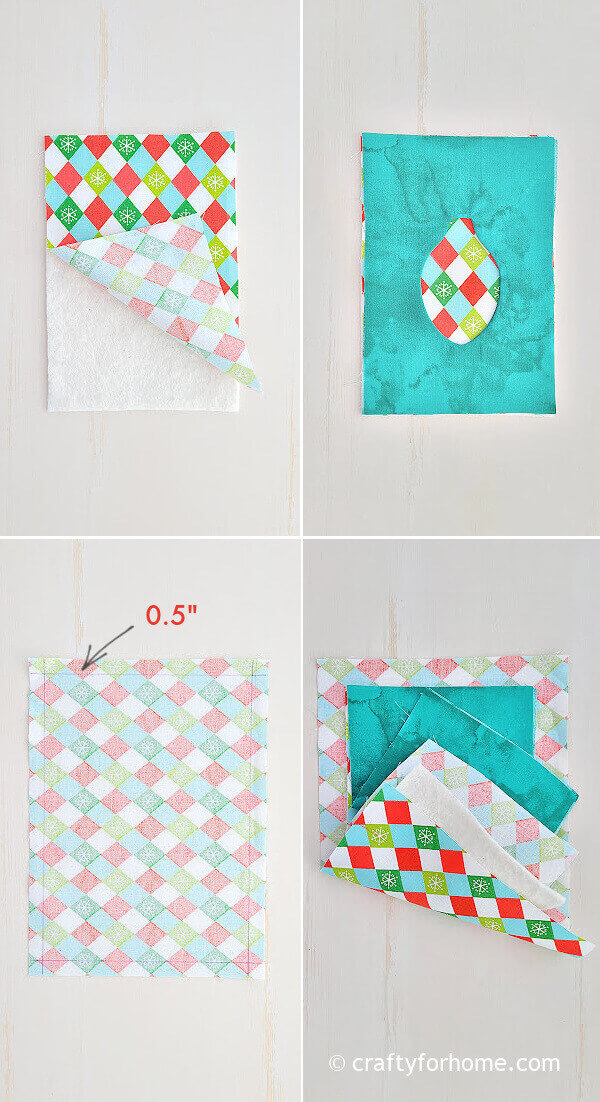
Mark 0.5 line from the edge on the wrong side of the fabric for the back.
Pin together the fabric layer for the back with the wrong side facing up, batting, fabric for the middle with the wrong side facing down, and front layer fabrics.
Ensure the batting, middle, and front fabric layers are in the center of the fabric for the back.
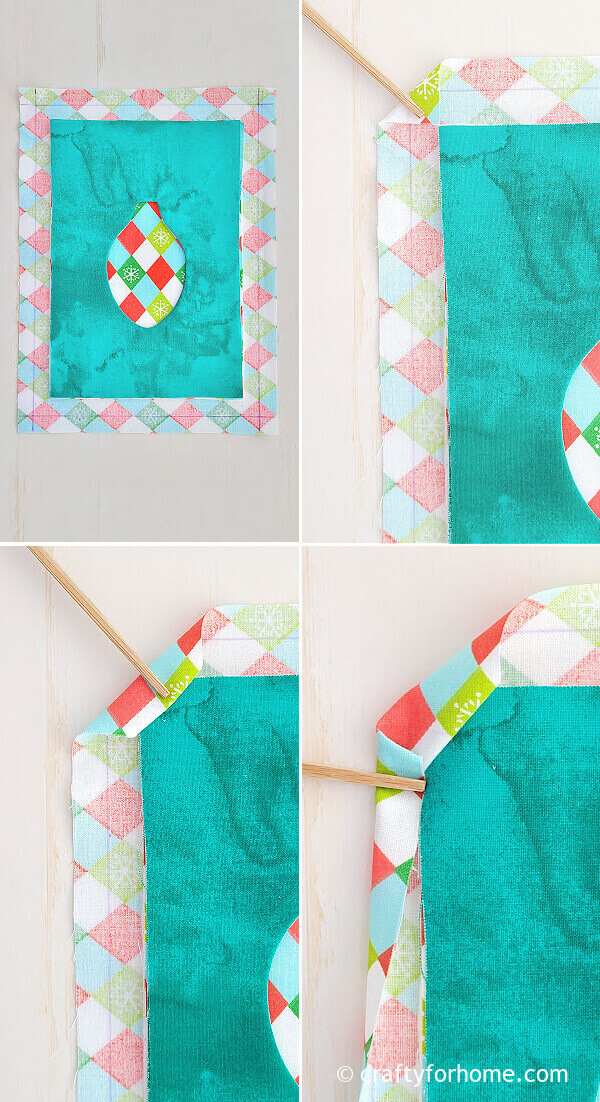
Use the easy binding style by folding the corner of the larger fabric or the backing fabric inward so it faces the corner of the front layer fabric. Then, fold it again.
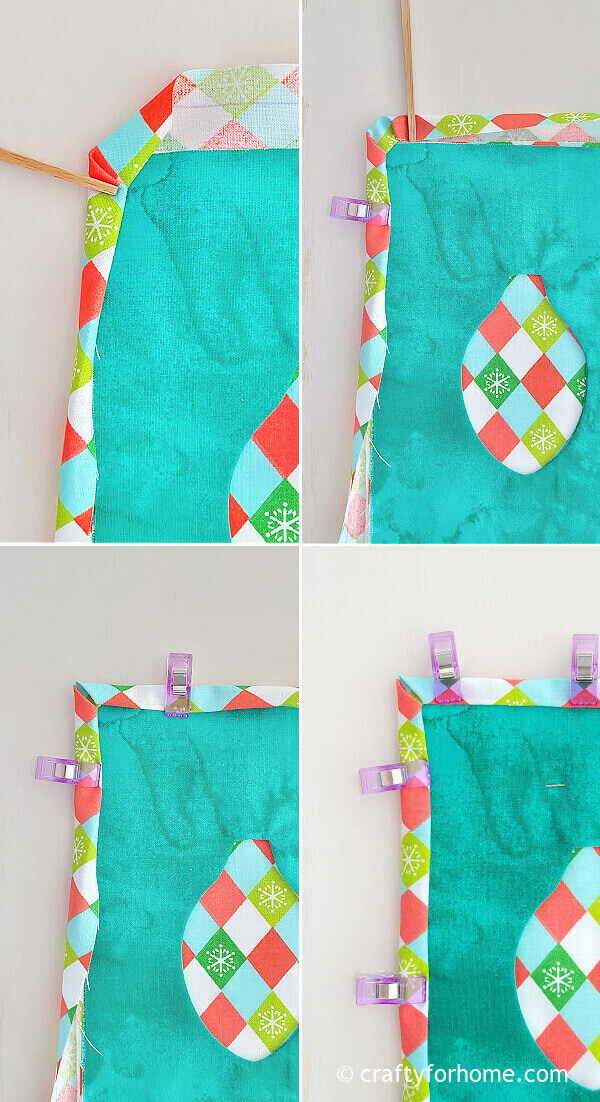
Fold the edge of the backing fabric inward twice, then pin it or use a quilting clip.
Repeat folding all corners and edges of the backing fabric so you have mitered corners. But it is a different mitered corner than these cloth napkins.
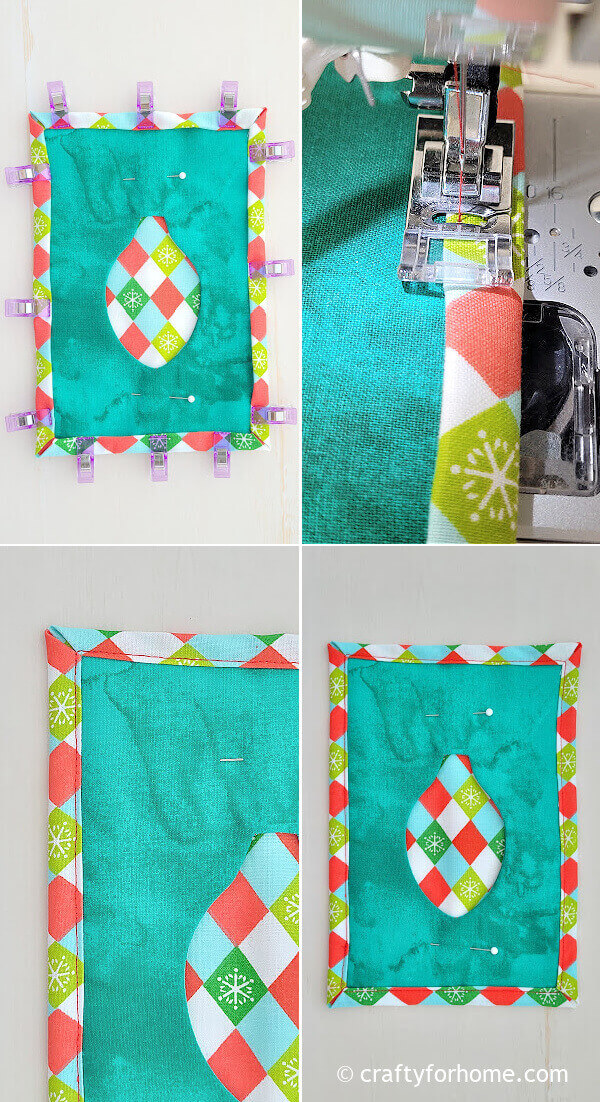
Press the binding with the ironing machine, then topstitch along the binding hem.
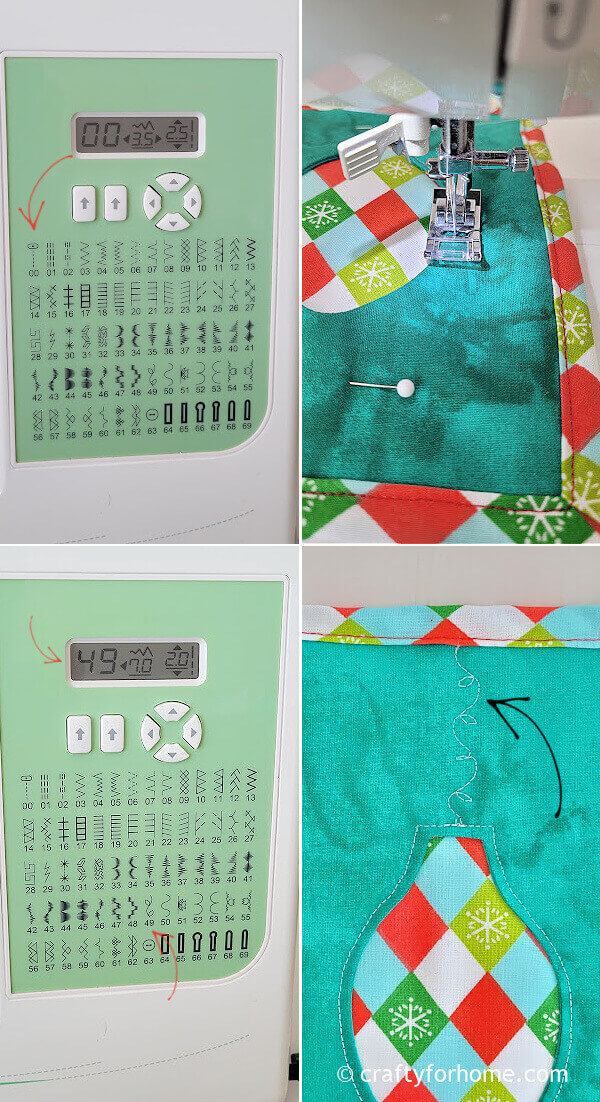
Topstitch along the reverse applique ornament shape hem using a straight stitch.
For the finishing touch, but optional, sew a decorative stitch from the top of the ornament shape to the binding edge by using a contrasting colour thread to the front fabric.
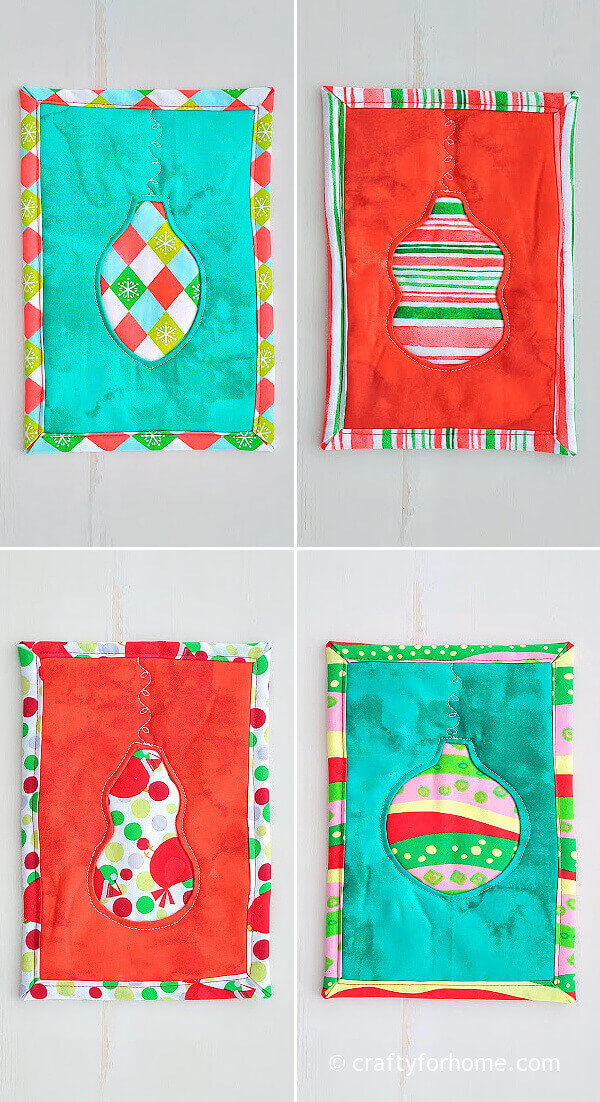
The holiday mug rug is ready to use.
Customized The Mug Rug
The final size of this holiday mug rug is around 5.5 x 8 inches. You can also make different ornament shapes than this template.
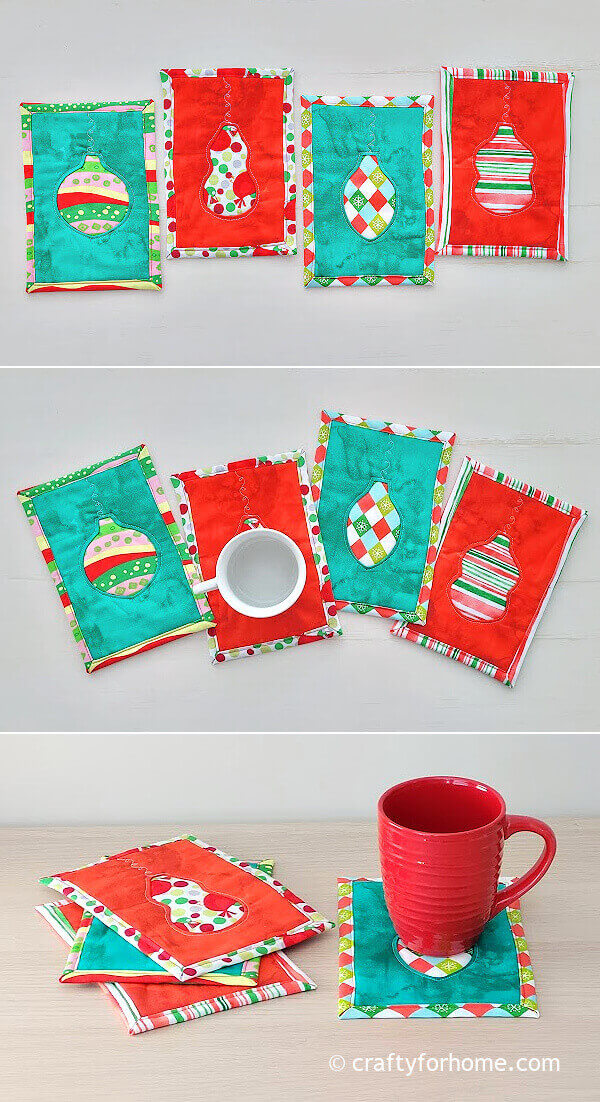
Make it a smaller size as a coaster or larger than shown in this tutorial. The mug rug is easily customizable as you prefer.
Get the PDF
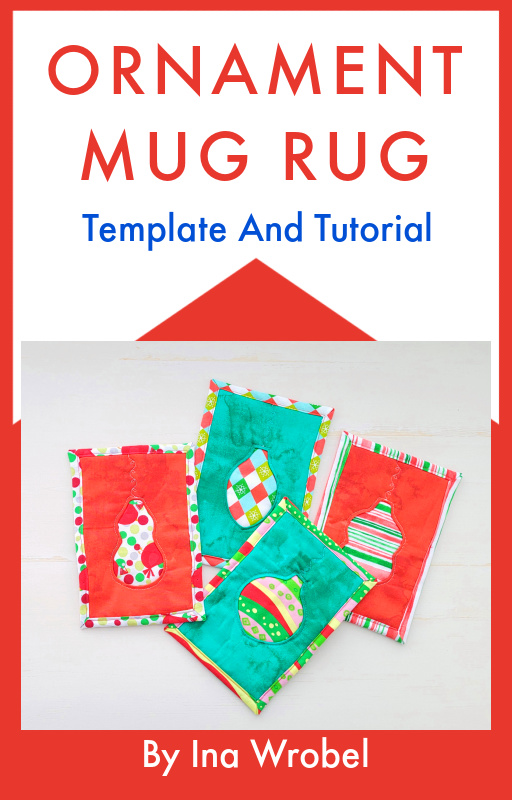
If it is more convenient to have the printable version of this tutorial for the project, you can purchase the Printable PDF format of Ornament Mug Rug Template And Sewing Tutorial here. The e-book has the template and complete tutorials with pictures included. There are no ads or video displays on the PDF so that you can print it, and it will be available for you anytime you need the tutorial for your next project. Click on the e-book cover image above to purchase.
Festive mug rug with reverse applique ornaments #mugrug #holidayseason #holidaycoasters Share on XMore mug rugs you can make for handmade gift ideas
DIY Ornament Mug Rug For The Holiday Season
Christmas Holiday Ornament Mug Rug Tutorial
Easy Christmas ornament mug rug you can make for the holiday season with the reverse applique method. Easy to customize the ornament shape and size of mug rugs.
Materials
- Fat quarter cotton fabric, fat eighth size fabric, layer cakes size fabric, or scrap fabric
- Free ornament shape template.
- Quilt batting
Tools
- Disappeared ink fabric marker
- Thread, match and contrast colour
- Ruler
- Scissors
- Pins or quilting clips
- Sewing machine
- Ironing machine
Instructions
- Cut all materials into these measurements:
Cut 2 sheets of fabric into 8" x 5.5" each for the front side
Cut 1 sheet of contrasting colour/print into 8" x 5.5" for the ornament shape
Cut 1 sheet of fabric into 10" x 7.5" for the back
Cut 1 sheet of batting into 8" x 5.5" - Pin together two fabric sheets for the front side. Trace the ornament template in the middle.
- Sew along the traced line. Cut the ornament shape off inside 0.25" from the stitching line.
- Clip inside the curve along the stitched line, like making a fringe, and leave a little space between the cut and the stitch, so you don't cut the stitch off.
- Turn the fabric right side out so the raw edge of the stitched ornament shape is inside.
- Mark 0.5 line from the edge on the wrong side of the fabric for the back.
- Pin together the fabric layer for the back with the wrong side facing up, batting, fabric for the middle with the wrong side facing down, and front layer fabrics.
- Ensure the batting, middle, and front fabric layers are in the center of the fabric for the back.
- Use the easy binding style by folding the corner of the larger fabric or the backing fabric inward so it faces the corner of the front layer fabric. Then, fold it again.
- Fold the edge of the backing fabric inward twice, then pin it or use quilting clips.
- Repeat folding all corners and edges of the backing fabric so you have mitered corners.
- Press the binding with the ironing machine, then topstitch along the binding hem.
- Topstitch along the reverse applique ornament shape hem using a straight stitch.
- For the finishing touch, but optional, sew a decorative stitch from the top of the ornament shape to the binding edge by using a contrasting colour thread to the front fabric.
- The holiday mug rug is ready to use.
Notes
- Free ornament shape template.
- The final size of this holiday mug rug is around 5.5 x 8 inches.
Leave a Reply