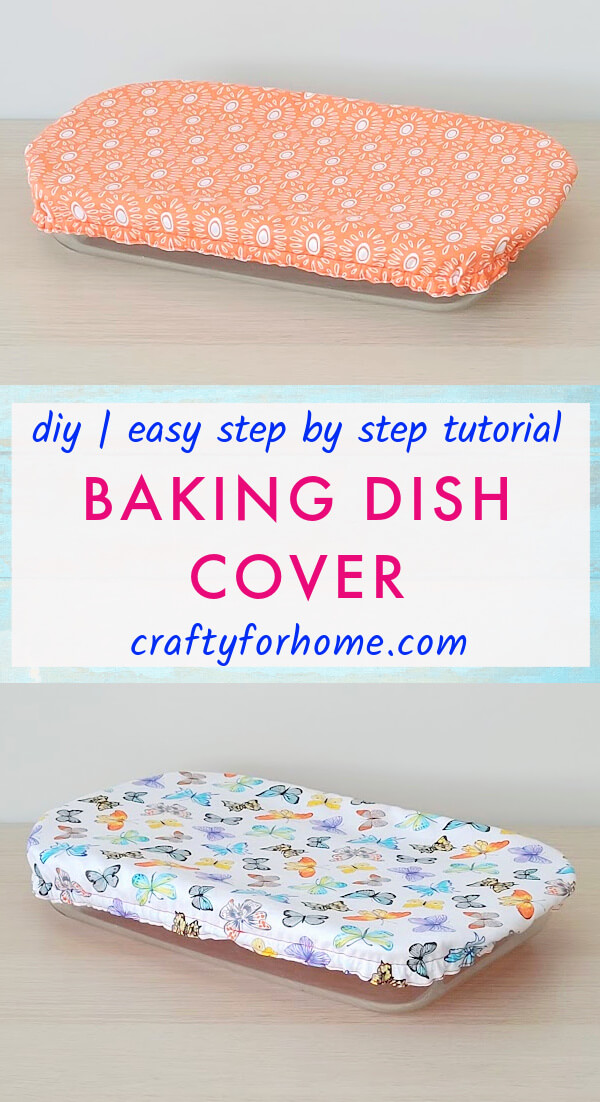
This easy sewing tutorial makes a reversible DIY baking dish cover from fabric, easily customizable with any baking pan size, washable and reusable.
Use This Guide To Make DIY Baking Dish Cover
Some of these baking dishes need lids for food storage. Most of the time, I use foil or plastic wrap for the cover. It still works, but there is always a better solution for it.
As an Amazon Associate I earn from qualifying purchases. This post may contain affiliate links. Please see the Disclosure Policy for details.
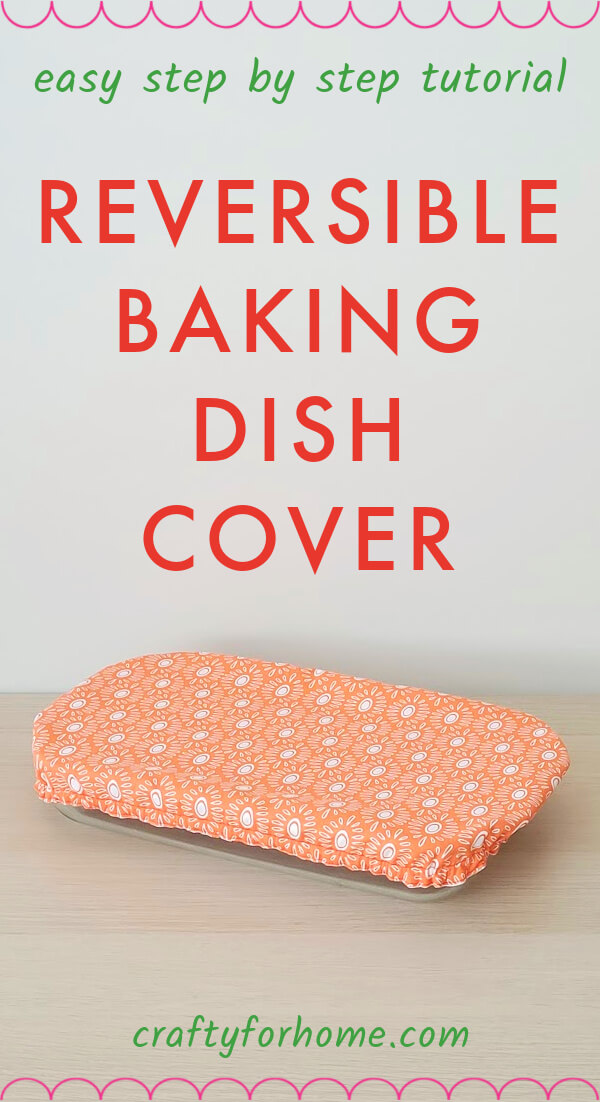
Since I make the bowl cover, it is better to make one or two that fit the baking dish. Also, you can bring your famous baked goods by using the casserole dish cozy and this fabric cover for any gathering.
Supply To Make Casserole Dish Covers
Depending on your baking dish size, you can use fat quarter cotton fabric, a yard fabric or scrap fabric that is big enough to make a cover.
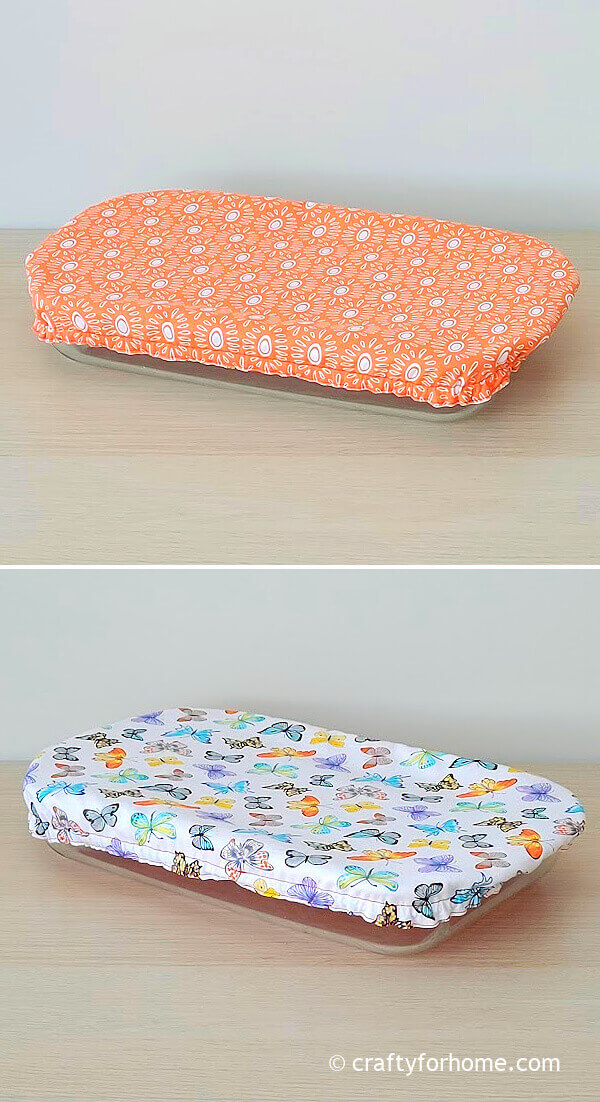
This reusable casserole dish cover is reversible so that you can use the same colour and print for both sides or mix-and-match fabric.
Disclaimer: The cover is not for microwave use as it has elastic.
I use the 9 x 13 inches casserole cozy for tracing on the fabric because I always use that pan size. However, if you use different size pans, the measurement formula below still applies.
Suppose you want to skip the measuring process. In that case, the baking dish cover templates, complete with the sewing tutorial, are available in PDF, and you can click here to purchase the baking dish cover pattern PDF for only a few dollars.
- 2 sheets of fat quarter cotton fabrics or scrap fabric
- Elastic size 0.25″ width
- Pin or quilting clips
- Disappeared ink fabric marker, like this dual-purpose marker
- Thread
- Ruler
- Scissors
- Safety pin
- Sewing machine
- Ironing machine
Step-By-Step Baking Dish Cover Tutorial
If you want to watch the video tutorial instead, click here for the DIY Baking Dish Cover video tutorial on my YouTube channel and subscribe for more videos.
Trace the casserole dish on the wrong side of the fabric, then mark the spot or dash lines by measuring 1.5″ from around the rim traced line.
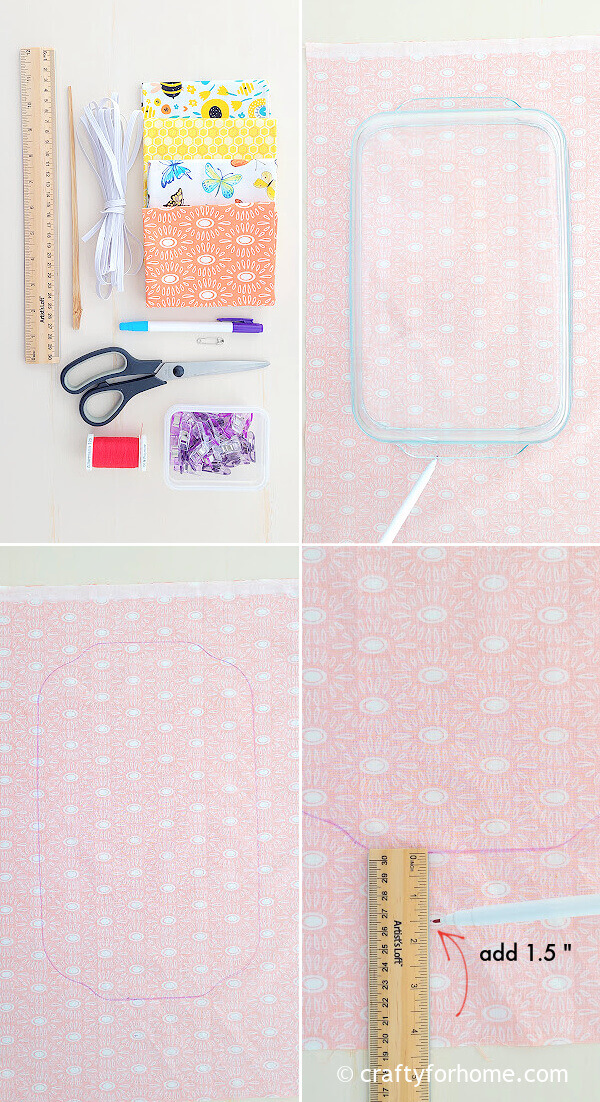
Then connect all dashed lines into a single line once you finish marking the 1.5″ from the rim.
Measuring formula for any baking dish size you use, adding 1.5″ measurement formula from the rim traced line still applies.
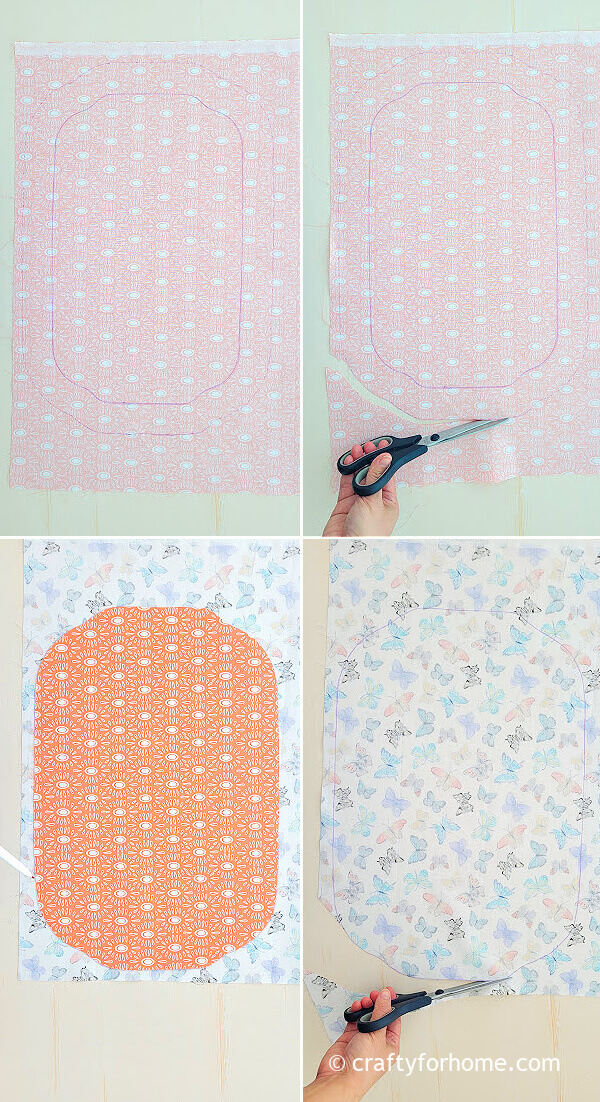
Repeat the process on the other fabric sheet.
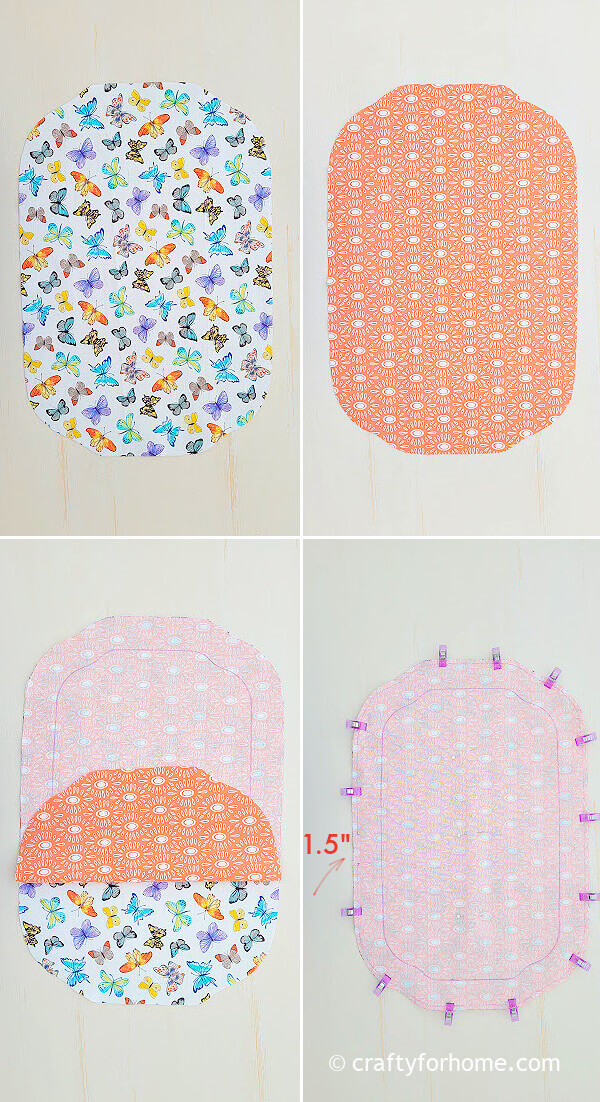
Put both fabrics together with the right side facing together. Pin it or use quilting clips.
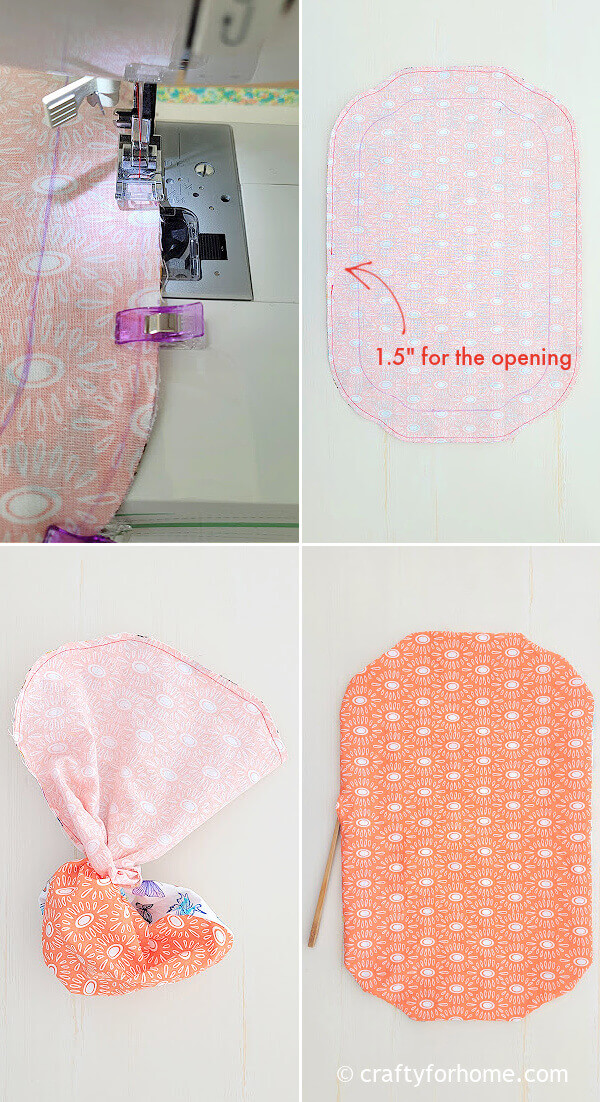
Sew it along the edge with 0.25″ seam allowance, and skip 1.5″ for the opening.
Turn the baking dish cover fabric right side out through the opening. Push each corner and smooth around the edge with the chopstick.
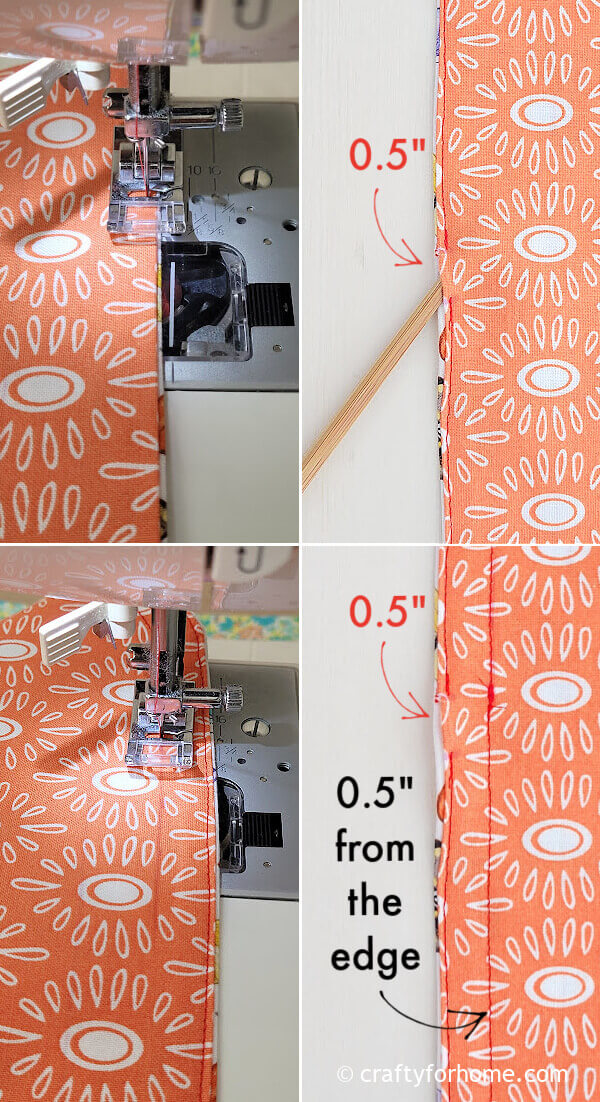
Press it with the ironing machine.
Topstitch the edge, but keep the opening 0.5″ wide.
Make another topstitch line 0.5″ from the edge, and now you have a channel for the elastic.
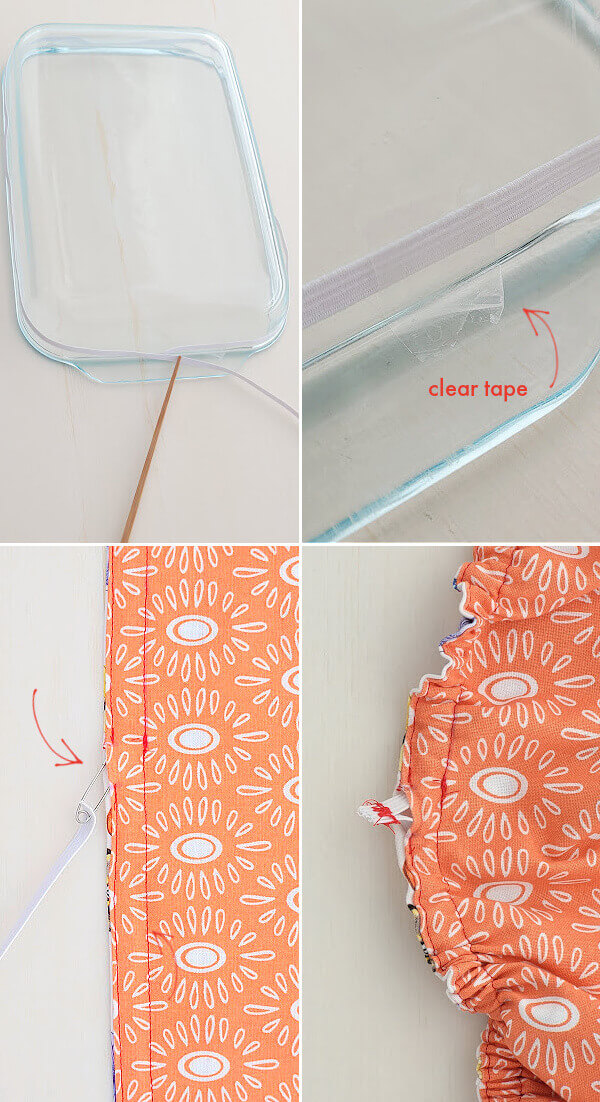
How to measure the elastic:
- Measure the elastic you need by wrapping it around the baking dish, then subtract 14″.
- Alternatively, cut the elastic into 28″ or shorter if you need the cover more snug.
- Or thread the elastic into the fabric cover first, then try it on to cover the baking dish. Measure how much elastic you need to fit and snug over the baking dish.
Attach the elastic on the safety pin, then thread it through the channel.
Knot the elastic or sew a zig-zag stitch to make it more secure. Tuck the knotted elastic inside the channel.
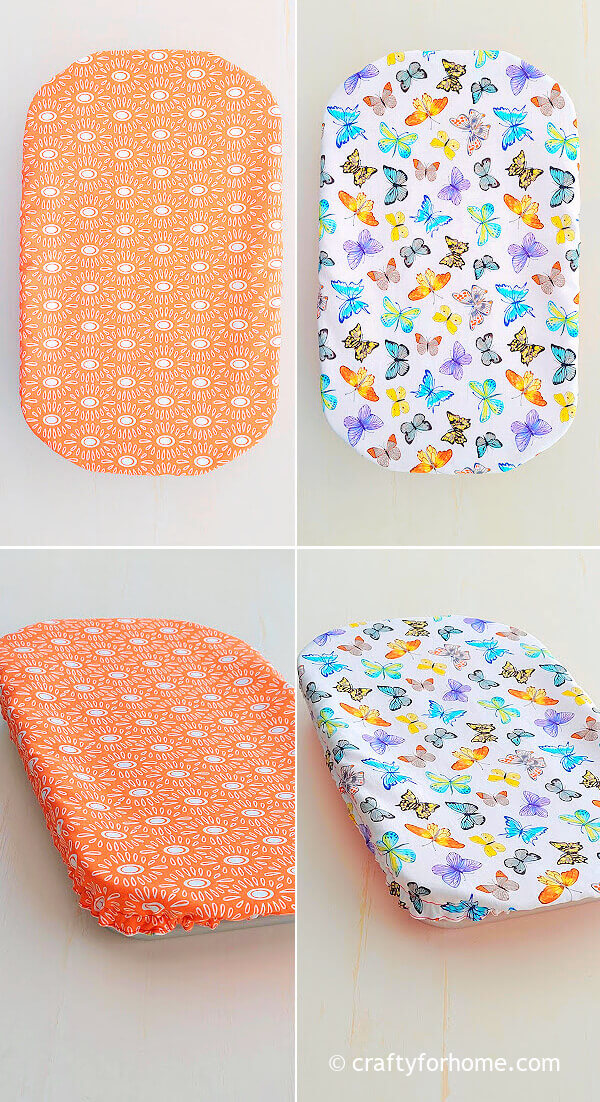
You can sew the opening closed or keep it open if you want to replace the elastic later.
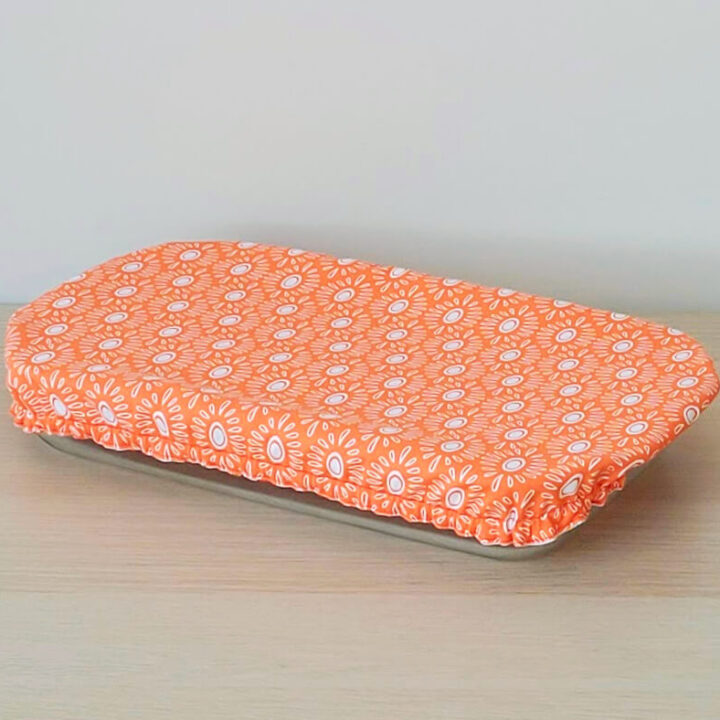
Your reversible baking dish cover is ready to use.
Tips For Using Fabric Cover For Baking Dish
For storing food in the fridge for longer, it is better to use the lid, saran wrap, or foil.
Use the fabric cover when the food is still warm so it doesn’t trap condensation from the steam or protect the dish from dust or bug when you enjoy a meal outside, like during a picnic or summer barbeque.
Baking Dish Cover For Wrapping Gift
Since this baking dish cover is so easy to make and one of a quick sewing project, you can make several of them and match the fabric print with a baking dish cozy and the large hot pad as homemade gifts as shown in the image below.
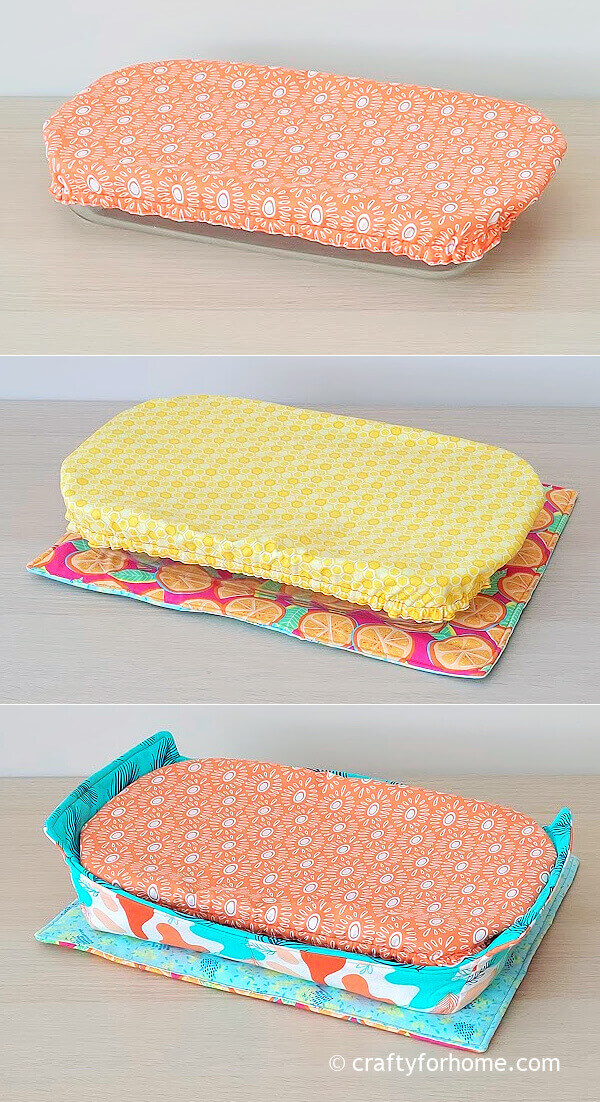
For a simple homemade gift idea, pick a cute-looking baking dish from a thrift store, put your best homemade cookies (my favourite is chocolate chip oatmeal cookies) on a baking dish, and use the fabric cover.
Add some ribbon and a bow knot. It is an easy personalized homemade gift. The gift receiver can reuse the baking dish and the cover.
Get the PDF
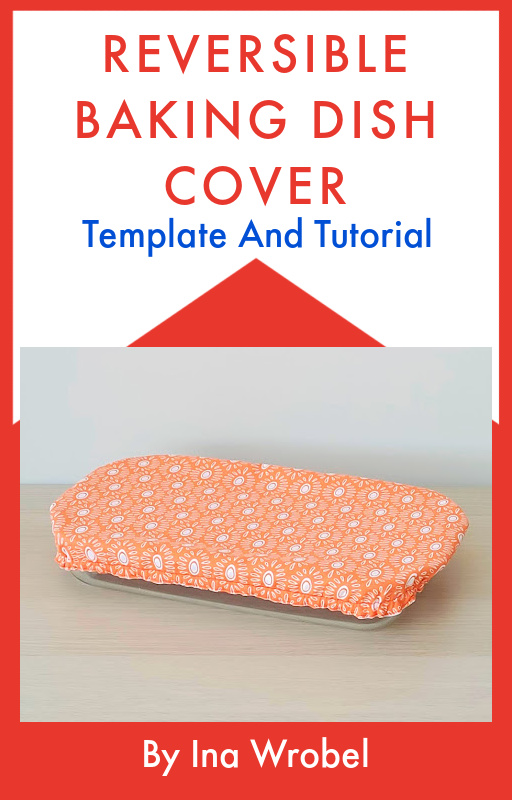
If it is more convenient to have the printable version of this tutorial for the project, you can purchase the Printable PDF format of Reversible Fabric Baking Dish Cover Template And Sewing Tutorial here. The e-book has the template and complete tutorials with pictures included. There are no ads or video displays on the PDF so that you can print it, and it will be available for you anytime you need the tutorial for your next project. Click on the e-book cover image above to purchase.
Turn the fabric scrap into casserole dish covers #homemadegifts #sewing #casseroledish Share on XIf you have a potluck party, this fabric dish cover is convenient for transporting the meal. Cornbread casserole would be perfect for the party.
More sewing projects for the kitchen that is perfect for homemade gifts
- Carrot top egg cozy
- Tortilla Warmer Pouch
- Scalloped Edge Cloth Napkins
- Lace Trimmed Cloth Napkins
- Leaf Shaped Coasters
- Flower Shaped Coasters
- Pint Size Ice Cream Cozy
Easy DIY Casserole Dish Covers From Fabric
Reversible Baking Dish Cover: Easy Tutorial
This easy sewing tutorial makes a reversible DIY baking dish cover from fabric, easily customizable with any baking pan size, washable and reusable.
Materials
- 2 sheets of fat quarter cotton fabrics or scrap fabric
- Elastic size 0.25"
Tools
- Pin or quilting clips
- Disappeared ink fabric marker, like this dual-purpose marker
- Thread
- Ruler
- Scissors
- Safety pin
- Sewing machine
- Ironing machine
Instructions
- Trace the casserole dish on the wrong side of the fabric, then mark the spot or dash lines by measuring 1.5" from around the rim traced line.
- Then connect all dashed lines into a single line once you finish marking the 1.5" from the rim.
- Repeat the process on the other fabric sheet.
- Put both fabrics together with the right side facing together. Pin it or use quilting clips.
- Sew it along the edge with 0.25" seam allowance, and skip 1.5" for the opening.
- Turn the baking dish cover fabric right side out through the opening.
- Push each corner and smooth around the edge with the chopstick.
- Press it with the ironing machine.
- Topstitch the edge, but keep the opening 0.5" wide.
- Make another topstitch line 0.5" from the edge, and now you have a channel for the elastic.
- How to measure the elastic:
Measure the elastic you need by wrapping it around the baking dish, then subtract 14".
Alternatively, cut the elastic into 28" or more if you need the cover more snug.
Or thread the elastic into the fabric cover first, then try it on to cover the baking dish. Measure how much elastic you need to fit and snug over the baking dish. - Attach the elastic on the safety pin, then thread it through the channel.
- Knot the elastic or sew a zig-zag stitch to make it more secure. Tuck the knotted elastic inside the channel.
- You can sew the opening closed or keep it open if you want to replace the elastic later.
- Your reversible baking dish cover is ready to use.
Notes
- Disclaimer: The cover is not for microwave use as it has elastic.
- Measuring formula for any baking dish size you use, adding 1.5" measurement formula from the rim traced line still applies.
- Get the Reversible Baking Dish Cover Pattern on this PDF if you want to use the template for the project.
Leave a Reply