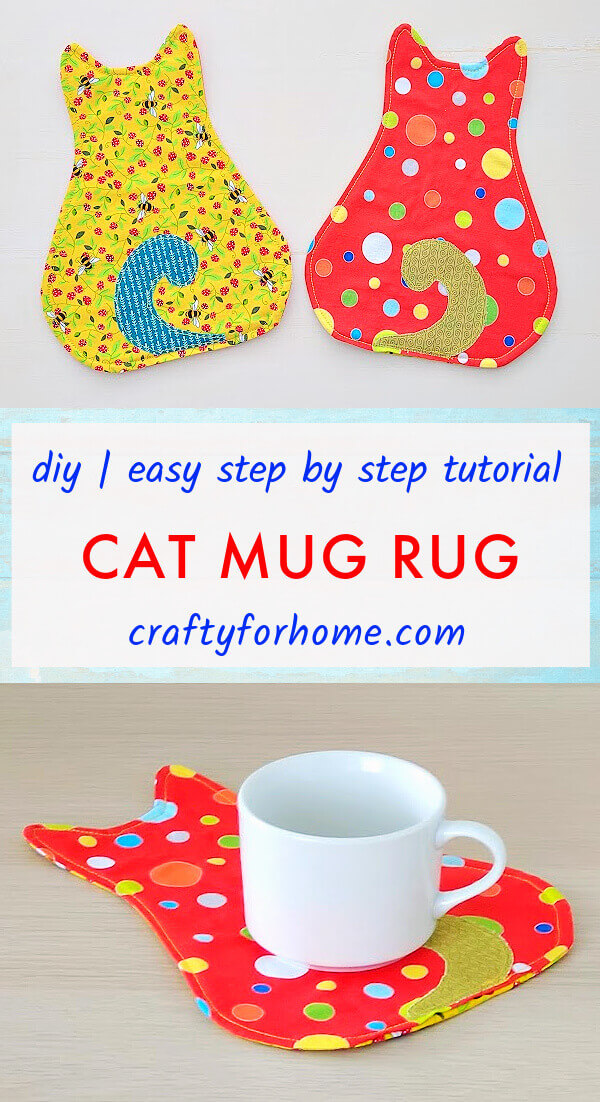
Quick and easy sewing project for Halloween or any time of the year to make cat shape mug rug or coaster that is reversible, reusable, and washable.
Use This Guide To Make Cat Mug Rug
This cat pattern to sew has no binding required like this rectangular mug rug, but you will sew the applique on it for the specific part.
As an Amazon Associate I earn from qualifying purchases. This post may contain affiliate links. Please see the Disclosure Policy for details.
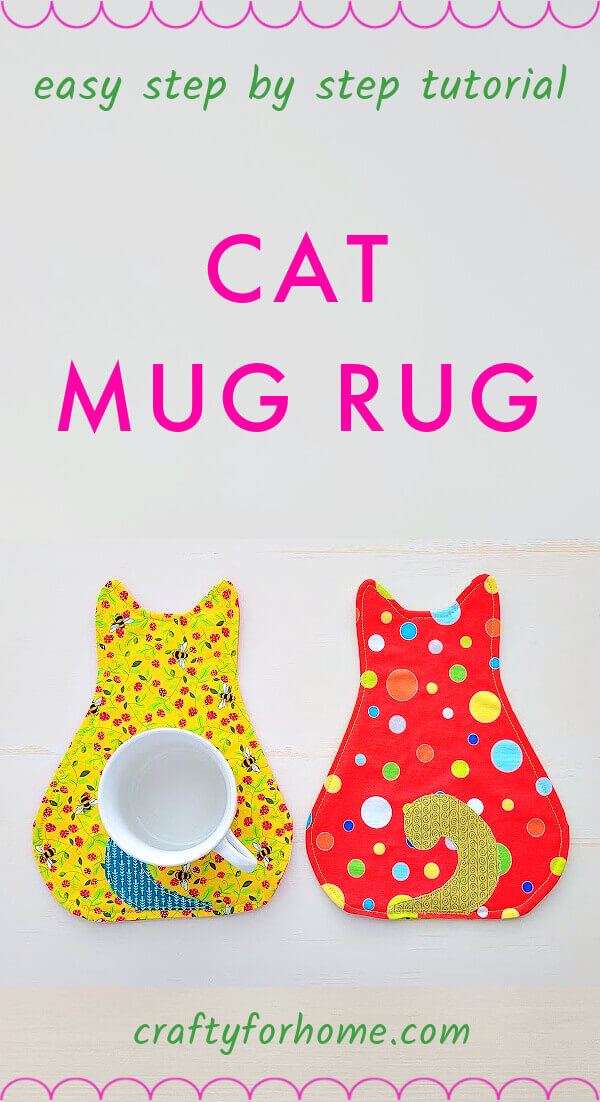
The custom cat mug rug is perfect for Halloween decor if you use a specific fabric colour for the occasion. However, I like to use any fabric print and colour because you can use this mug rug design for any time of the year.
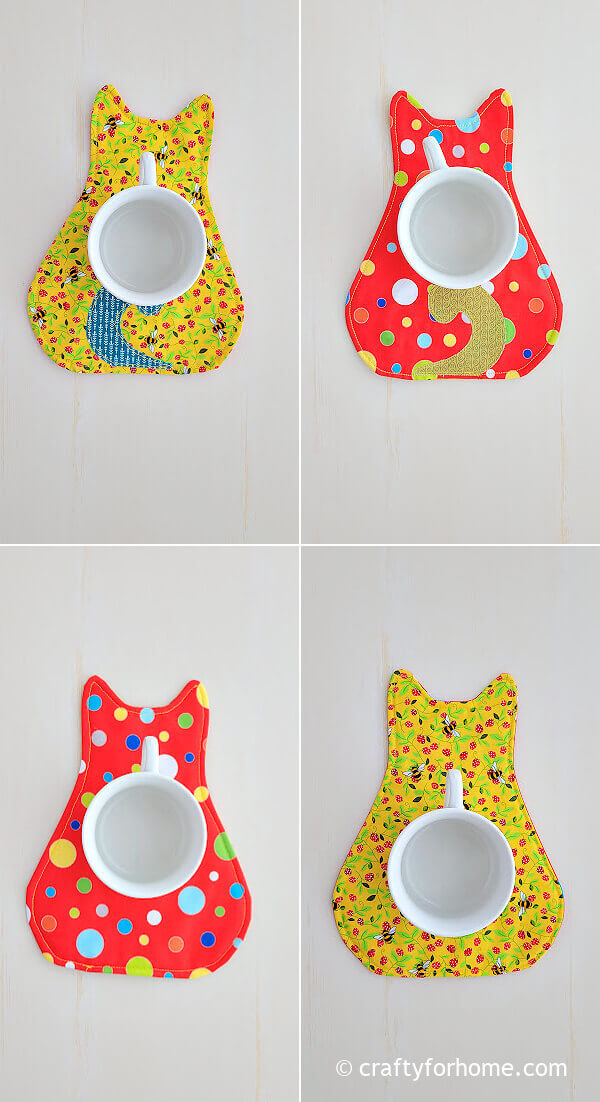
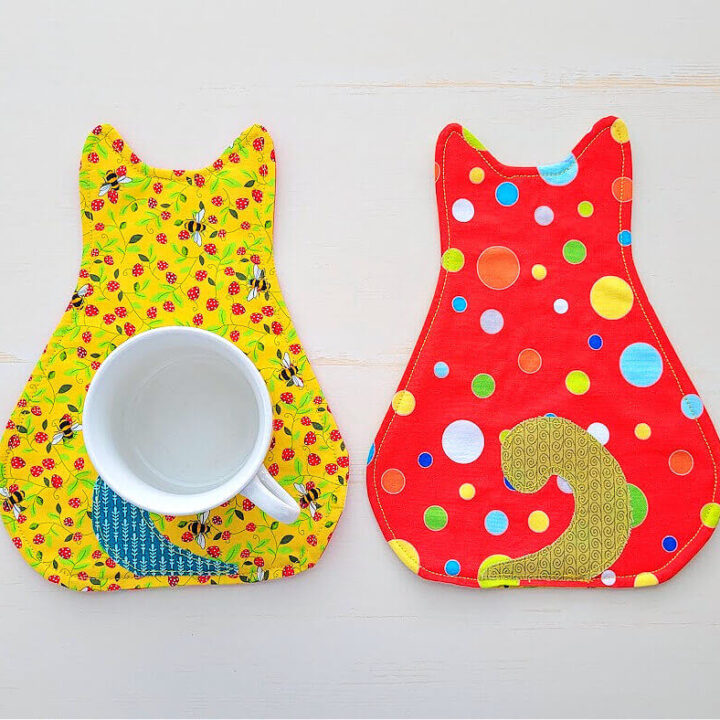
This sitting cat silhouette shape is simple and easy to make. It is big enough space for your coffee mug and a few cookies.
Supply You Need To Make A Cat Mug Rug
The fabric size to use is fat-quarter or fat-eight size. You will get two fat-eight sizes from one sheet of fat-quarter fabric, which is 9″ x 22″. Some precut of fat-eight size fabric also comes with a 9″ x 21″ measurement which is still fit for this project. So, for this project, you only need two sheets of fabric size 9 x 11″ rectangles.
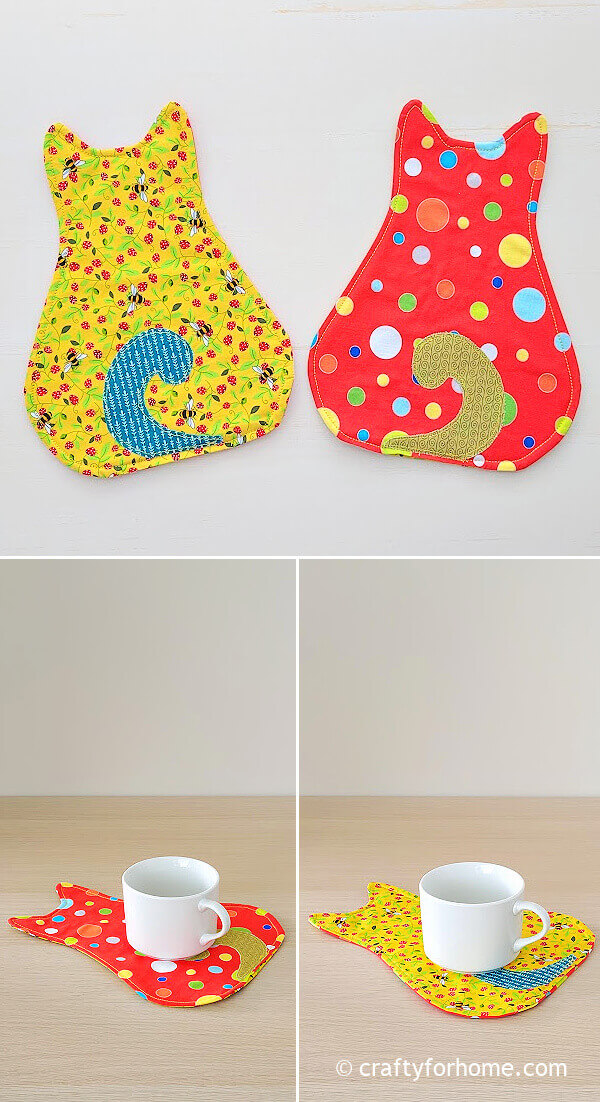
Attaching the tail applique is optional. However, if you add the tail applique, you can use the charm-pack size fabric or scrap fabric as long as it is around 5″ square.
Use this Steam A Seam 2 for attaching the applique. It has double-sided adhesive, making it easier to sew applique.
- 1 sheet of fat eight-size fabrics or 22 inches x 9 inches rectangles or 2 sheets of fabric size 9 inches x 11 inches
- 1 sheet of charm-pack or 5″ squares size fabric or scrap fabric with contrast colour and print from the rectangle fabric
- 1 sheet of quilt batting size 11 inches x 9 inches
- Cat Mug Rug pattern. The template is available as a printable PDF, and you can click here to purchase the Cat Mug Rug Template for only few dollars.
- Steam A Seam 2
- Disappeared ink fabric marker, I use double purpose marker
- Quilting clips or pin
- Thread, matching or contrast colour
- Chopstick
- Scissors
- Sewing machine
- Ironing machine
Cat Mug Rug Tutorial
If you want to watch the video tutorial instead, click here for the Cat Shaped Mug Rug video tutorial on my YouTube channel and subscribe for more videos.
If you use fat-eight size fabric, fold it in half, then cut the fabric on the folding line so that you have two rectangles which should have about 9 inches x 11 inches each.
1 sheet of rectangle fabric for the front side
1 sheet of rectangle fabric for the backside
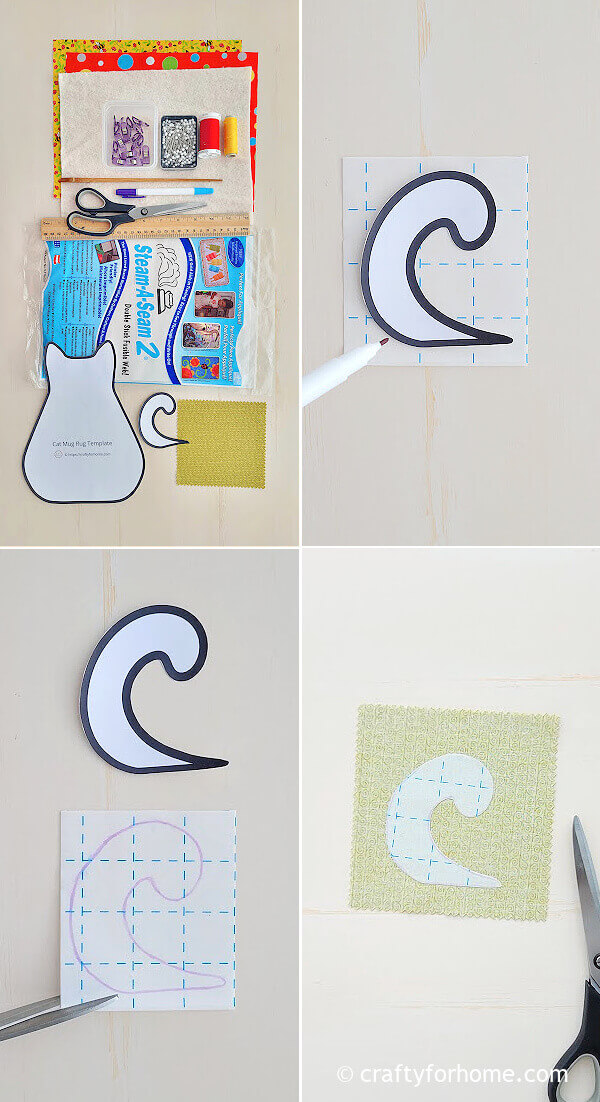
Trace the cat tail template on the Steam A Seam paper. Don’t peel the paper off yet.
Cut the traced tail template. Peel one piece of paper off, then attach it to the wrong side of the fabric for the tail (scrap fabric or charm pack fabric).
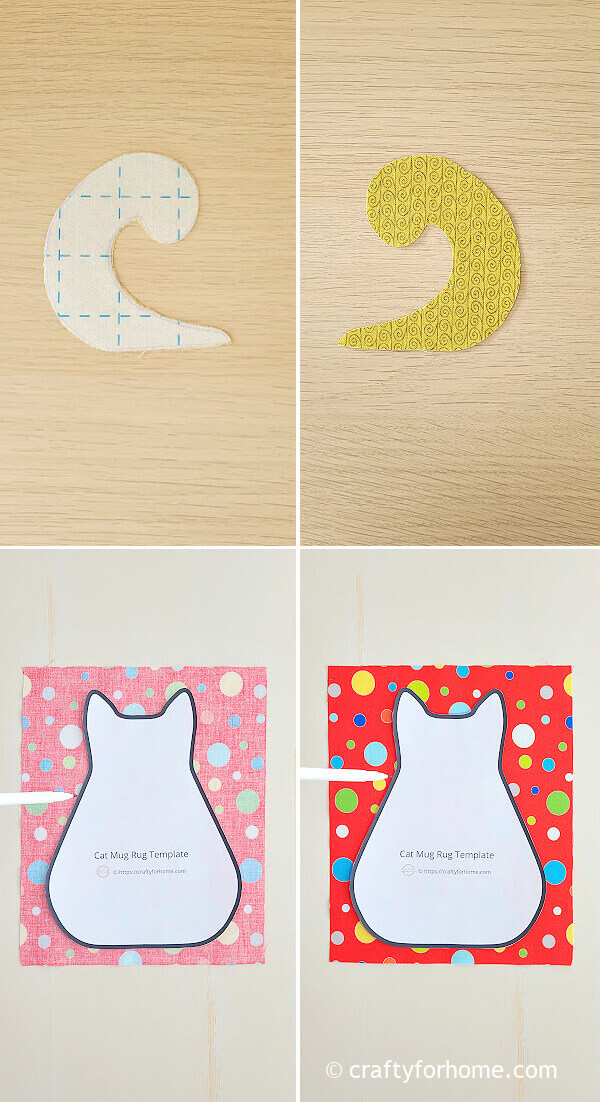
Cut the tail template. Trace the cat shaped template on both sides of the fabric for the back.
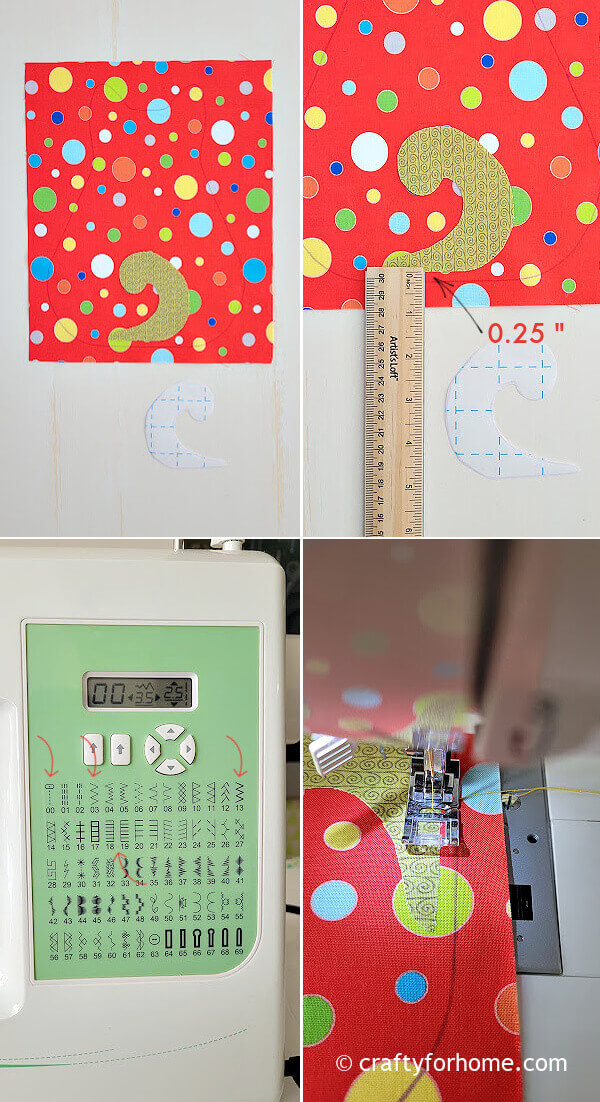
Peel off the other paper of Steam A Seam and put the cat tail template on the fabric for the backside about 0.25″ above the traced line. Make sure it is on the right side fabric. Then, press it with the ironing machine, so the tail applique is attached to the fabric.
Use regular stitch, blanket stitch, or zig-zag stitch for the applique.
If you use a built-in stitches sewing machine, there is usually a similar guide for different stitches like mine. For example, the regular stitch or straight stitch shows on the number 00, the blanket stitch is the number 18 and 19, and the zig-zag stitches are number 03 and 13.
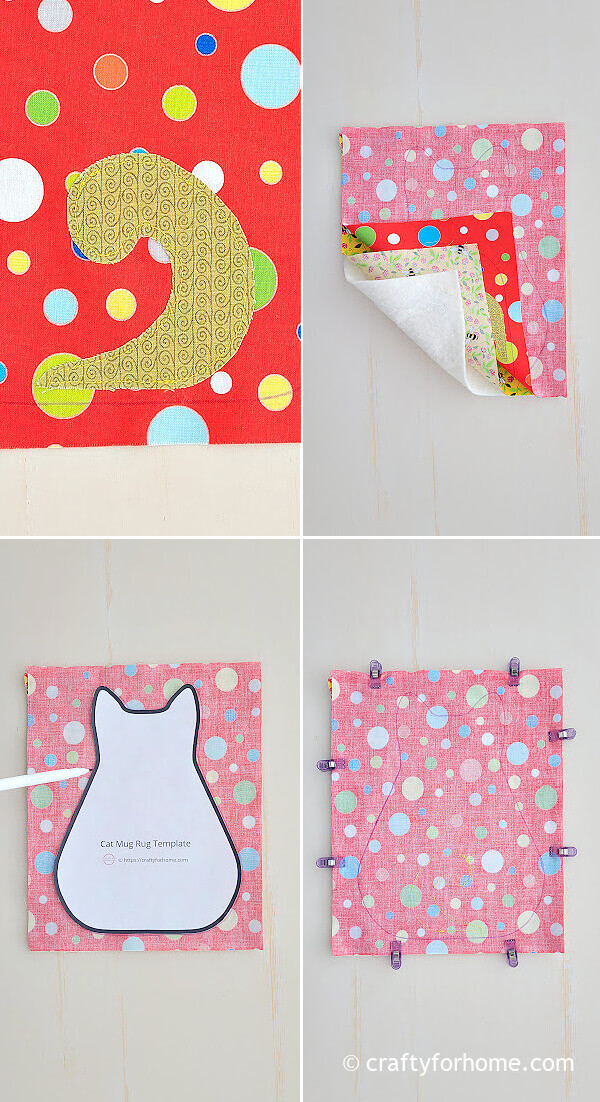
Lay the quilt batting flat, place the fabric for the front with the wrong side facing down, then put the fabric for the back with the wrong side facing up.
Pin it or use quilting clips. If the traced cat shape template fades away, then retrace the template.
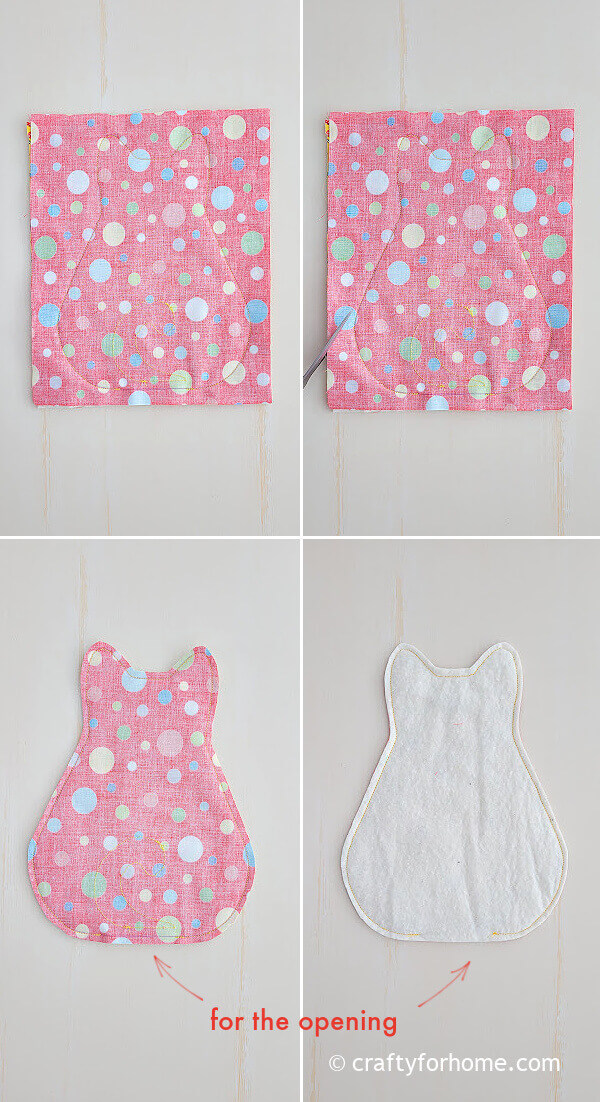
Sew along the traced line, and skip 3″ for the opening.
Trim the material about 0.25″ from the stitched line.
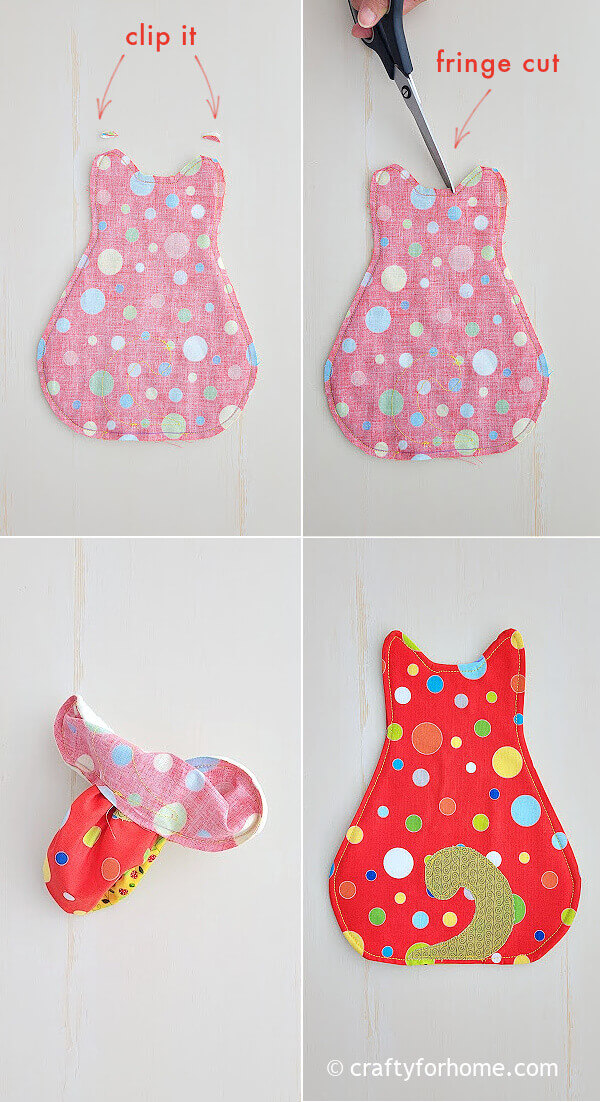
Clip the extra fabric on the cat ear corner. Cut each corner between ears to resemble a fringe cut. Carefully not to cut the stitch off.
Then turn the mug rug right side out. Push the pointy corner with the chopstick.
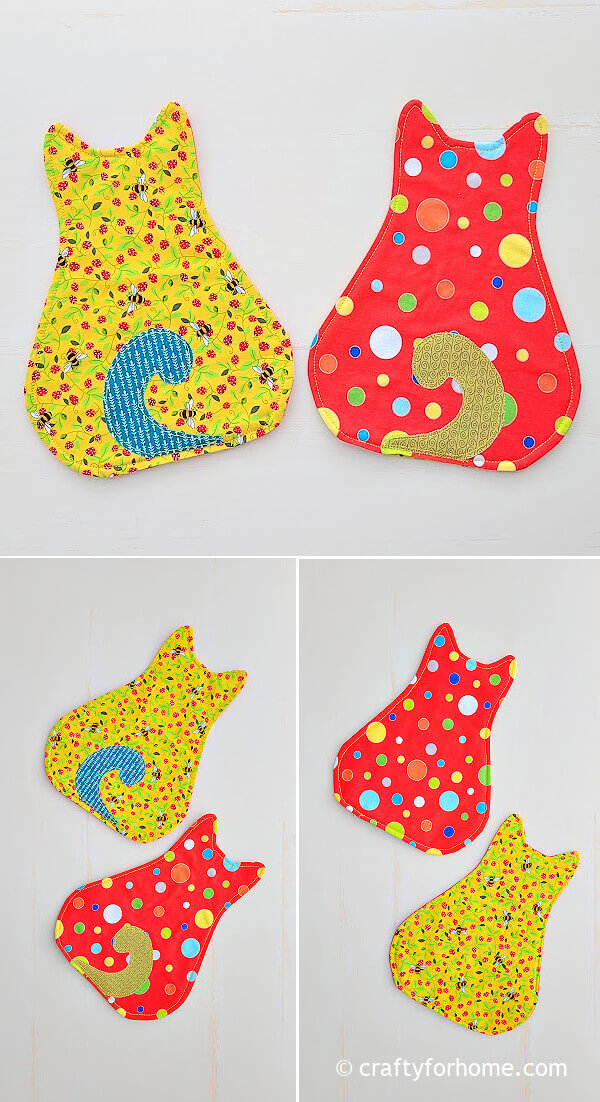
Press it with the ironing machine. To close the opening gap, use the ladder stitch or top stitch along the hem to close the opening at the same time.
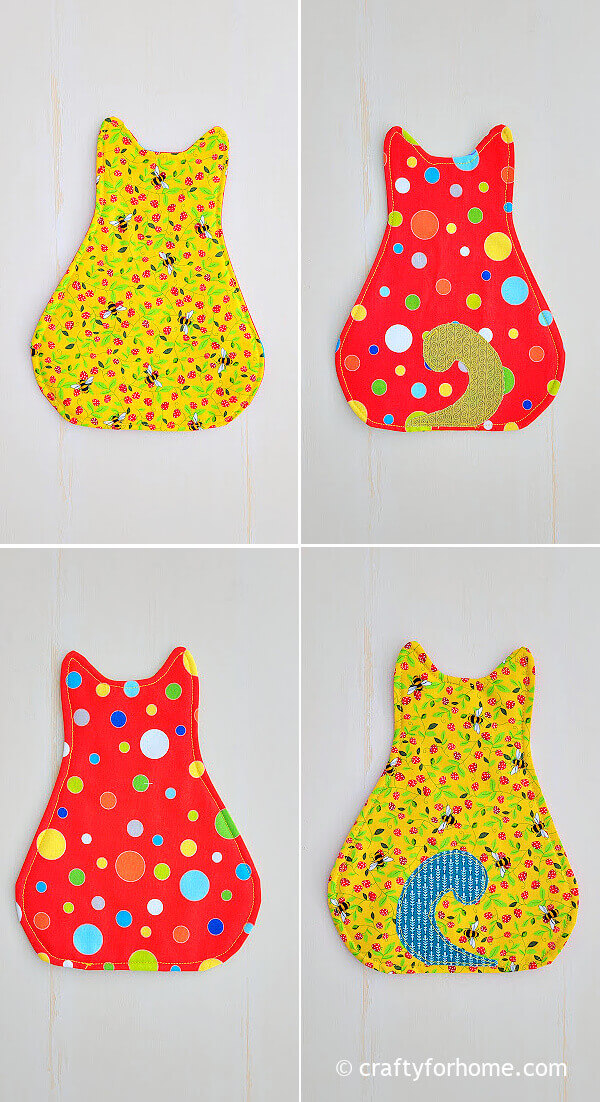
Your cat mug rug is ready to use.
The cat mug rug is reversible, with the tail applique on the back and no applique on the front side.
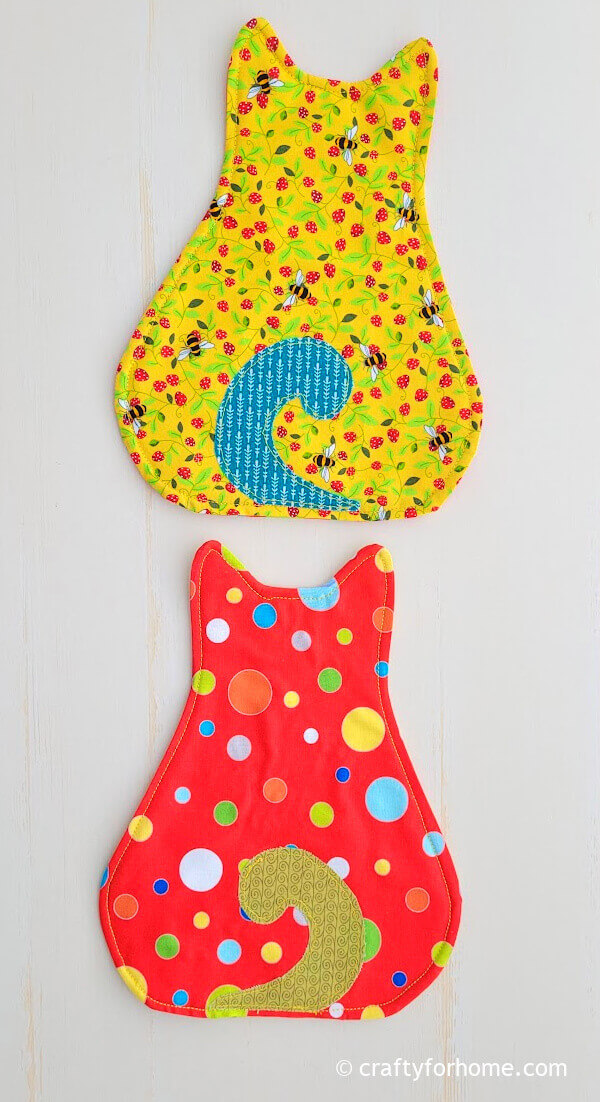
This cat applique mug rug is also big enough to use as a placemat. Match it with the pumpkin bunting to add to the fall-season decor or add it to this cat theme birthday party.
Get The PDF
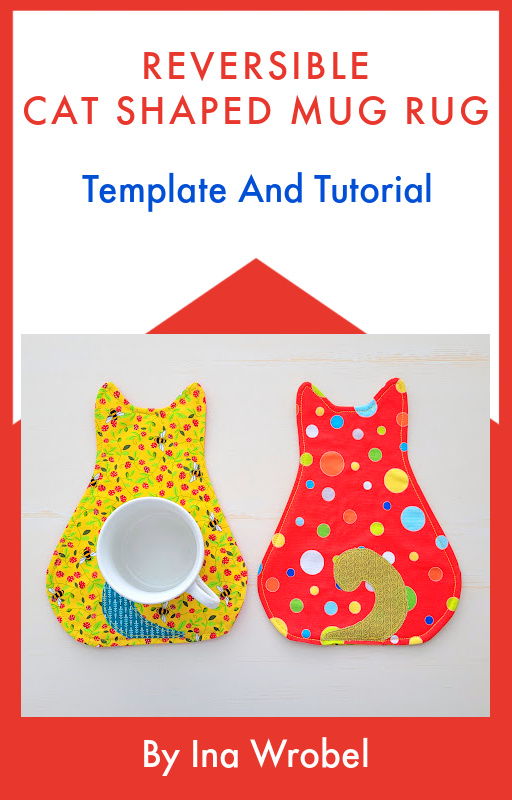
If it is more convenient to have the printable version of this tutorial for the project, you can purchase the printable PDF format of Cat Mug Rug Template And Tutorial here. The e-book has the template and complete tutorials with pictures included. There are no ads or video displays on the PDF so that you can print it, and it will be available for you anytime you need the tutorial for your next project. Click on the e-book cover image above to purchase.
Cat person? Or Fall season decor? Make this super easy Cat Mug Rug #catmugrug #catcoasters #fallseason Share on XIt is also a perfect homemade gift for a cat lover person. I am one of them, and I grew up with many pet cats. But now I have an indoor bunny who acts like a cat sometimes.
More easy mug rug ideas you can make from scrap fabrics
- Flower Shaped Coasters
- Leaf Shaped Coasters
- Heart Mug Rug
- Oval Mug Rug
- Easter Egg Placemat
- Ornament Mug Rug
DIY Cat Shape Mug Rug Or Coaster For Everyday Use
Cat Shaped Coaster Mug Rug Tutorial
This quick and easy sewing project is for Halloween or any time of the year to make cat shaped mug rug or coaster that is reversible, reusable, and washable.
Materials
- 1 sheet of fat eight-size fabrics or 22 inches x 9 inches rectangles or 2 sheets of fabric size 11 inches x 9 inches
- 1 sheet of charm-pack or 5" squares size fabric or scrap fabric with contrast colour and print from the rectangle fabric
- 1 sheet of quilt batting size 11 inches x 9 inches
- Cat Mug Rug template
- 1 sheet of Steam A Seam 2
Tools
- Disappeared ink fabric marker
- Quilting clips or pin
- Thread, matching or contrast colour
- Chopstick
- Scissors
- Sewing machine
- Ironing machine
Instructions
- If you use fat-eight size fabric, fold it in half, then cut the fabric on the folding line so that you have two rectangles which should have about 9 inches x 11 inches each.
1 sheet of rectangle fabric for the front side
1 sheet of rectangle fabric for the backside - Trace the cat tail template on the Steam A Seam paper. Don't peel the paper off yet.
- Cut the traced tail template. Peel one piece of paper off, then attach it to the wrong side of the fabric for the tail (scrap fabric or charm pack fabric).
- Cut the tail template.
- Trace the cat shape template on both sides of the fabric for the back.
- Peel off the other paper of Steam A Seam and put the cat tail template on the fabric for the backside about 0.25" above the traced line. Make sure it is on the right side fabric.
- Then, press it with the ironing machine, so the tail applique is attached to the fabric.
- Use regular stitch, blanket stitch, or zig-zag stitch for the applique.
- Lay the quilt batting flat, place the fabric for the front with the wrong side facing down, then put the fabric for the back with the wrong side facing up.
- Pin it or use quilting clips.
- If the traced cat shape template fades away, then retrace the template.
- Sew along the traced line, and skip 3" for the opening.
- Trim the material about 0.25" from the stitched line.
- Clip the extra fabric on the cat ear corner to reduce bulk.
- Cut each corner between ears to resemble a fringe cut. Carefully not to cut the stitch off.
- Then turn the mug rug right side out.
- Push the pointy corner with the chopstick.
- Press it with the ironing machine.
- To close the opening gap, use the ladder stitch or top stitch along the hem to close the opening at the same time.
- Your cat mug rug is ready to use.
Leave a Reply