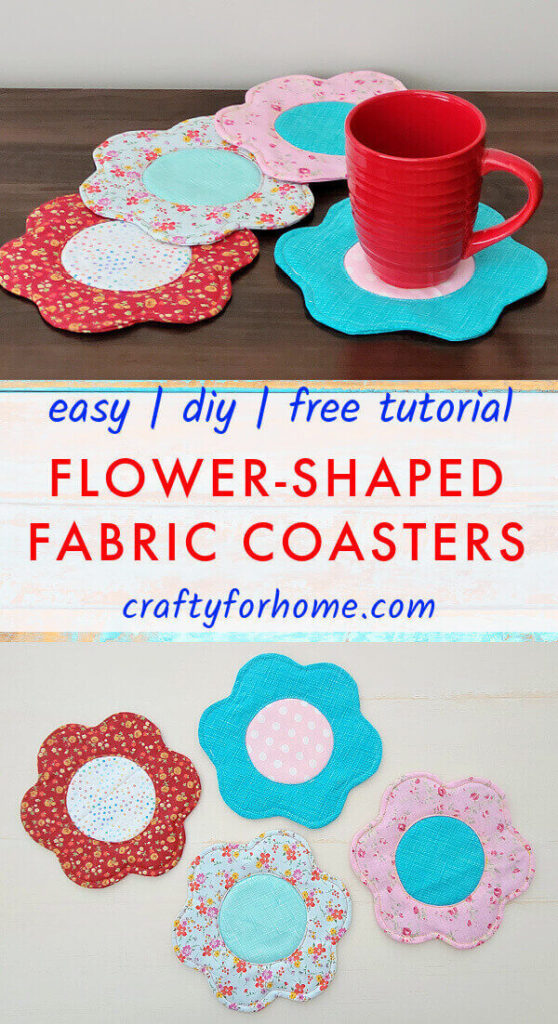
Use this easy sewing tutorial to make fabric flower-shaped coasters with reverse applique by using two different fabric prints.
Easy Guide To Make Fabric Flower Coasters
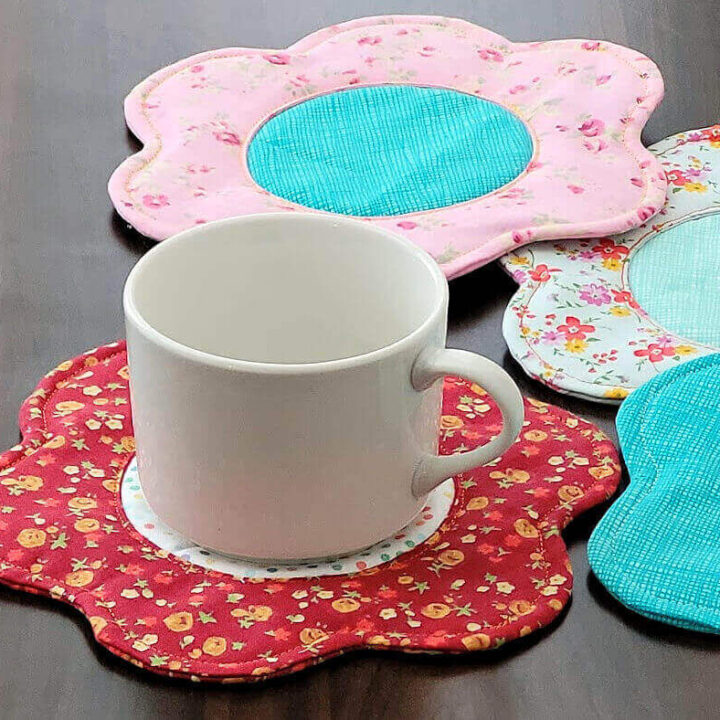
This flower-shaped coaster will bring you joy to celebrate the spring season or cheer up the gloomy days. Adorable, cheerful, and fun is how to describe this coaster.
As an Amazon Associate I earn from qualifying purchases. This post may contain affiliate links. Please see the Disclosure Policy for details.
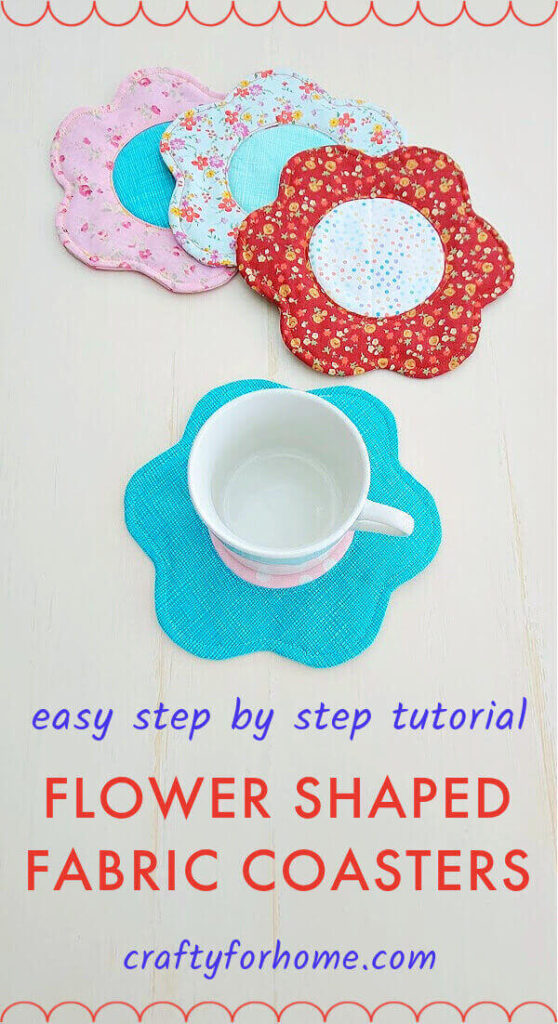
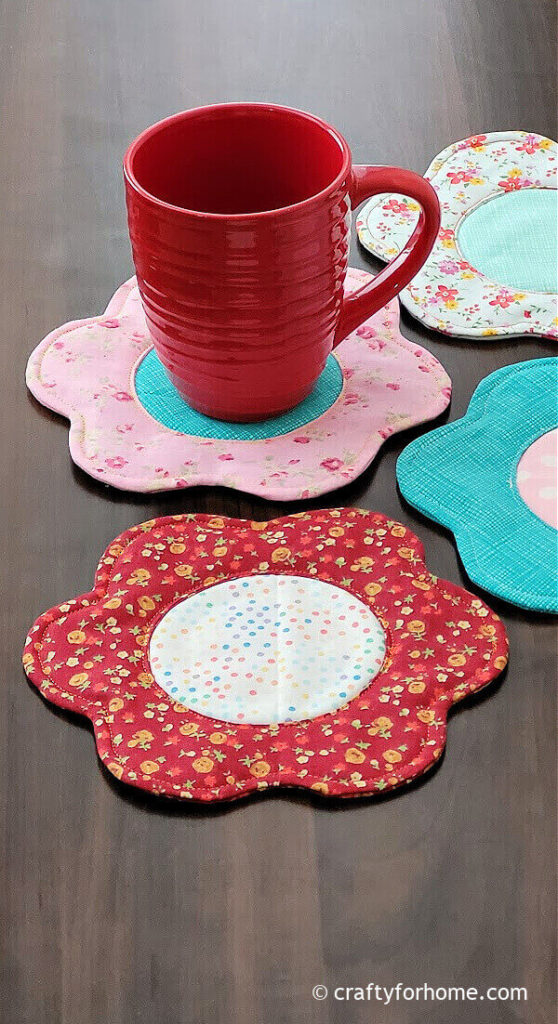
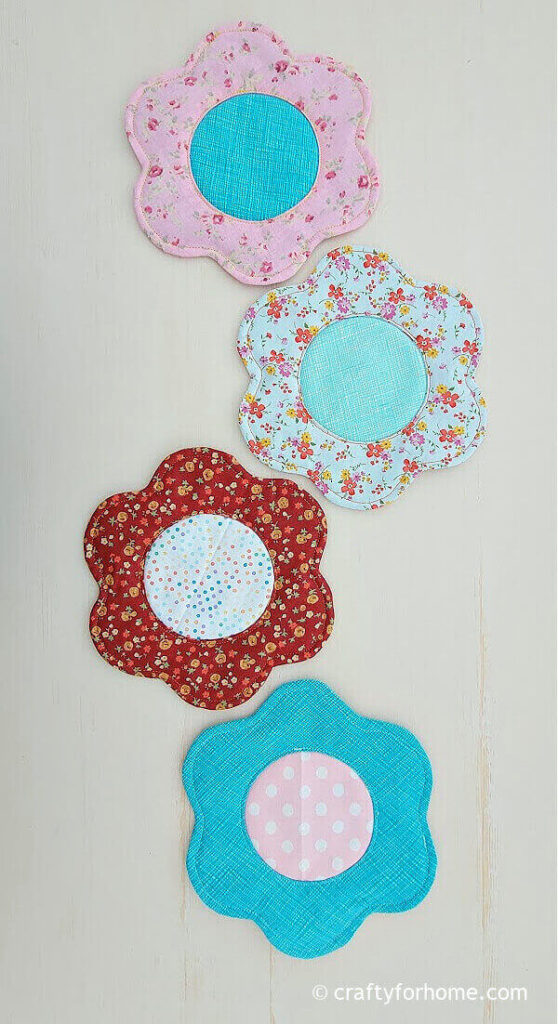
Use two different printed fabrics for the flower and the circle shape to make the flower petal pops. Use any colour or printing theme you like.
The tutorial for making the flower petal coaster is similar to this oval mug rug. The reverse applique method will be the tutorial to make the flower disc (the circle shape).
The coaster has the same function as the mug rug but is smaller. The mug rug has extra space to put some snacks on it. The coaster only has enough room for the mug.
So, why a coaster? Because the coaster and the mug rug protect your table surface from condensation, stain, and watermark by providing padding for the beverage cup. So, making one or two sets is always a good idea since it is a functional item.
Material For Making Flower-Shaped Fabric Coasters
Quilt cotton fabric is better to use for this project, as it absorbs liquid easily, and it comes with so many prints to choose from, whichever you prefer.
To make four sets of flower coasters, you will need one yard of fabric, but you will use 3/4 of it for the front and back sides of the coasters. Then you will need one sheet of fat quarter fabric with a different print for the flower’s center disk.
Alternatively, use fat quarter cotton bundles for a fun mix and match fabric, then you will have different prints on all front and back sides of the coasters.
If you have too many fabric scraps from the previous projects, then you can use it as long as you have three of 9 inches squares for the front and back sides and one of 9 inches squares for the center disk.
If you need the coaster to reheat your coffee, keep in mind that the coaster is not for the microwave if you use polyester mix batting or iron-on fusible fleece. The batting might melt from the heat. Instead, use the cotton batting, cotton fabric, and cotton thread if you use them in the microwave.
- 1 yard of cotton fabric and 1 sheet fat quarter cotton fabric with different print for the flower’s center disk, or mix and match fat quarter cotton fabrics or scrap fabric. Here is the link for the yard bundle, and here is the fat quarter bundle.
- Flower Coaster Template. The template is available as a printable PDF, and you can click here to purchase the Flower-Shaped Coasters Template for only few dollars.
- Disappeared ink fabric marker, my favourite is the dual purpose fabric marker.
- Quilt batting, I am using cotton batting
- Chopstick
- Pin
- Quilting clips
- Thread
- Scissors
- Ruler
- Sewing machine
- Ironing machine
DIY Flower-Shaped Fabric Coaster Tutorial
See the Flower-Shaped Fabric Coaster video tutorial here.
If you are using fabric scraps, make sure you have enough size for at least four of 9 inches square.
To make one coaster, you will need:
Three of 9 inches square fabric for the front side with the reverse applique method and the backing of the coaster
One of 9 inches square fabric for the flower’s center disk
One of 9 inches square batting
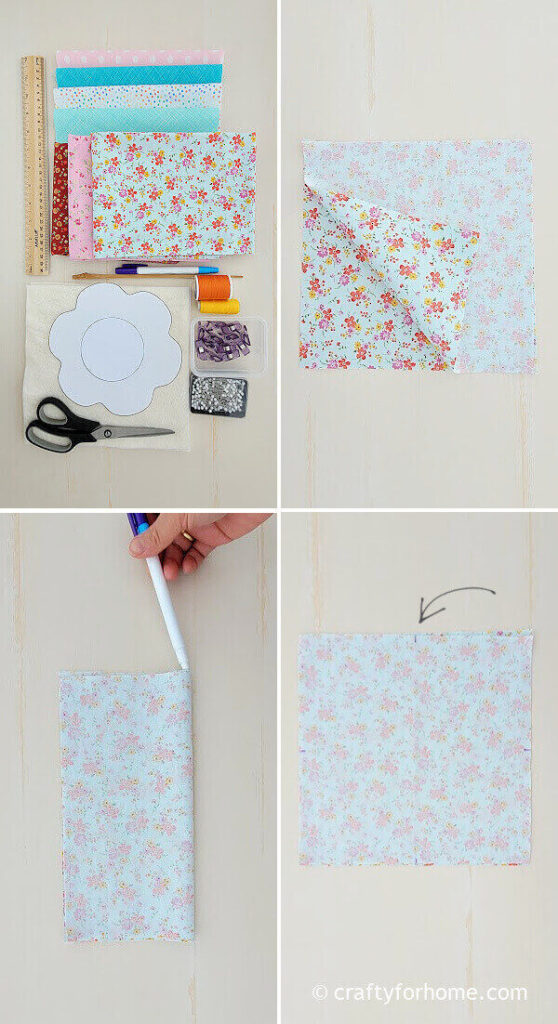
First, make the top of the coaster with the reverse applique method by pinning together two sheets of square fabric with the same print and the right side of the fabric facing each other.
Trace the circle template in the middle of the fabric.
To determine the center of the fabric, you can fold the fabric in half and mark the folding spot. Then fold again in half for the other side, and mark the folding spot. Finally, draw two lines to connect the opposite side of the marked spot.
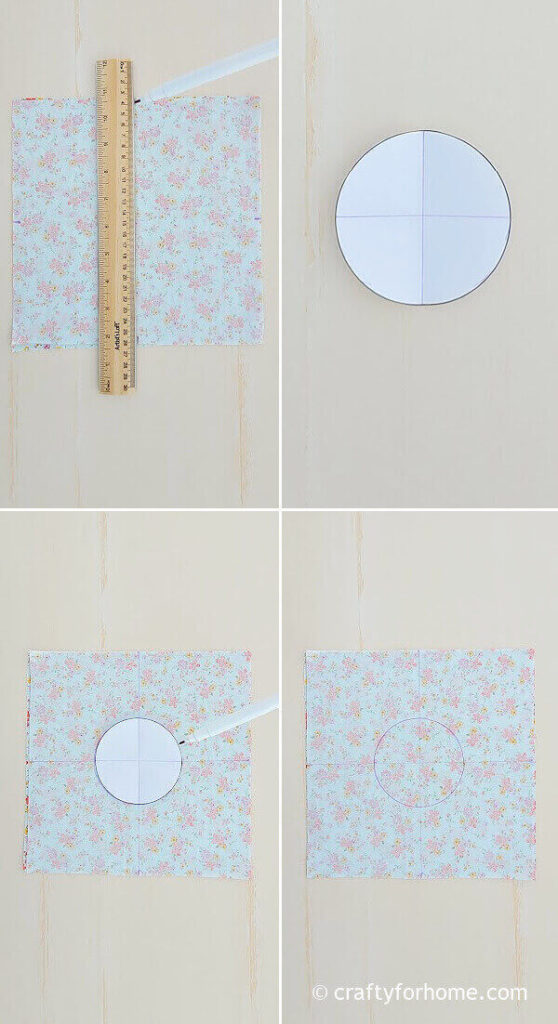
Fold the circle template in half, mark the folding spot, fold again in half and mark the folding spot. Then, draw two lines to connect the opposite side of the marked spot.
Put the circle template in the middle of the fabric to match the connected line in the center. Then, begin tracing the circle by using the disappeared ink marker.
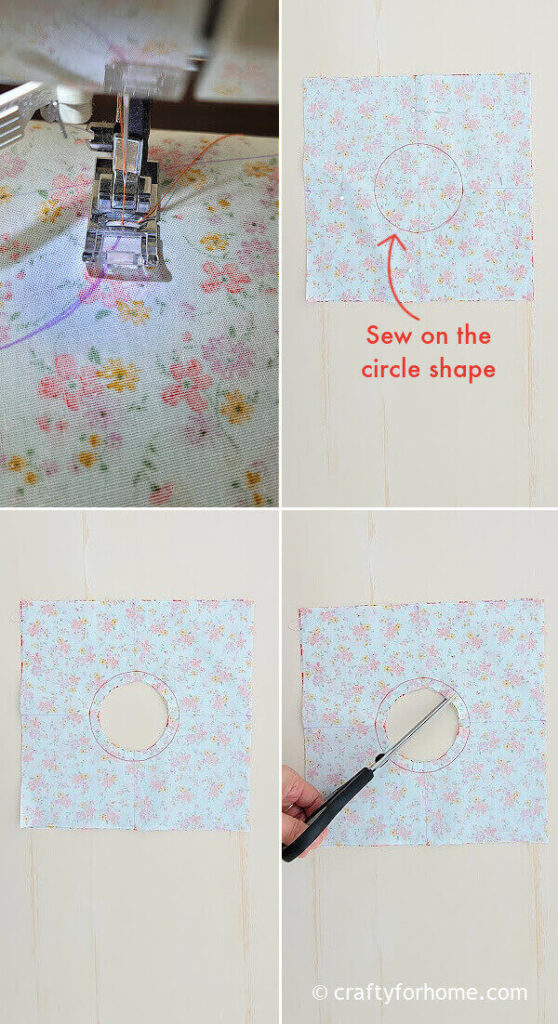
Sew along the circle line. Clip the circle off inside the stitching line with 0.25 inches seam allowance.
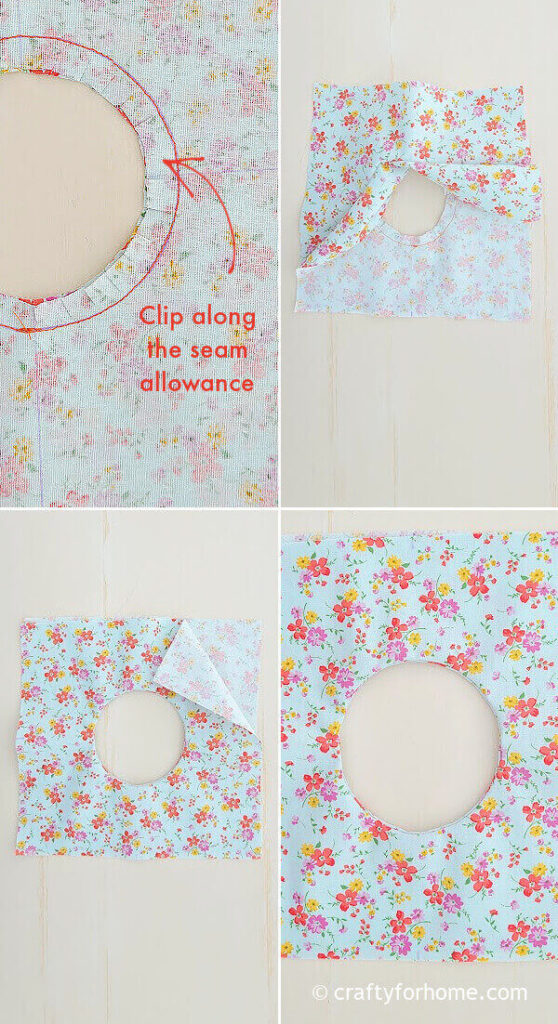
Cut the extra fabric along the seam allowance, like making a fabric fringe. Make sure you don’t cut the stitch. (I often did this on other projects, then I had to stitch it again).
Turn the fabric right side out.
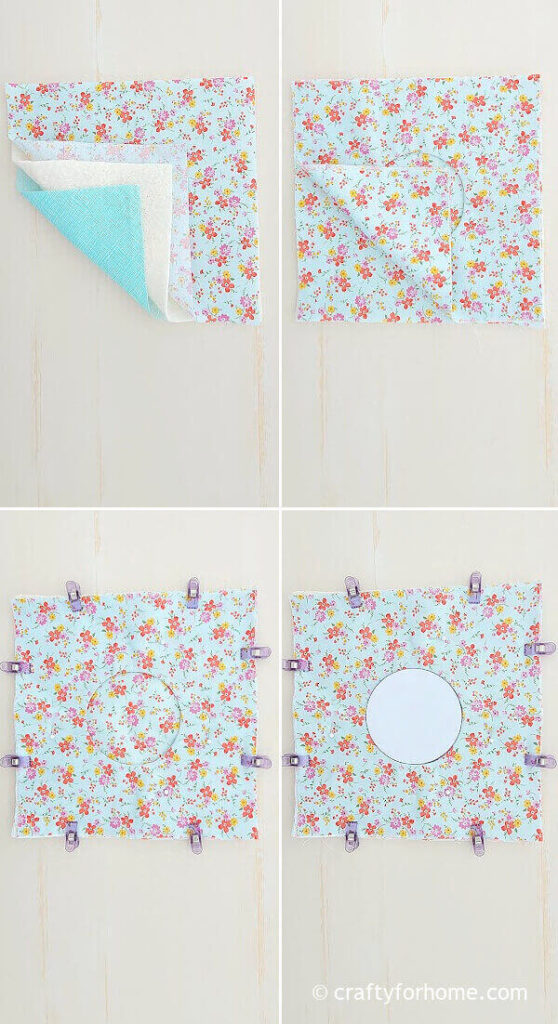
Sandwich all materials with this order, the square fabric for the center disk with the right side facing down, batting, and the square fabric for the backing with the right side facing up, the front side of the coaster with the reverse applique. Then, pin it or use the quilting clips.
Put the circle template in the middle to make it easier to trace the flower shape on the fabric so that the disk will be precisely in the center.
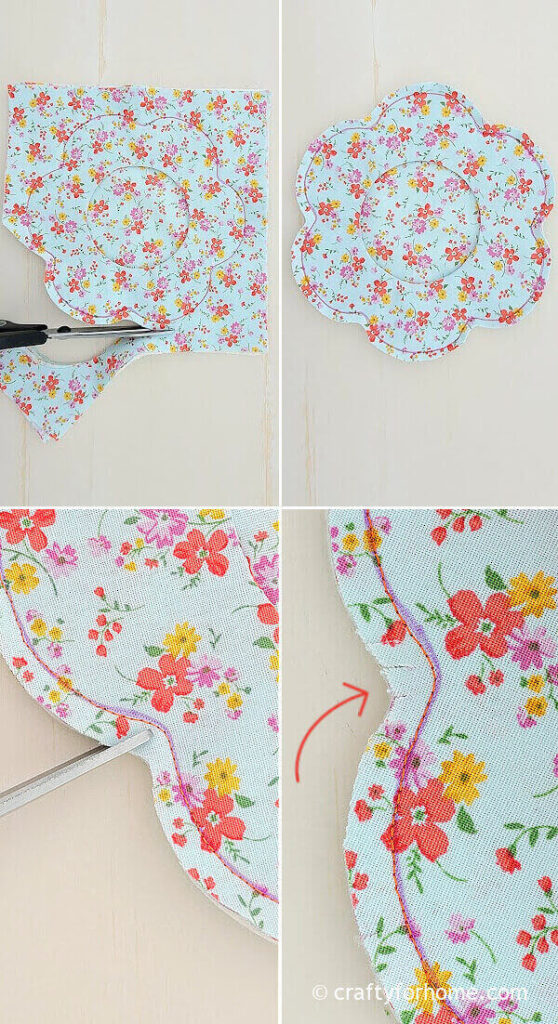
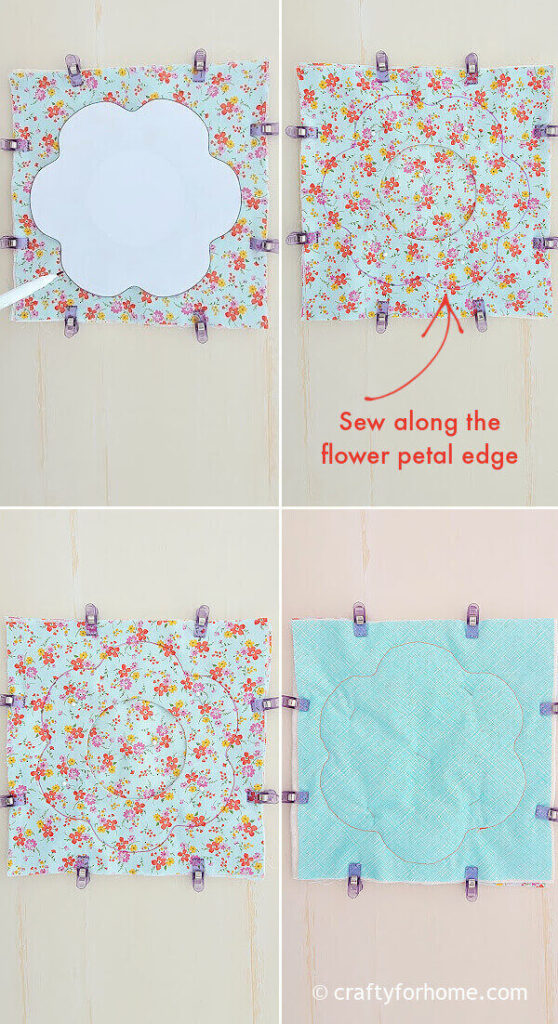
Sew along the flower shape line. Trim the fabric with a 0.25-inch seam allowance along the flower petal edge. Then cut the fabric around the curve.
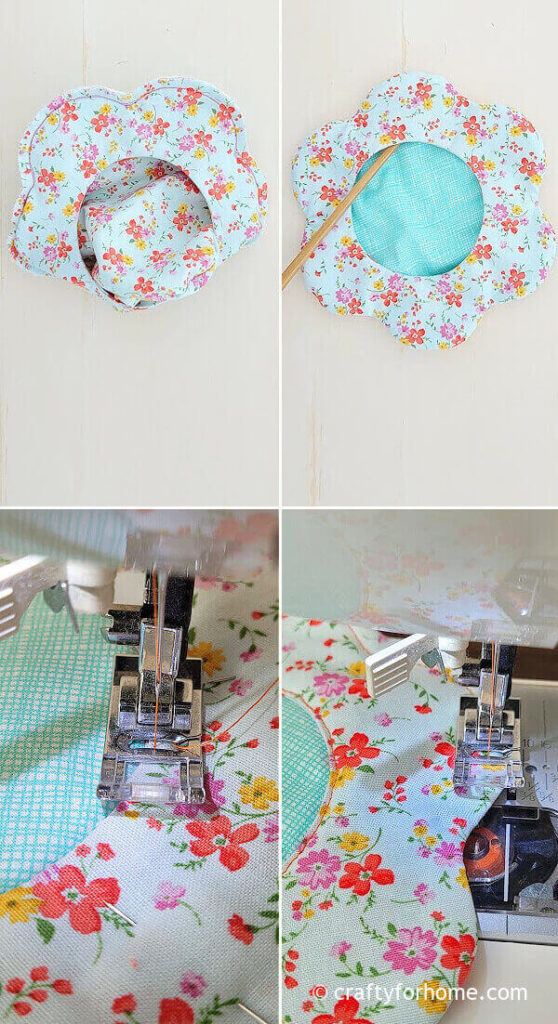
Turn the flower-shaped coaster right side out through the opening on the circle. Use the chopstick if you need to push all petal edges. Then, press it with the ironing machine.
Pin the flower coaster, make sure the circle disk fabric is not wrinkled or folded, and then topstitch along the circle hem and topstitch along the petal edges.
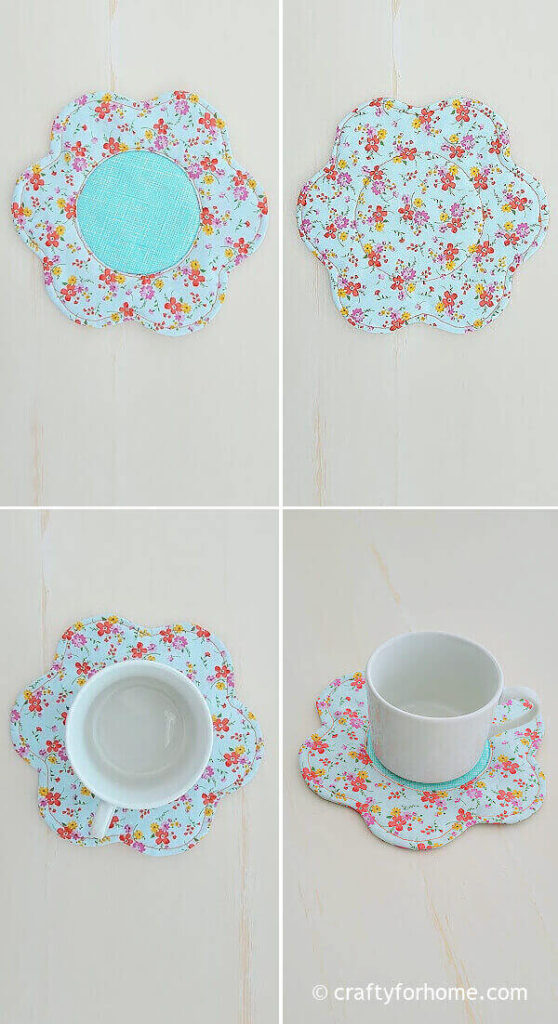
You will get one set of the flower-shaped coaster. Repeat the process if you want to make four sets of them. The final size of the coaster is around 7.5 inches in diameter.
Because it’s a fabric coaster, it is entirely washable. Pair it with this DIY hand-painted flower mug for everyday use or handmade gifts.
Cheer up your day with this flower coaster for your morning coffee cup. #flowercoasters #fabriccoasters #reverseapplique Share on XBesides protecting the table surface or countertop from condensation, stain, or watermark, you can also use the coaster to wipe the spill on the cup since the coaster material is fabric. It is an easy substitute for a paper towel.
Get The PDF
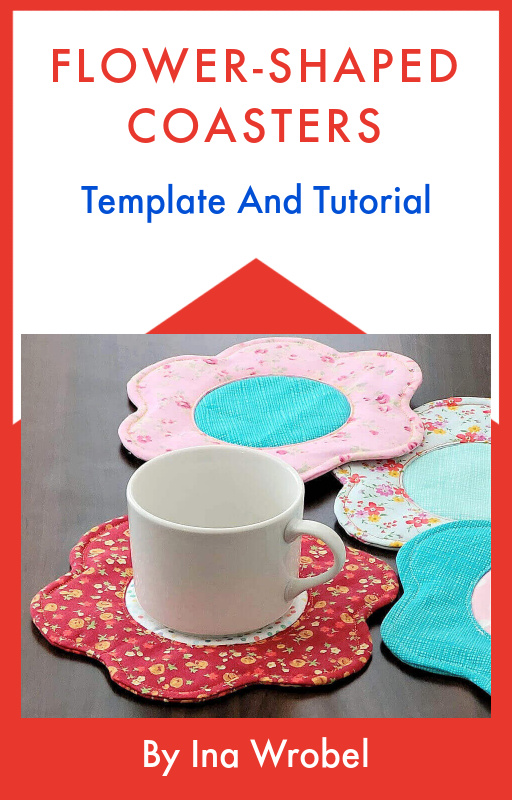
If it is more convenient to have the printable version of this tutorial for the project, you can purchase the printable PDF format of Flower-Shaped Coasters Template And Tutorial for only $6.75
The e-book has the template and complete tutorials with pictures included. There is no ads or video display on the PDF so that you can print it, and it will be available for you anytime you need the tutorial for your next project. Click on the e-book cover image above to purchase.
Sewing Project For The Spring Season
- Mitered Corner Cloth Napkins
- Easter Egg Placemat
- Oval-shaped Placemat
- Oval Mug Rug
- Heart Mug Rug
- Leaf-shaped Coasters
This DIY Fabric Flower Coaster Is Adorable And Easy To Make
Flower-Shaped Fabric Coasters: Easy Tutorial
Use this easy sewing tutorial to make fabric flower-shaped coasters with reverse applique by using two different fabric prints.
Materials
- 1 yard of cotton fabric and 1 sheet fat quarter cotton fabric with different print for the flower's center disk, or mix and match fat quarter cotton fabrics or scrap fabric.
- Flower-Shaped Coaster Template
- Cotton quilt batting
Tools
- Disappeared ink fabric marker
- Ruler
- Scissors
- Chopstick
- Pin and quilting clips
- Thread
- Sewing machine
- Ironing machine
Instructions
- To make one coaster, you will need:
Three of 9 inches square fabric for the front side with the reverse applique method and the backing of the coaster
One of 9 inches square fabric for the flower's center disk
One of 9 inches square batting - First, make the top of the coaster with the reverse applique method by pinning together two sheets of square fabric with the same print and the right side of the fabric facing each other.
- Trace the circle template in the middle of the fabric.
- To determine the center of the fabric, you can fold the fabric in half and mark the folding spot. Then fold again in half for the other side, and mark the folding spot. Finally, draw two lines to connect the opposite side of the marked spot. Do the same thing with the circle template.
- Put the circle template in the middle of the fabric to match the connected line in the center. Then, begin tracing the circle by using the disappeared ink marker.
- Sew along the circle line. Clip the circle off inside the stitching line with 0.25 inches seam allowance. Cut the extra fabric along the seam allowance, like making a fabric fringe. Make sure you don't cut the stitch.
- Turn the fabric right side out.
- Sandwich all materials with this order, the square fabric for the center disk with the right side facing down, batting, and the square fabric for the backing with the right side facing up, the front side of the coaster with the reverse applique. Then, pin it or use the quilting clips.
- Put the circle template in the middle to make it easier to trace the flower shape on the fabric so that the disk will be precisely in the center.
- Sew along the flower shape line. Trim the fabric with a 0.25-inch seam allowance along the flower petal edge. Then cut the fabric around the curve.
- Turn the flower-shaped coaster right side out through the opening on the circle. Use the chopstick if you need to push all petal edges. Then, press it with the ironing machine.
- Pin the flower coster, make sure the circle disk fabric is not wrinkled or folded, and then topstitch along the circle hem and topstitch along the petal edges.
- Repeat the process to make four sets of coasters. The final size of the coaster is around 7.5 inches in diameter.
Notes
- Don't forget to grab the Flower-Shaped Coasters Template.
- The estimated cost doesn't include the template.
- For the video version, you can see the Flower-Shaped Fabric Coaster video tutorial here.


Leave a Reply