This super easy hair scrunchie sewing tutorial does not require turning the fabric right side out. It takes just around 10 minutes to make one scrunchie.
Easy DIY Scrunchie
This scrunchie tutorial won’t need to turn the fabric right side out. It will be a quicker way to make the scrunchie.
As an Amazon Associate I earn from qualifying purchases. This post may contain affiliate links. Please see the Disclosure Policy for details.
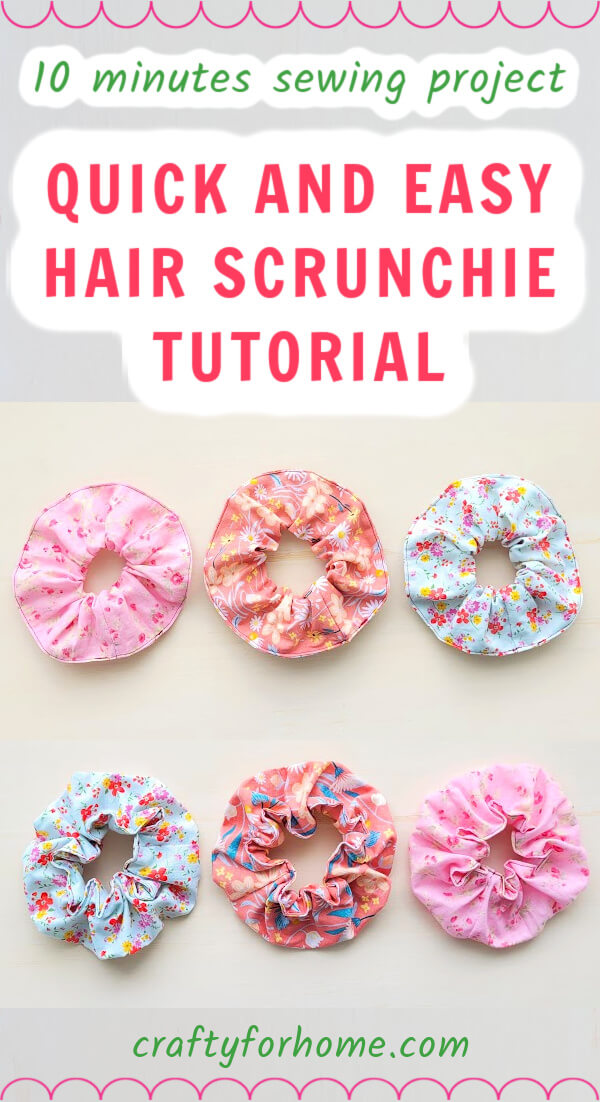
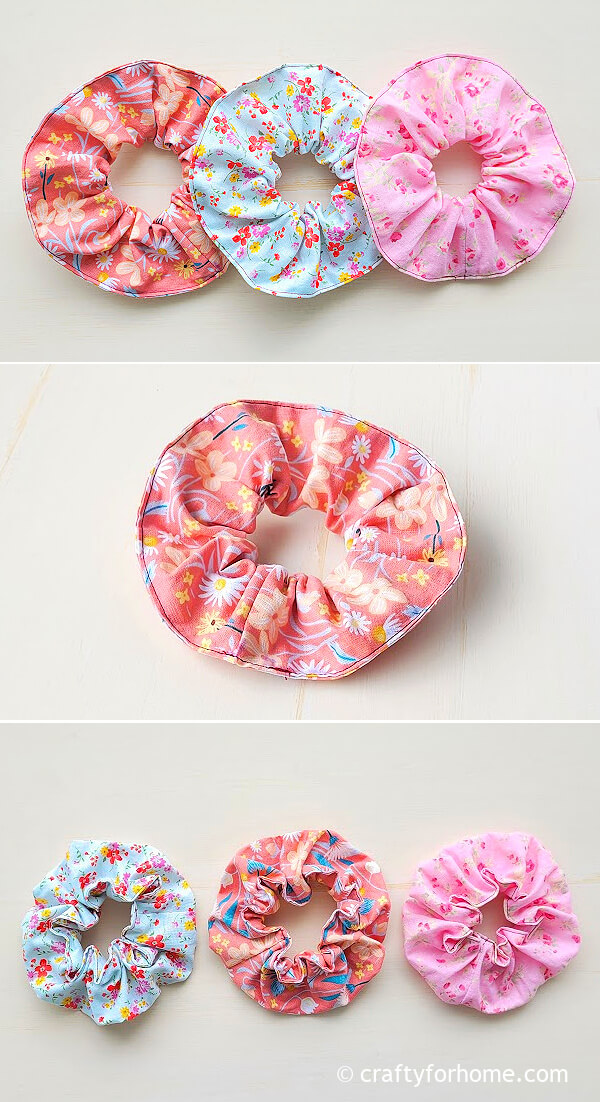
There would be a fluffy look on one edge and topstitching on the other. It would make a super cute scrunchie for the hair bun.
Best Fabric For Making Hair Scrunchie
It is better to use fabric that is easy to work with and does not fray easily. Velvet, silk, satin, cotton, corduroy, flannel, jersey, or linen are some of the best fabrics for hair scrunchie.
Organza or chiffon fabrics are also great for scrunchie, but the fabric tends to fray easily. If you want to use chiffon or organza, apply a tiny amount of fray check solution along the edge to keep the fabric from fraying.
Place the cotton fabric on top of the chiffon and damp cotton fabric on top of the organza fabric, and use the low setting on the ironing machine.
Supply To Make Scrunchie
You will get four scrunchies from a fat quarter of fabric. I used fabric scraps left over from the Flower-Shaped Coaster and this 8.5″ square casserole dish cozy.
Depending on your preference or hair thickness, you can use less or more than 8″ long elastic. You can customize the fabric width to make smaller or larger scrunchies.
- 1 piece of 18″ x 5″ fabric
- 1 piece of 8″ elastic size 1/4″ wide
- Pin or quilting clips
- Disappeared fabric marker, I use the dual-purpose fabric marker
- Safety pin
- Thread
- Ruler
- Sewing machine
- Ironing machine
Step-by-step easy scrunchie sewing tutorial
The video tutorial is also available. Click on this link to watch the Super Easy Hair Scrunchie video tutorial on my YouTube channel and subscribe for more videos.
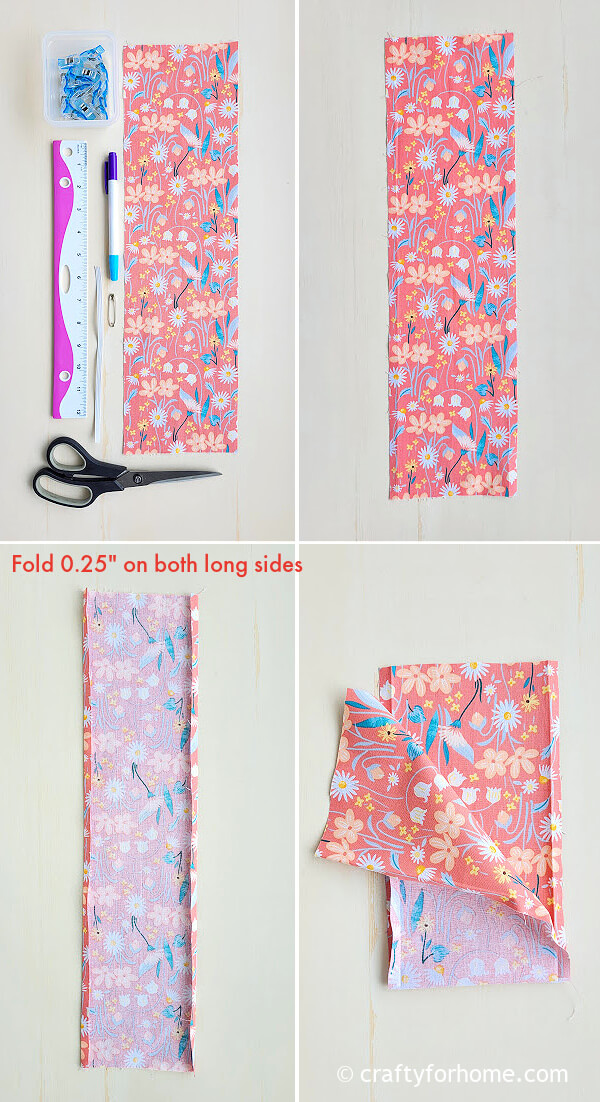
With the wrong side of the fabric facing up, create a tiny hem by folding both raw edges 0.25″ along both long sides inward. Press the fold with an ironing machine.
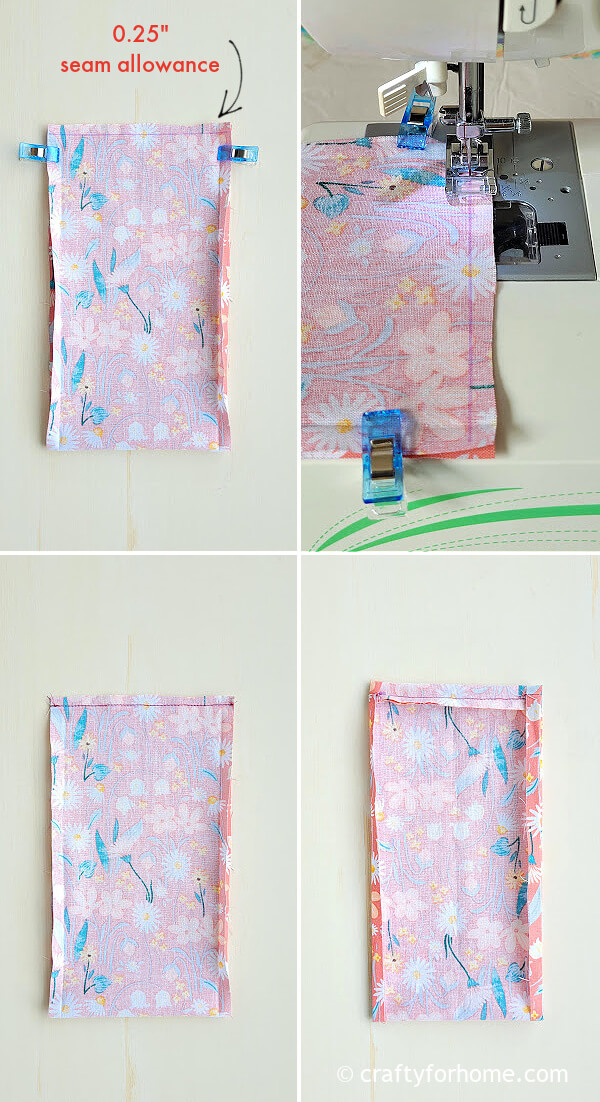
With the right side of the fabric facing up, fold the fabric in half shortwise and pin the raw edge together along the short side. Sew along the short side 0.25″ from the edge. The fabric would resemble a loop.
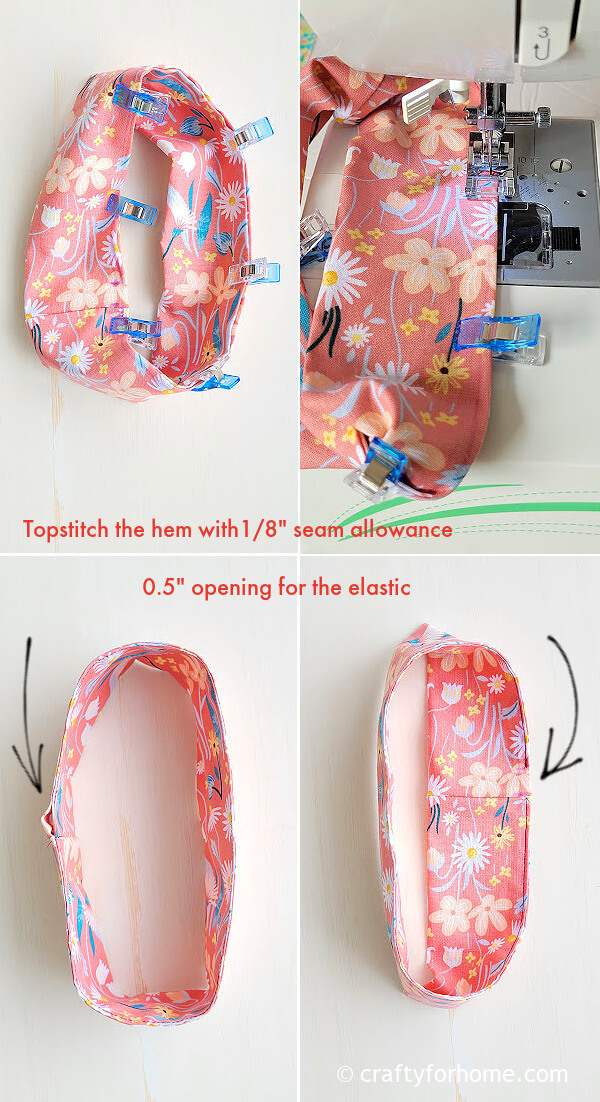
Fold the fabric in half and pin both long edges along the pressed fold so that the right side of the fabric is outside. Sew along the hem with a 1/8″ seam allowance, and skip 0.5″ for the opening to insert the elastic.
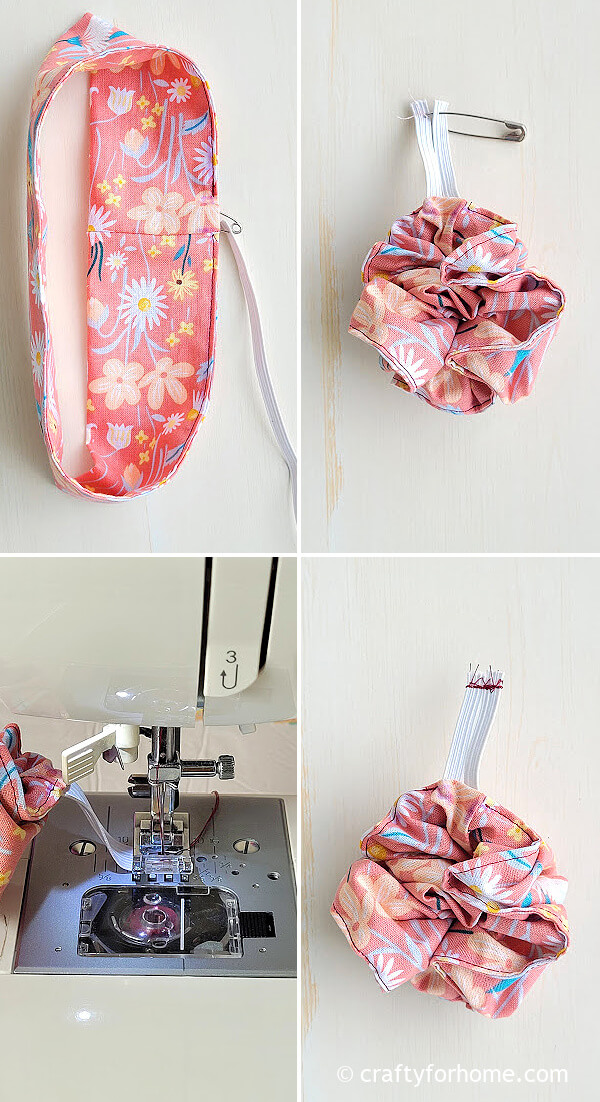
Attach the safety pin to one end of the elastic. Thread the elastic through the opening. Remove the safety pin, keep both ends of the elastic together, then straight stitch or zigzag stitch the elastic.
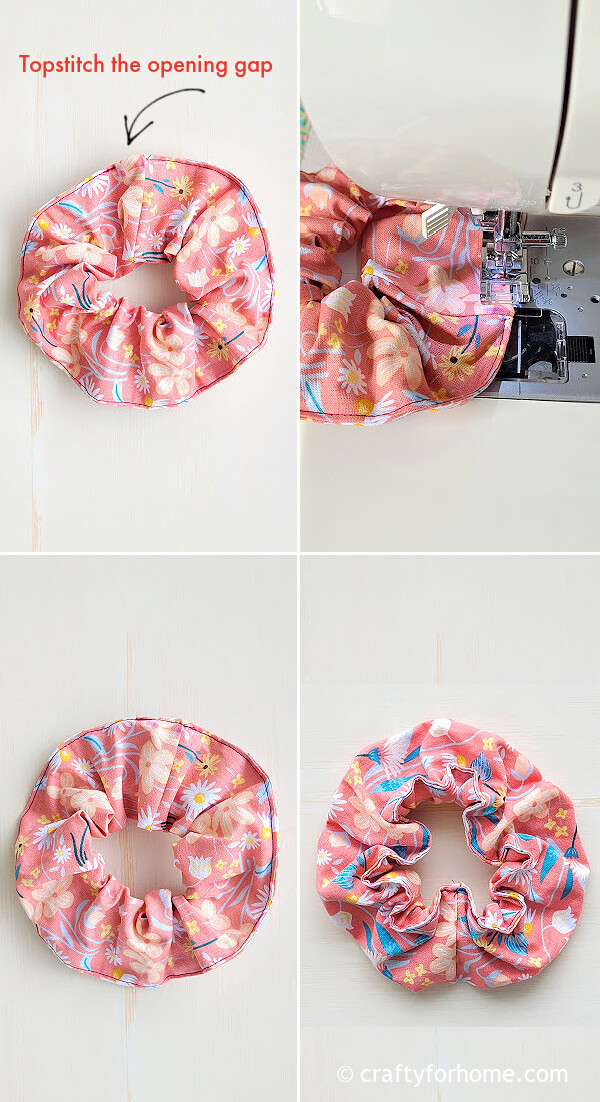
Topstitch the opening to close it. The hair scrunchie is ready to use now.
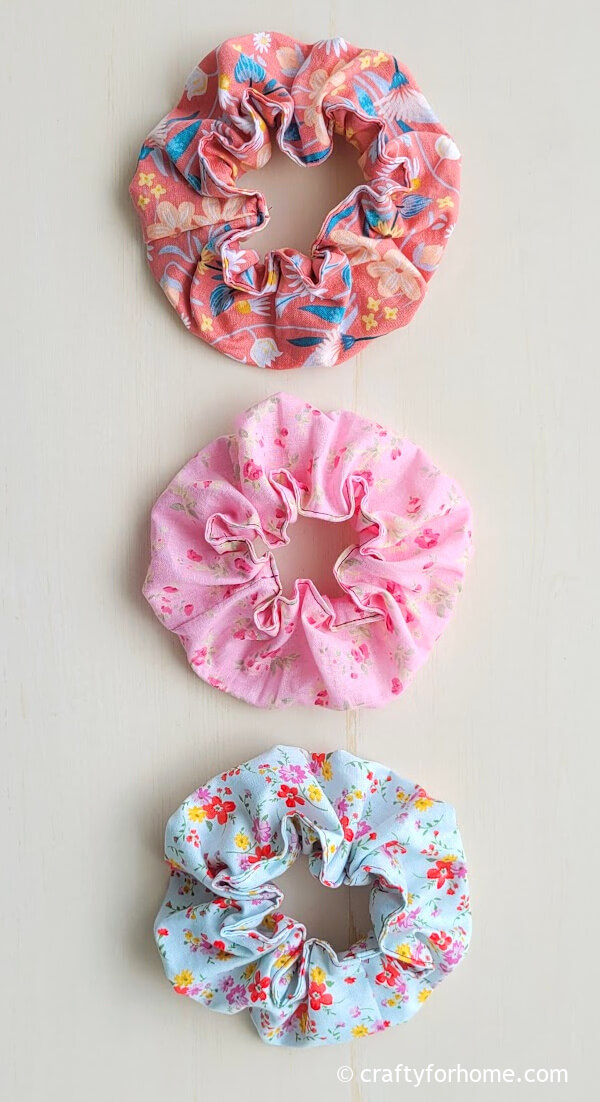
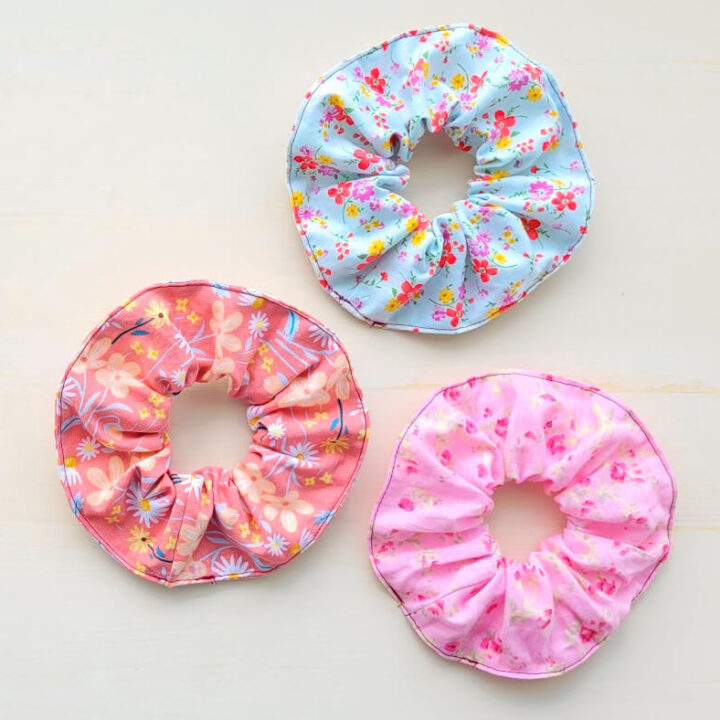
The scrunchie has two sides, depending on your preference. The stitched edge can be the inner side, so the outer side looks fluffy.
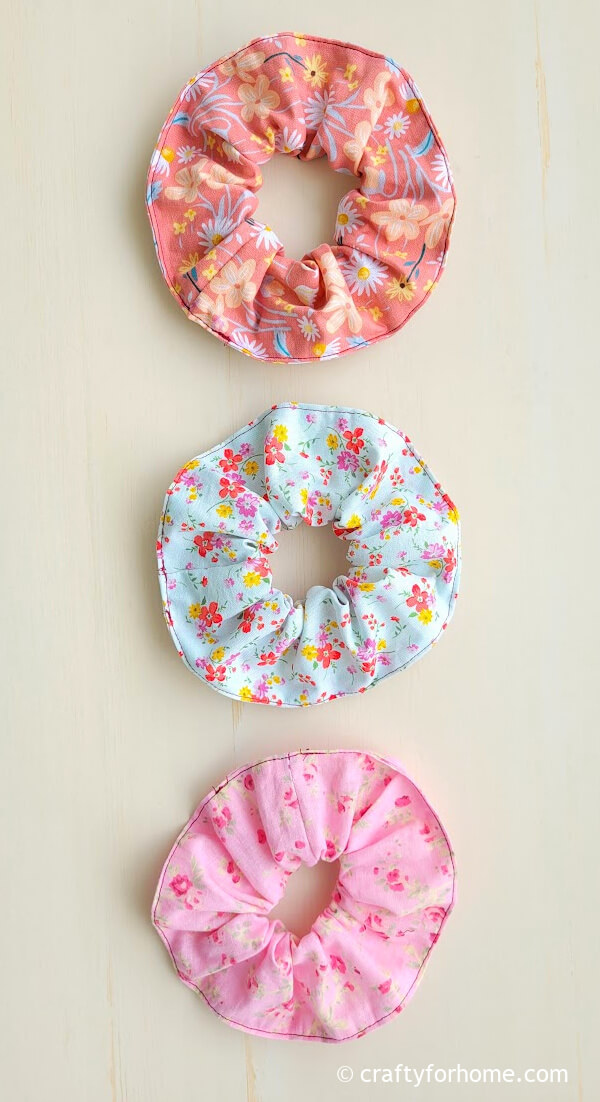
Or, you can adjust the elastic placement so that the fluffy look would be the inner side and the stitched edge would be the outer side, resembling a single flower petal.
This hair scrunchie tutorial is easy without turning the fabric right side out. #hairscrunchie #diyscrunchie #hairaccessories Share on XMore Sewing Projects From Scrap Fabric
- Easter Egg Treat Bag
- Carrot Top Egg Cozy
- Sunny Side Up Egg Coaster
- Fabric Strap Tutorial
- Chapstick Holder Keychain
- Heart-Shaped Yo-Yo Keychain
The Easy Way To Sew Hair Scrunchie
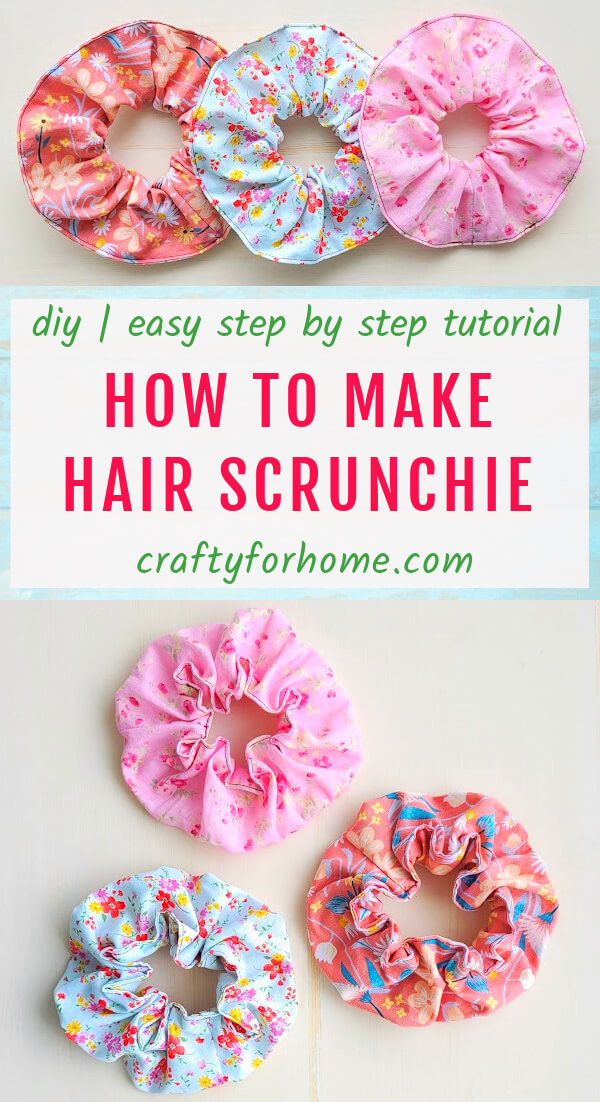
Hair Scrunchie Sewing Tutorial
This super easy hair scrunchie sewing tutorial does not require turning the fabric right side out. It takes just around 10 minutes to make one scrunchie.
Materials
- 1 piece of 18" x 5" fabric
- 1 piece of 8" elastic size 1/4" wide
Tools
- Pin or quilting clips
- Disappeared fabric marker
- Safety pin
- Thread
- Ruler
- Sewing machine
- Ironing machine
Instructions
- With the wrong side of the fabric facing up, create a tiny hem by folding both raw edges 0.25" along both long sides inward.
- Press the fold with an ironing machine.
- With the right side of the fabric facing up, fold the fabric in half shortwise and pin the raw edge together along the short side.
- Sew along the short edge 0.25" from the edge. The fabric would resemble a loop.
- Fold the fabric in half and pin both long edges along the pressed fold so that the right side of the fabric is outside.
- Sew along the hem with a 1/8" seam allowance, and skip 0.5" for the opening to insert the elastic.
- Attach the safety pin to one end of the elastic.
- Thread the elastic through the opening.
- Remove the safety pin, keep both ends of the elastic together, then straight stitch or zigzag stitch the elastic.
- Topstitch the opening to close it.
- The hair scrunchie is ready to use now.
Notes
- Velvet, silk, satin, cotton, corduroy, flannel, jersey, or linen are some of the best fabrics for hair scrunchie.
- You can customize the fabric width to make smaller or larger scrunchies.
- Depending on your preference or hair thickness, you can use less or more than 8" long elastic.
Leave a Reply