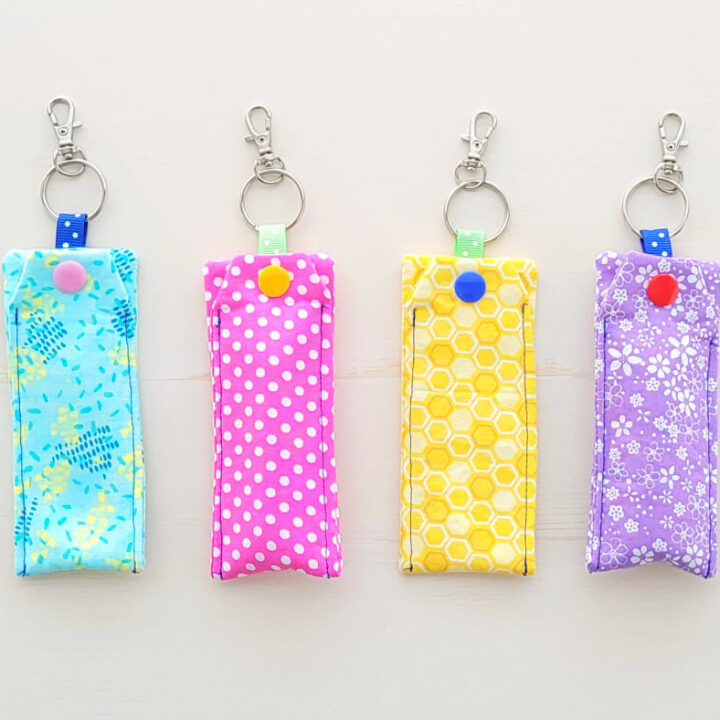
This DIY chapstick holder keychain is easy to make from fabric scraps and has a snap button to secure the chapstick inside the pouch.
Easy Chapstick Holder
Chapsticks as a necessary thing to have all the time, especially during winter, and you can carry them in a pocket, in a wallet, or make it fun by turning them into a keychain.
As an Amazon Associate I earn from qualifying purchases. This post may contain affiliate links. Please see the Disclosure Policy for details.
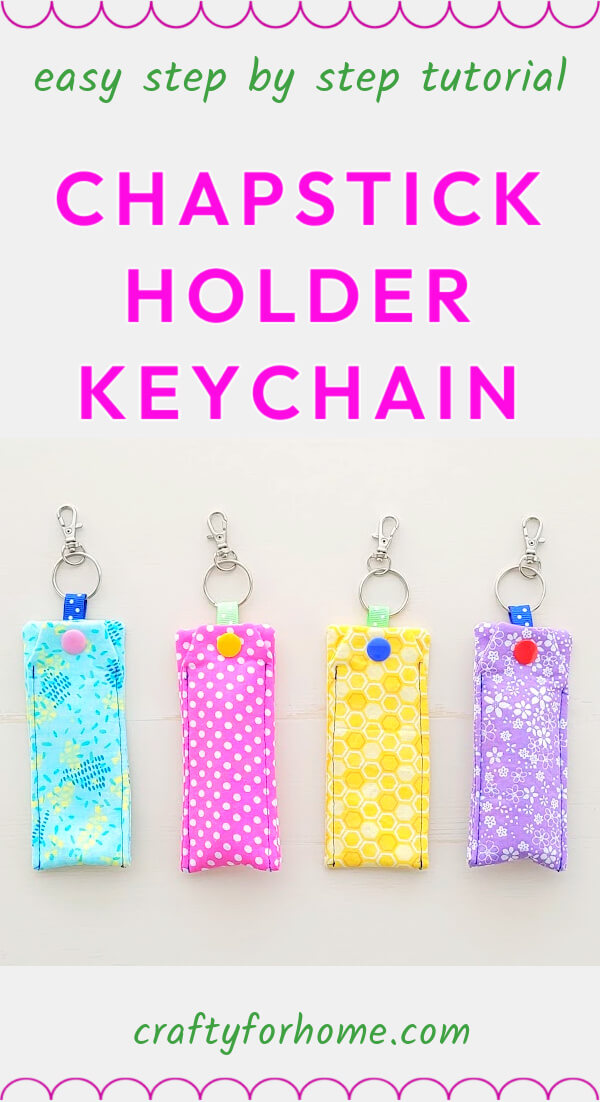
Add this custom keychain to the list when the back-to-school season is approaching. It is a cute addition to the backpack charm, or you can use it as a gift for friends.
Supply For Making Chapstick Holder
Use a piece of rectangle fabric and batting with the measurement below for the chapstick holder keychain pattern.
The pouch is closed and secure with the snap button so the chapstick won’t fall out. If the snap button is unavailable, use a button with a buttonhole or a little hook and loop for the fastener.
I used cotton fabric scraps from various projects a while ago, the oversized hot pad, pie plate cozy, and bunny treat bag. The purple one is from the fat quarter bundle I use for making the hexagon coaster.
- 1 sheet of 5″ x 10″ cotton fabric or jolly bar size fabric
- 1 sheet of 2.25″ x 10″ fusible fleece or iron-on non woven fusible interfacing
- 1″ grosgrain ribbon
- Keyring
- Metal swivel lobster clasp
- Plastic snap buttons and fastener plier tool
- Disappeared ink fabric marker
- Quilting clips or pins
- Scissors
- Ruler
- Sewing machine
- Ironing machine
Chapstick Holder Keychain Tutorial
The video tutorial is also available. Click here to watch Chapstick Holder Keychain video tutorial on the Crafty For Home YouTube channel and subscribe for more videos.
Fold the fabric in half so the fabric is the exact measurement as the fusible fleece. And the fabric’s right side faces each other.
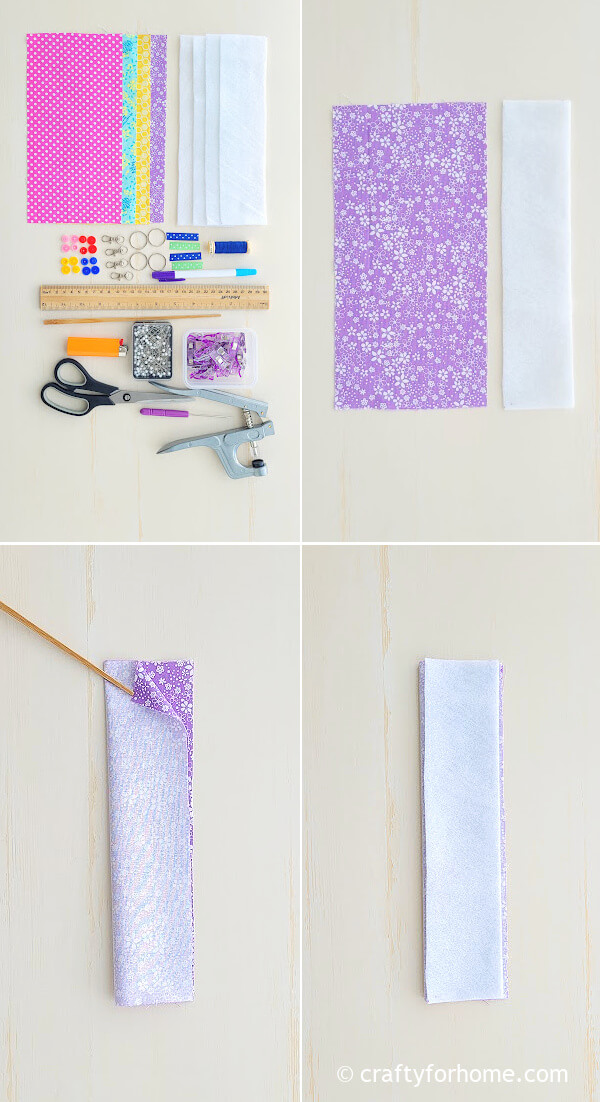
Put the fusible fleece on top of the fabric. Pin it or use quilting clips.
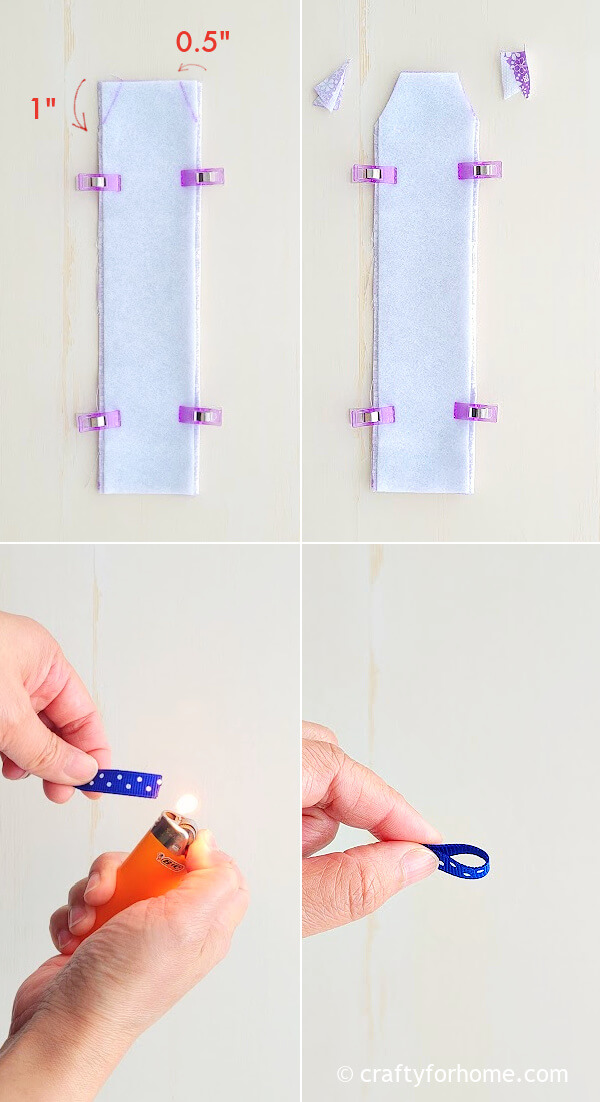
Measure on one short side, 1 ” from the corner to the long side and 0.5″ from the corner to the short side.
Seal the frayed edge of the ribbon piece by using a lighter.
Fold the ribbon half, then pin it on the non-marked short side between the fabric’s right side.
Clip one of the short side along the marked line.
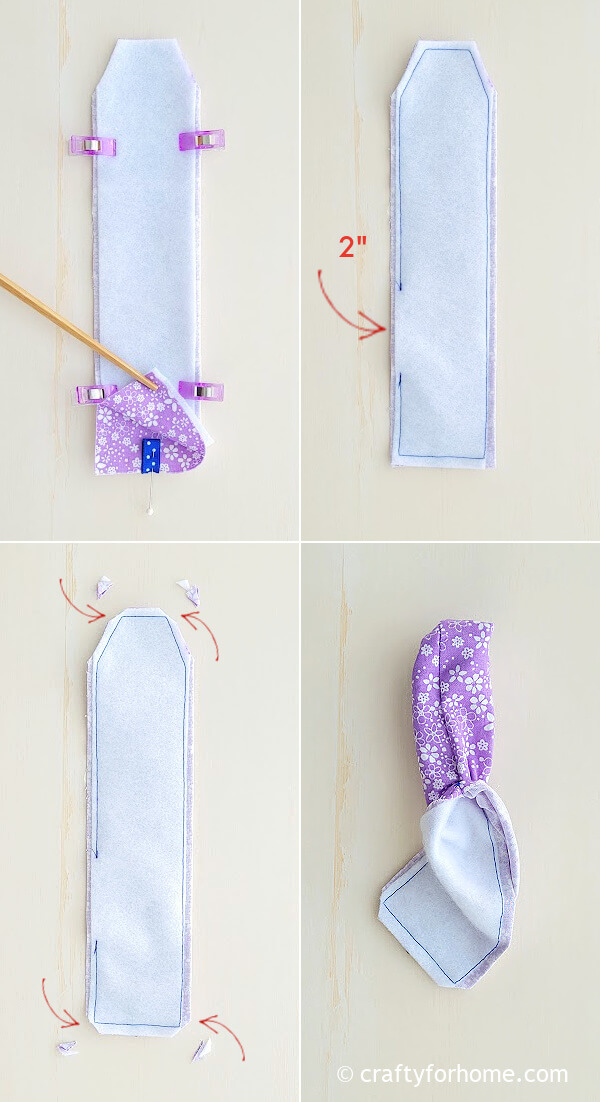
Draw the line 0.25″ along the edge for seam allowance.
Sew along the seam allowance line, then skip 2″ for the opening gap.
Clip each corner to reduce bulk.
Turn the fabric right side out.
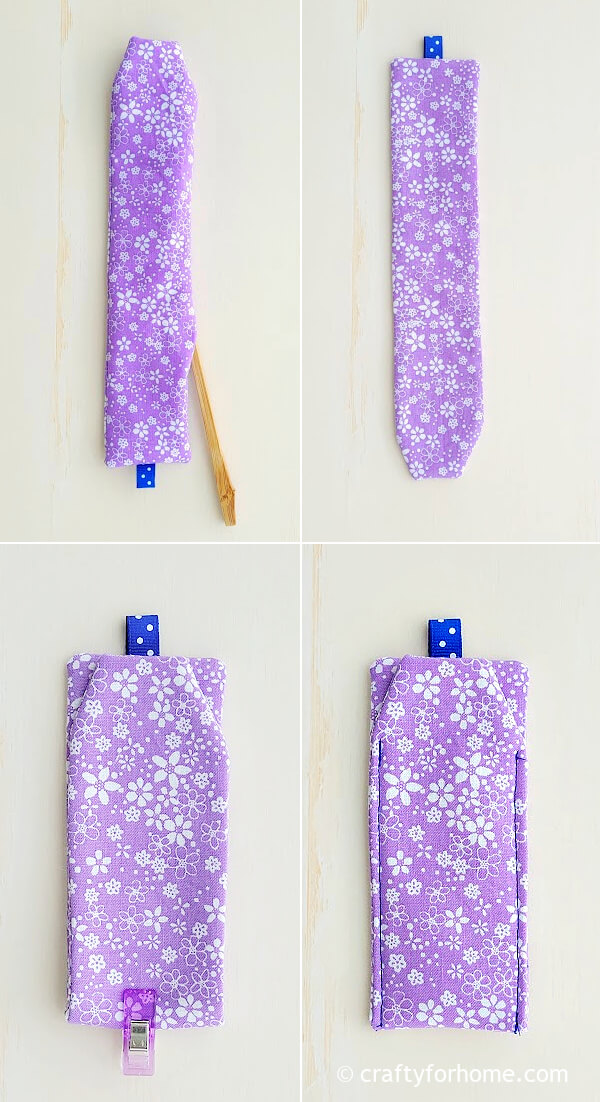
Push each corner with the chopstick.
Press the fabric with the ironing machine.
Fold the fabric in half, then topstitch on both long sides and close the opening at the same time.
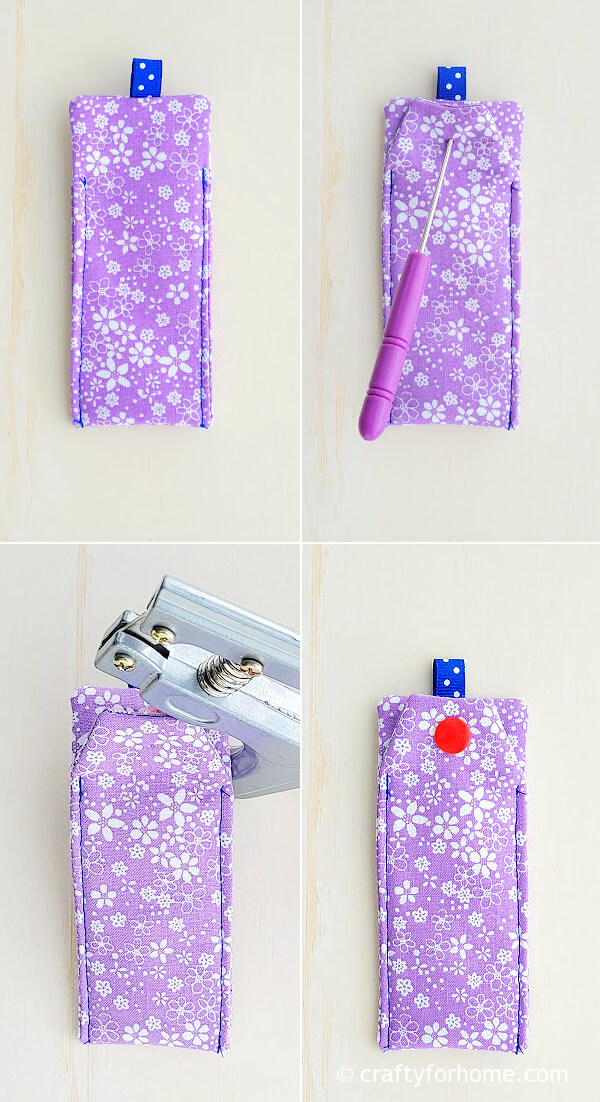
Attach the snap button.
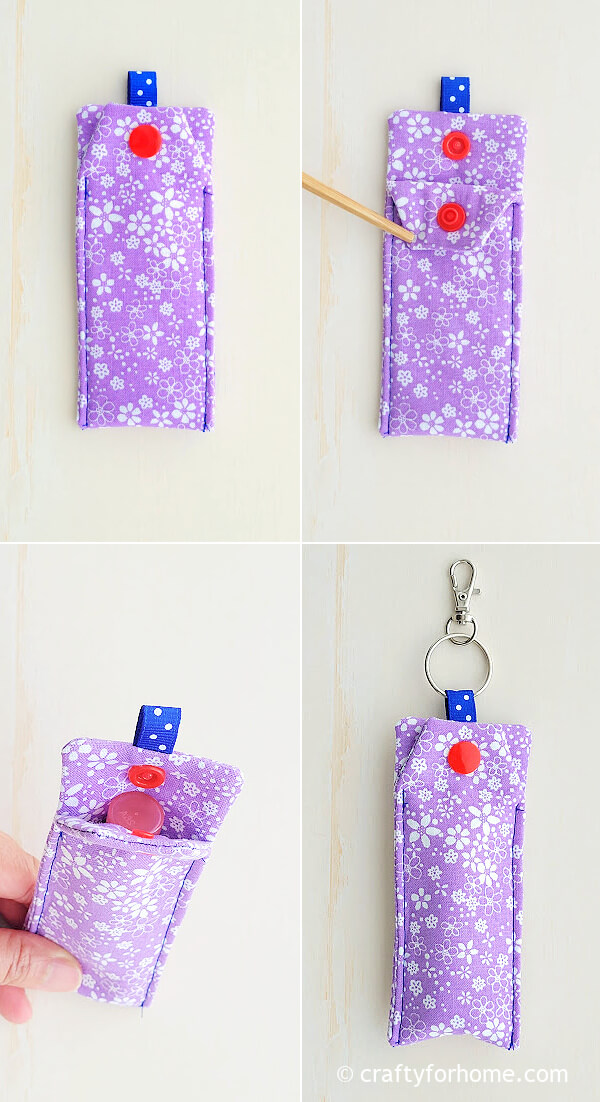
Attach the keyring to the ribbon tab and the swivel lobster clasp.
Put your favourite chapstick in the pouch.
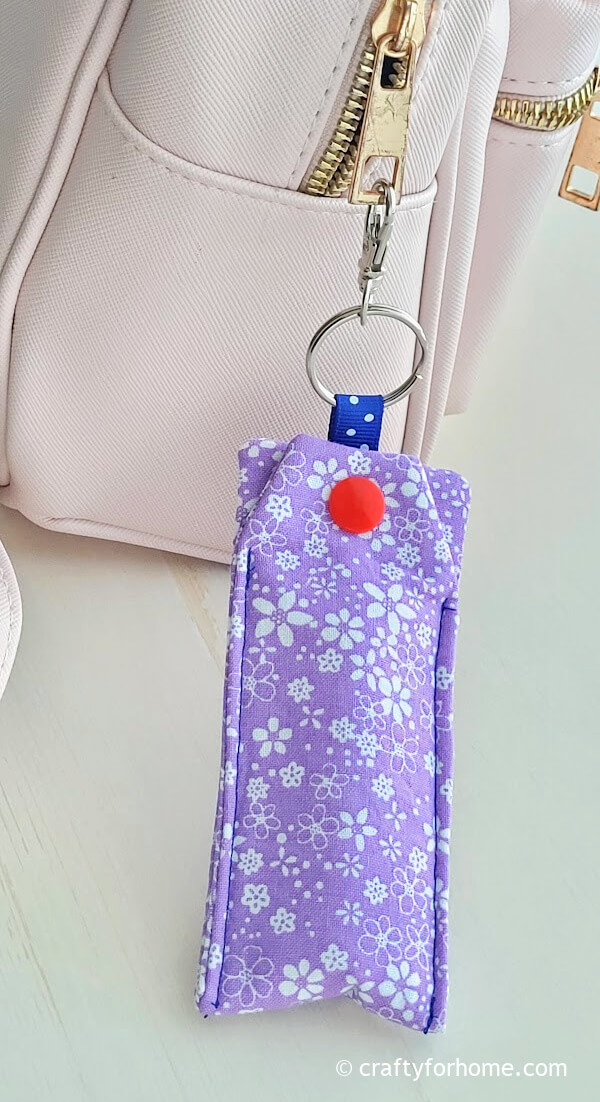
Now your DIY chapstick holder keychain is ready to use. You can attach it to the backpack, purse, or car keys.
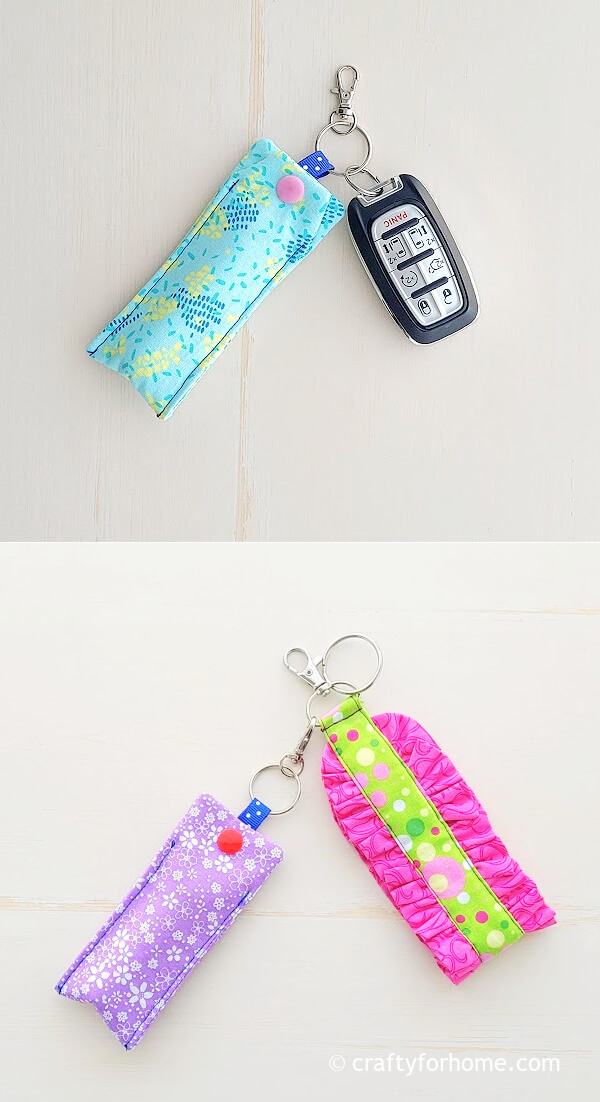
I like to pair it with the quarter keeper holder and then attach it to the car key. These things are convenient to have.
Or fair it with the ruffled key fob wristlet for a fun handmade gift set.
Use fabric scraps to make a chapstick holder with a snap button. #chapstickholder #keychaintutorial Share on X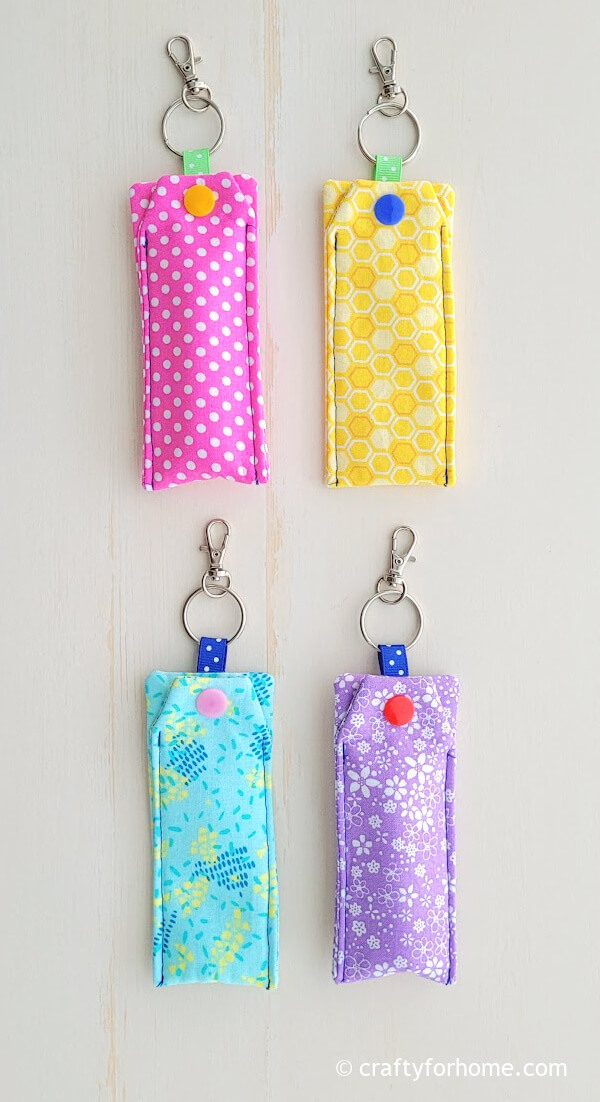
Attach the lip gloss holder to the backpack or purse as a keychain charm for travelling or daily errands.
More Sewing Projects By Using Fabric Scraps
- Heart-Shaped Fabric Yo-Yo Keychain
- Easy Fabric Bookmark
- Fridge Door Handle Covers
- Carrot Tops Egg Cozy
- Coffee Cup Sleeve Cozy
Easy Sewing Tutorial To Make Chapstick Holder Keychain With Free Pattern
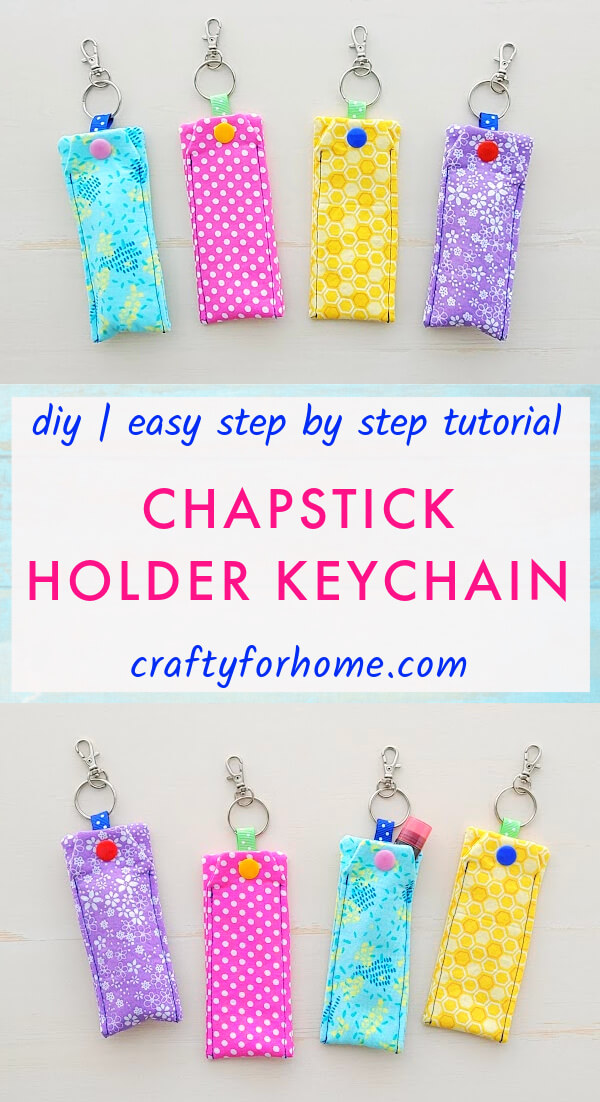
Chapstick Holder Keychain Sewing Tutorial
This DIY chapstick holder keychain is easy to make from fabric scraps and has a snap button to secure the chapstick inside the pouch.
Materials
- 1 sheet of 5" x 10" cotton fabric or jelly roll-size fabric
- 1 sheet of 2.25" x 10" fusible fleece or iron-on non-woven fusible interfacing
- 1" ribbon
- Keyring
- Metal swivel lobster clasp
- Plastic snap buttons and fastener plier tool
Tools
- Disappeared ink fabric marker
- Quilting clips or pins
- Scissors
- Ruler
- Sewing machine
- Ironing machine
Instructions
- Fold the fabric in half so the fabric is the exact measurement as the fusible fleece. And the fabric's right side faces each other.
- Put the fusible fleece on top of the fabric.
- Pin it or use quilting clips.
- Measure on one short side, 1 " from the corner to the long side and 0.5" from the corner to the short side.
- Seal the frayed edge of the ribbon piece by using a lighter.
- Fold the ribbon half, then pin it on the non-marked short side between the fabric's right side.
- Clip one of the short side along the marked line.
- Draw the line 0.25" along the edge for seam allowance.
- Sew along the seam allowance line, then skip 2" for the opening gap.
- Clip each corner to reduce bulk.
- Turn the fabric right side out.
- Push each corner with the chopstick.
- Press the fabric with the ironing machine.
- Fold the fabric in half, then topstitch on both long sides and close the opening simultaneously.
- Attach the snap button.
- Attach the keyring to the ribbon tab and the swivel lobster clasp.
- Put your favourite chapstick in the pouch.

Leave a Reply