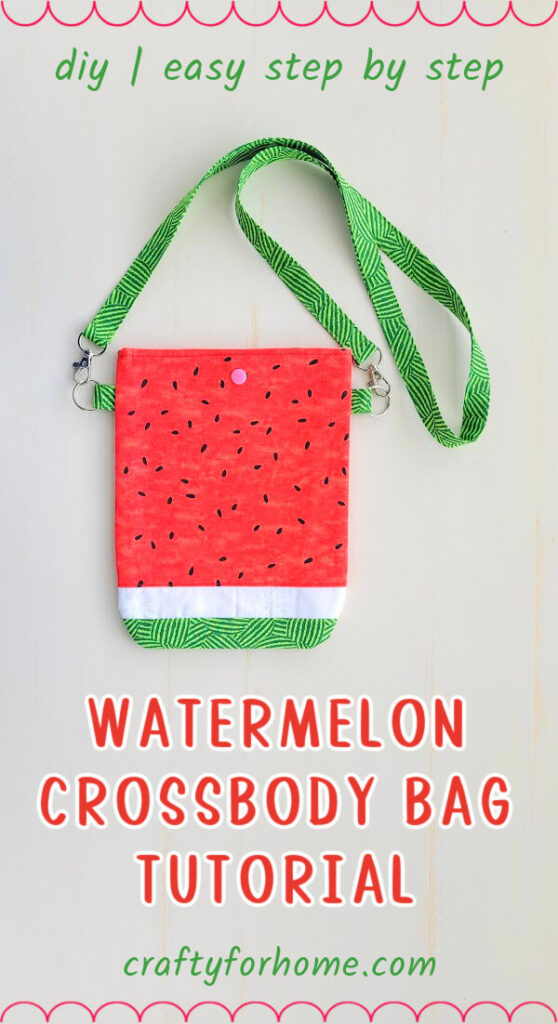
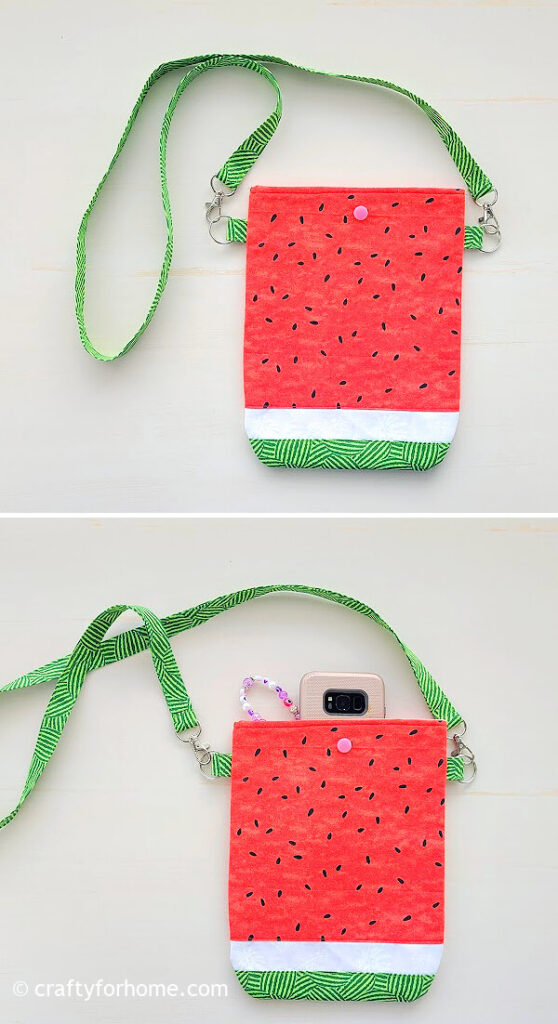
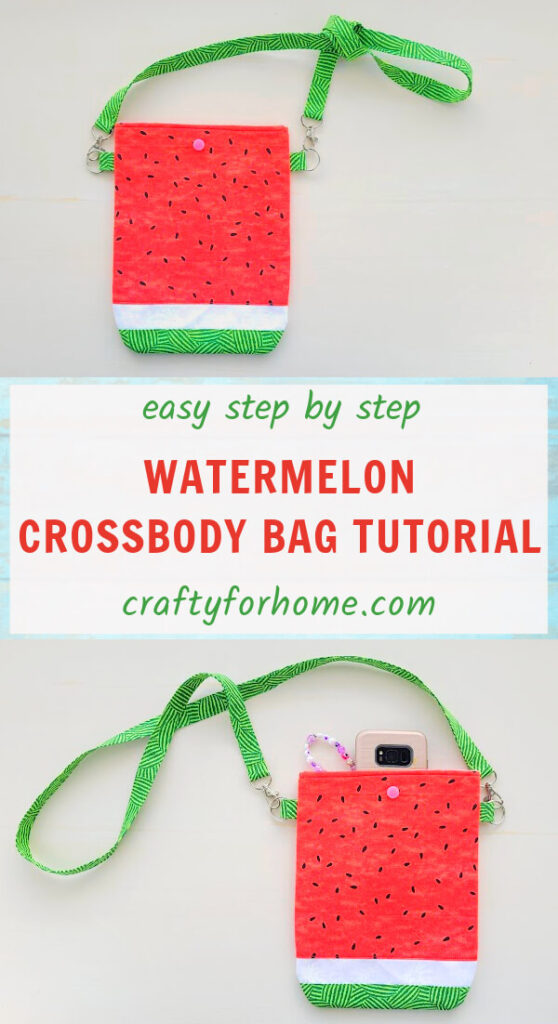
Sewing tutorial to make a watermelon crossbody bag as a phone bag or a summer bag from fat quarter fabrics or fabric scraps. This watermelon crossbody bag has ample space for a cell phone, snacks, cash, and cards.
Easy Watermelon Purse
It’s seasonal to find a watermelon-printed fabric at the fabric store. These fabric prints are great for summer sewing projects. But you can use the items from the summer project all year long.
As an Amazon Associate I earn from qualifying purchases. This post may contain affiliate links. Please see the Disclosure Policy for details.
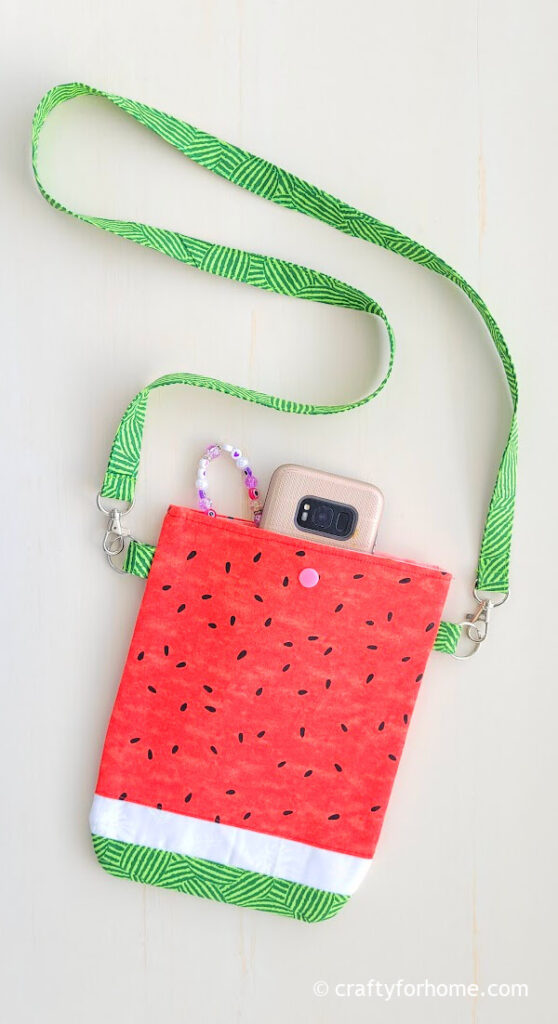
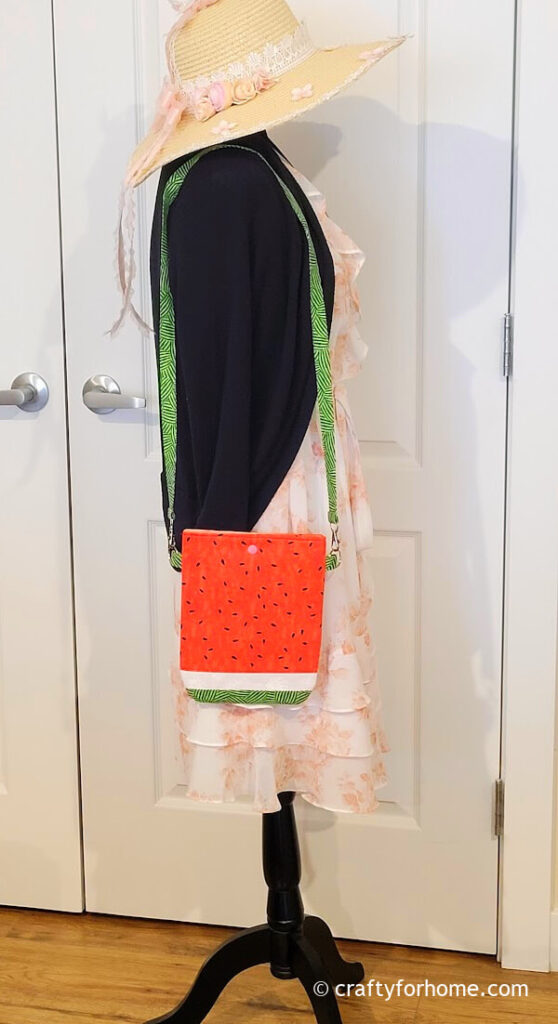
This DIY watermelon purse uses seasonal fabric prints, but it’s also functional for everyday wear as a daily purse or as a fruit-themed watermelon phone bag.
Supply To Make Watermelon Purse
This purse uses watermelon theme fabrics. If you can’t find one similar to this, use solid red, white, and green fabrics, then use a permanent fabric marker or Sharpie to draw watermelon seeds on the red fabric once the purse is ready.
Use a hook-and-loop fastener or a snap button for the bag’s closure. I use a pair of snap buttons because they’re easy and quick to put together. Use the same green fabric or a green extra wide double-fold bias tape.
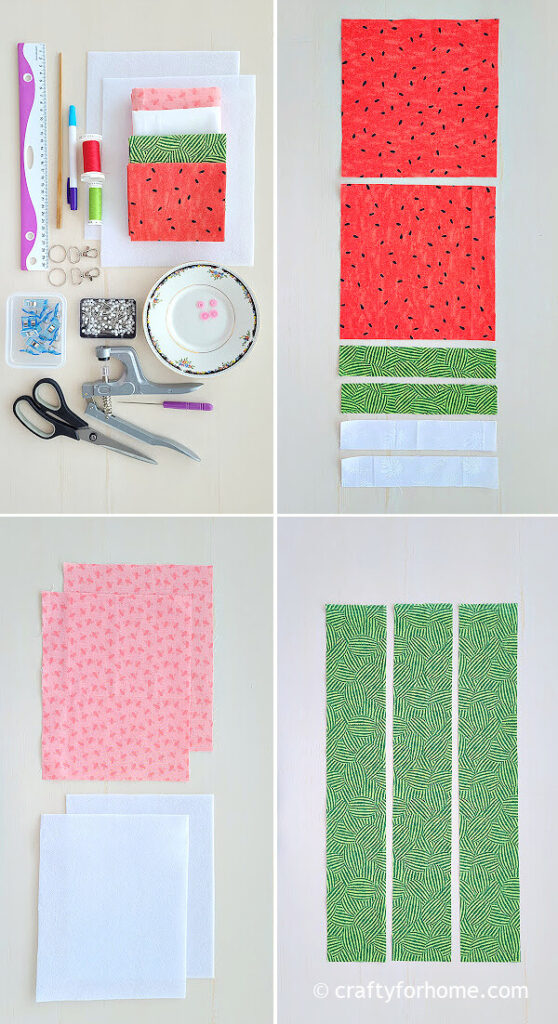
- 2 pieces of 8″ x 8″ red fabric
- 2 pieces of 1.5″ x 8″ white fabric
- 2 pieces of 1.5″ x 8″ green fabric
- 2 pieces of 10″ x 8″ of any color for the inner layer. I use pink fabric
- 2 pieces of 10″ x 8″ fusible fleece
- 3 pieces of 3″ x 17″ or 1 piece of 3″ x 51″ green fabric can be matched with the green fabric for the outer layer, or use an extra wide double-fold bias tape.
- 2 pieces of key rings and swivel lobster clasps
- 1 pair snap buttons and plier kit for snap button
- Disappeared ink marker. I use this dual-purpose fabric marker
- Pins or quilting clips
- Ruler
- Scissors
- Thread
- Chopstick
- Sewing machine
- Ironing machine
Watermelon Crossbody Bag Tutorial
The video tutorial is also available. Click on this link to watch the Watermelon Crossbody Bag Sewing Video Tutorial on my YouTube channel and subscribe for more videos.
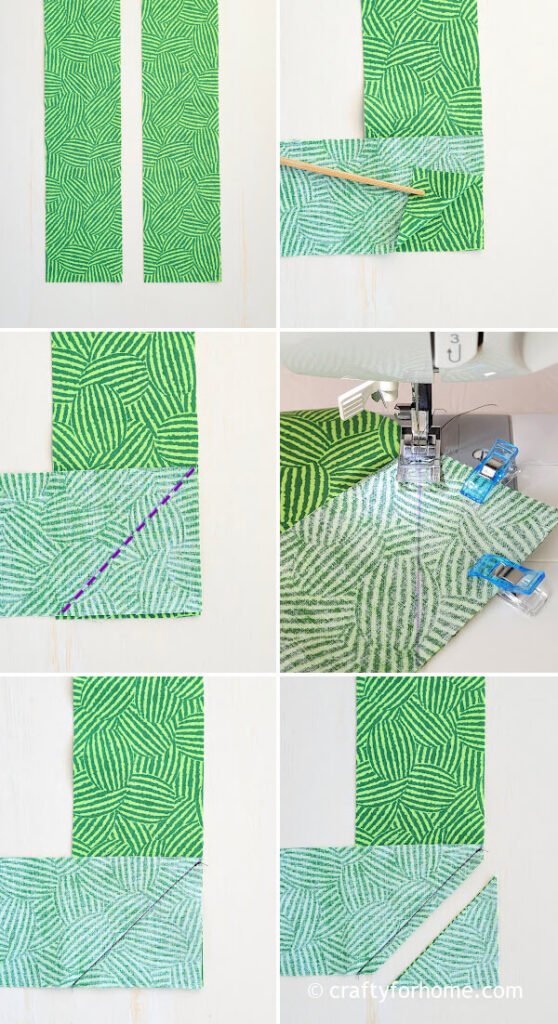
To make the bag strap, place two strips of fabric together at a 90° angle, with the right sides of both fabrics facing each other.
Draw a diagonal line across the corner and sew along it.
Add and sew the other fabric strip using the same process as before. Trim the fabric 0.25″ from the stitched line.
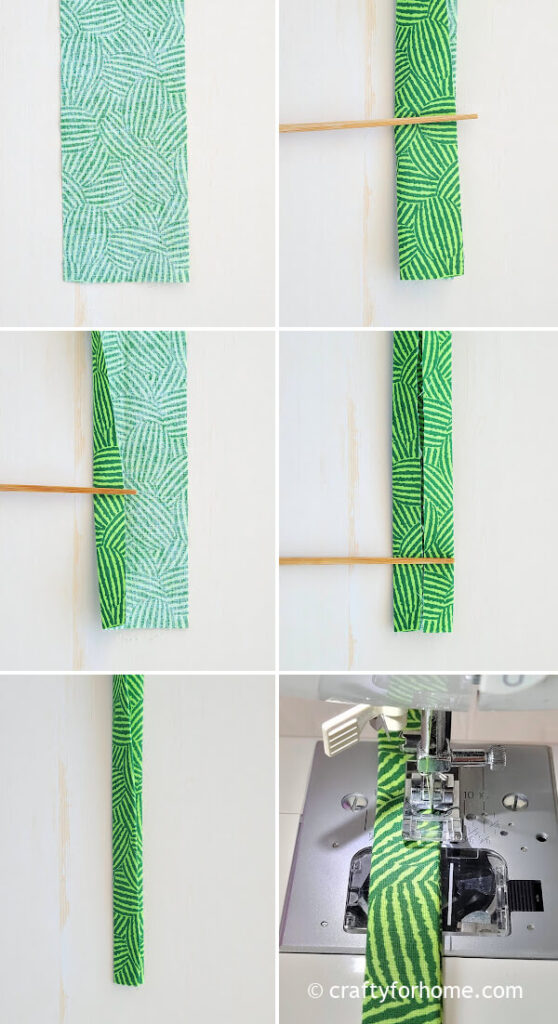
With the wrong side of the fabric facing up, fold the fabric strip in half lengthwise. Then, fold both raw edges inward and fold them again. Press it with a clothes iron. Topstitch along both long edges.
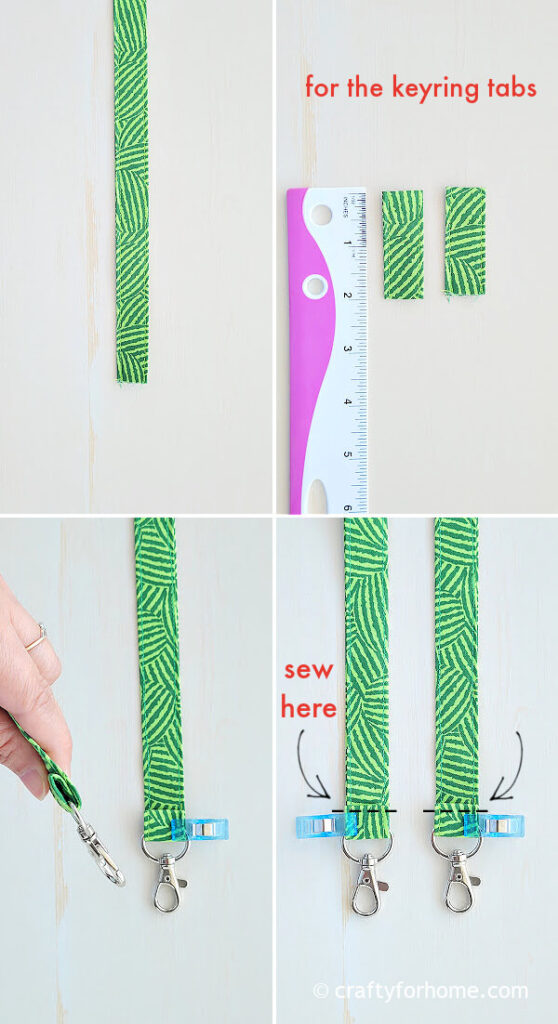
Cut 2 pieces of 2″ long each from the strap for the tabs. Insert the swivel clasp on both strap ends. Fold and sew the fabric strap ends.

To make the bag’s outer layer, pin the green and white fabric strips with the right side of both fabrics facing each other.
Sew along one long edge with a 0.25″ seam allowance.
Pin the other long edge of the white fabric with the red fabric, with the right side of both fabrics facing each other. Do the same with the other red fabric piece.
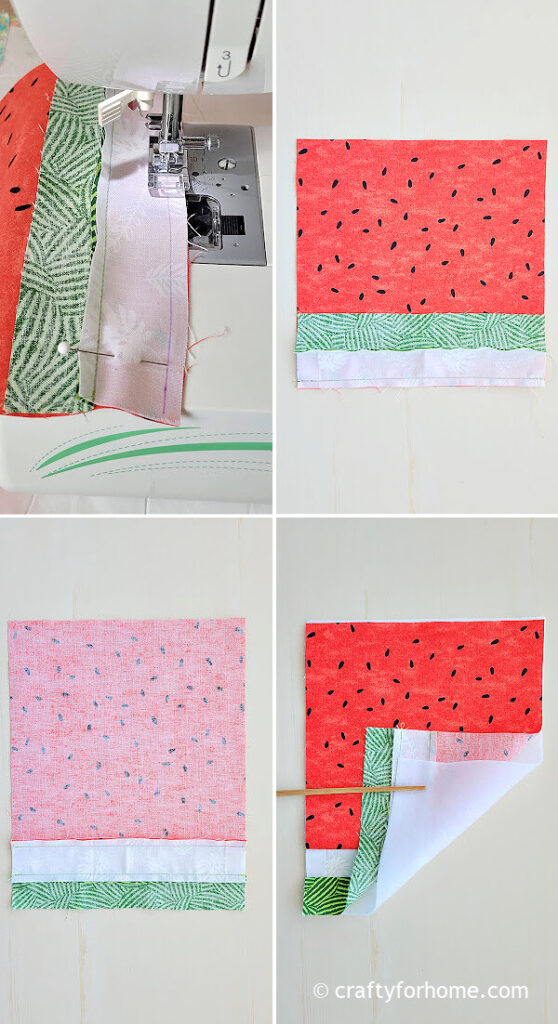
Sew along the long edges with a 0.25″ seam allowance.
Press it with a clothes iron with the white fabric seam flat toward the red and the green fabric.
Pin the fusible fleece on both fabric pieces. Using the matching thread colour, topstitch the red and green fabric edge along the seam.
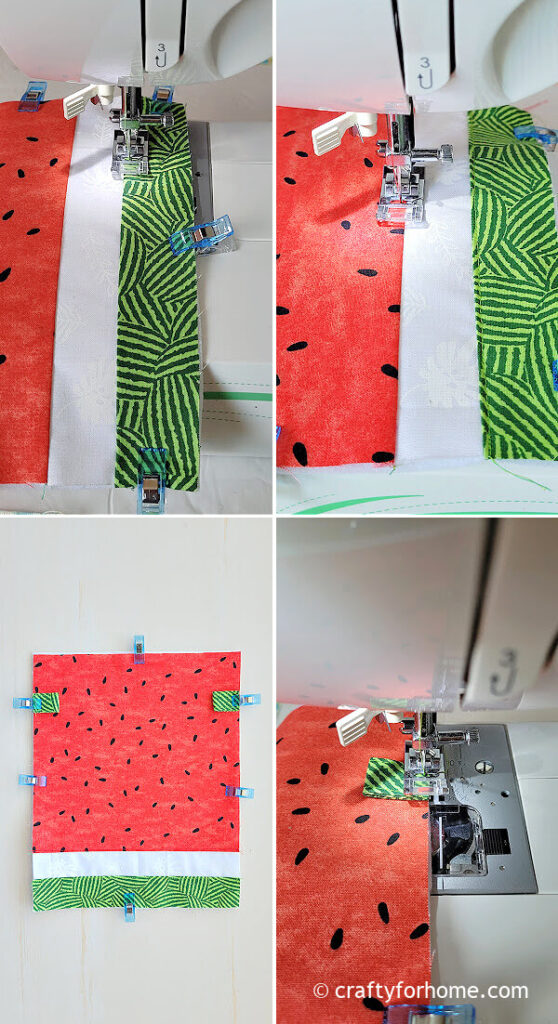
Fold the tab in half, then pin the raw edge of both tabs 1.5″ down from the corner on both sides of one red fabric layer. Sew both tabs close to the edge to keep them in place.
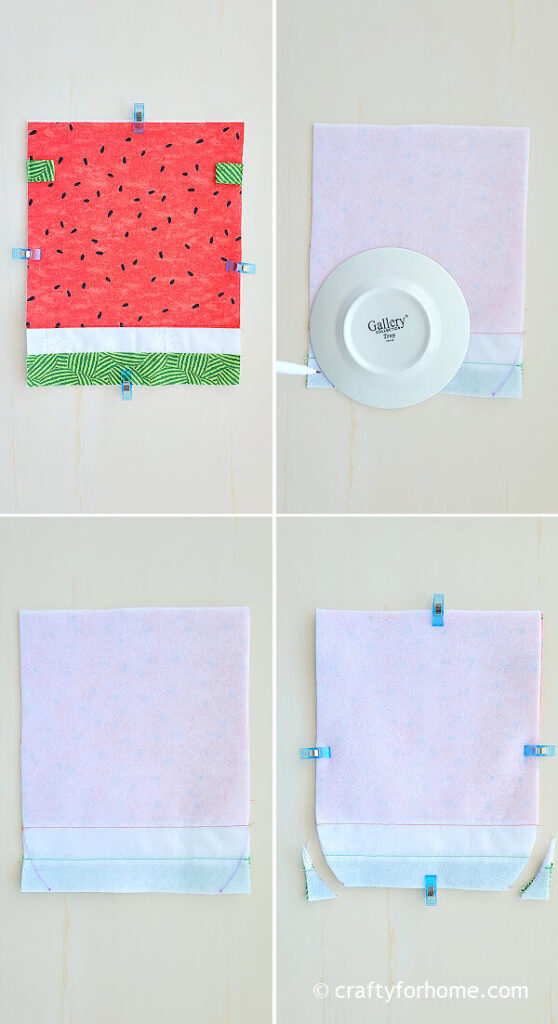
On the other red fabric layer, mark 1″ left and right from both green fabric corners. Use a protractor or a small plate to draw a curved line on both sides from the 1″ marked spot to the end of the red stitched line.
Pin the two fabric layers together, with the right sides facing each other. Trim the extra material along both curved lines.
Sew along the edge of the pouch with a 0.25″ seam allowance.

For the inner layer, pin the two fabrics together with the right sides facing each other. Mark 2.25″ up and 1″ left and right from both bottom corners.
Use a protractor or a small plate to draw a curved line on both sides from the 1″ marked spot to the 2.25″ marked spot. Trim the extra material along both curved lines.
Sew along the edge from the top right to the top left corner, with a 0.25″ seam allowance. Skip 2″ for the opening gap.
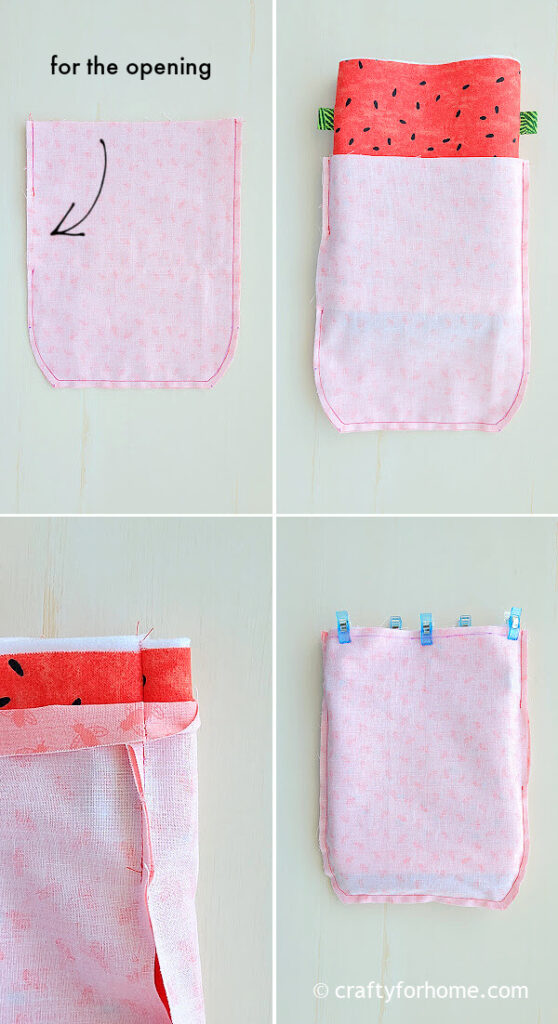
Turn the outer layer on the right side out. Insert the outer layer bag into the inner layer, aligning the raw edges on the top side.
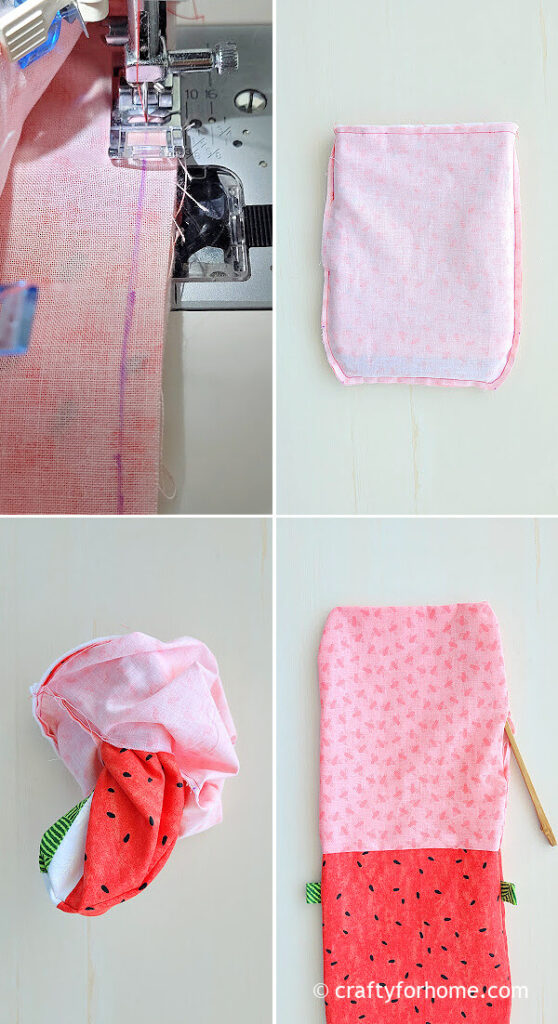
Sew along the top edge of the bag with a 0.25″ seam allowance. Turn the bag right side out through the opening gap. Use a chopstick to push each corner of the bag.
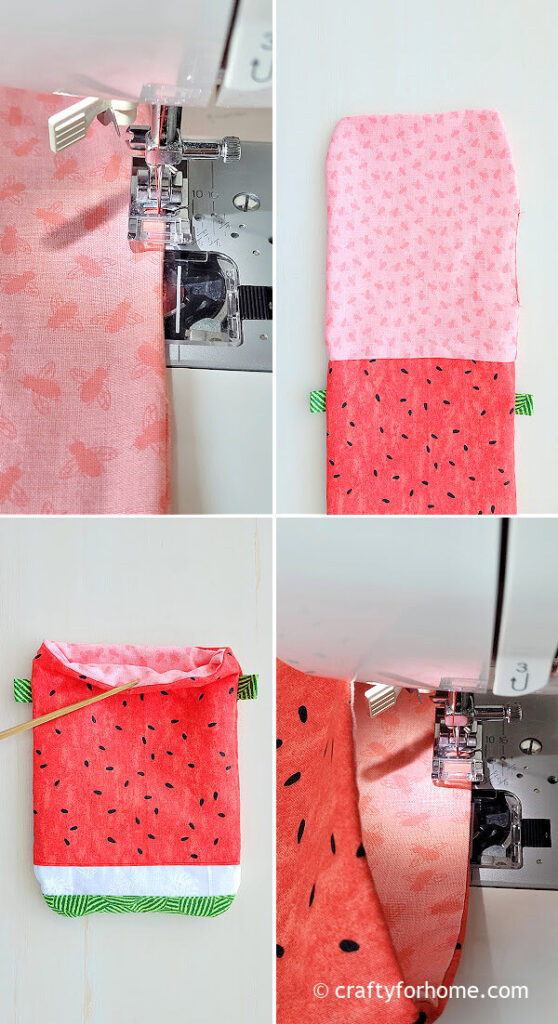
Fold the opening inward and topstitch to close it. Push the inner layer inside the bag, then press the bag with a clothes iron. Topstitch the top edge.
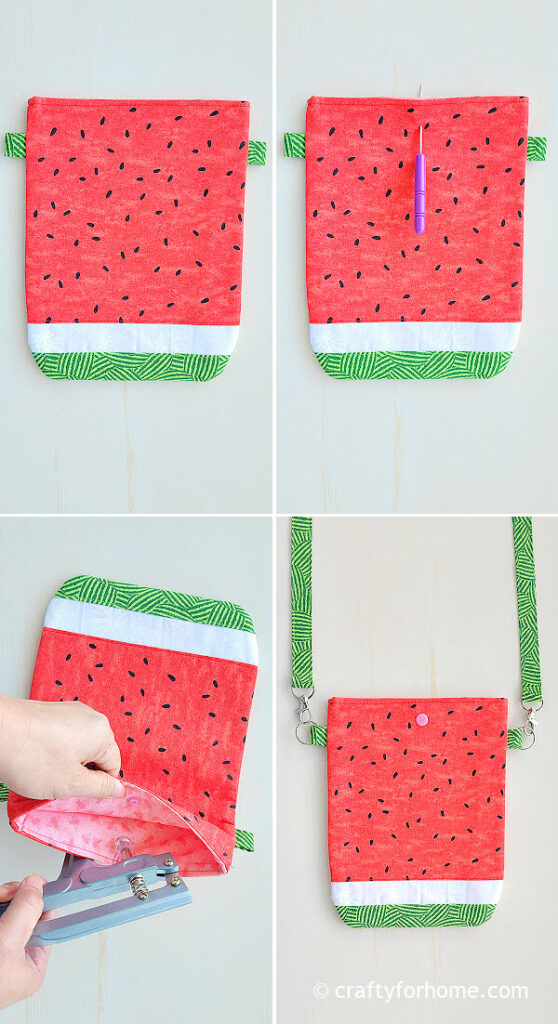
Mark the spot on the center, near the top side, for the snap button. Attach the snap button. Attach the keyring on each tab, then attach the swivel clasp on each keyring.
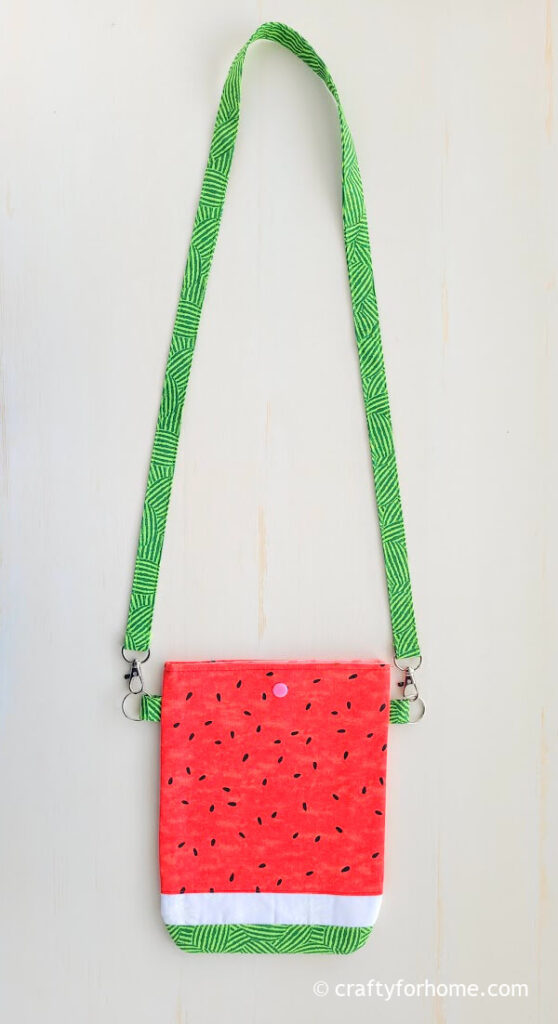
The watermelon crossbody bag is ready to use.
Size Of The Watermelon Summer Bag
The bag size is 7.25″ x 9.25″ with a 41.5″ fabric strap. There is enough space for a phone, wallet, coin pouch, snacks, keys, a novel, or a notebook in the bag.
A cute and fun crossbody bag to wear for summer vacation, picnics, errands, beach time, walking the pet, or daily wear.
More Fruit-Theme Sewing Projects
- Color Block Apple Coaster
- Avocado Coaster Tutorial
- Two Shapes Of Watermelon Coasters
- Watermelon Treat Bags
Easy To Make DIY Watermelon Crossbody Bag For Summer


Leave a Reply