These gardening tips are for hardening off indoor-sown seedlings to adjust the outdoor environment before transplanting them into the garden and how it protects them from needing recovery.
Use This Guide To Hardening Off New Seedlings
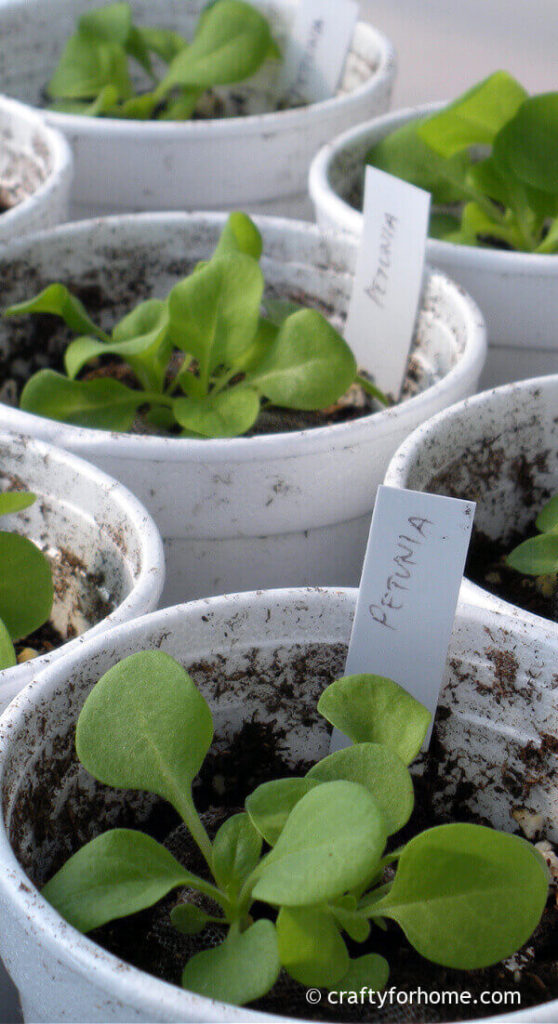
All seeds that you plant indoors a few months ago germinated, and it turns into healthy-looking seedlings. Now what? It’s time to prepare them for the outside world.
As an Amazon Associate I earn from qualifying purchases. This post may contain affiliate links. Please see the Disclosure Policy for details.
All living plants that have been grown indoors need to acclimatize first before they continue to grow outside. It doesn’t matter if the plant’s size is a little tiny with only three leaves or a mature one.
You need to prepare them for the real world out there. The plants need to thrive with the outdoor element, not surviving to the condition.
The Importance Of Hardening Off
How important is hardening off seedlings? If you grow plants from seed indoors, the hardening off process is an essential and crucial step before transplanting outdoor.
Indoor grown plants tend to have a tender stem and foliages because of the artificially set up growing condition indoors. There is no wind, rain, cold night, or direct sunshine indoors.
Gradually exposing them to different environments outside will reduce plant stress and make the seedlings grow stronger.
When To Start Hardening Off Seedlings
The ideal time to start hardening off seedlings is about 1-2 weeks before you transplant them into their final spot in the garden. This time frame will give the young plants adapt to the outdoor elements.
The two weeks periods apply to seedlings that grow indoors before the spring is coming or house plants that grow all year long indoors.
Plants that grow in a cold frame, greenhouse, or hoop house still need to harden off.
What Happens If You Don’t Harden Off Plants Properly
If you suddenly move the seedlings to the outside environment, you risk your plants to the worst things you wouldn’t want to happen.
These tender seedlings will most likely dry up, get sun-scorched, wilted, or stunted if they don’t get acclimatized first.
You could save the damaged seedling like the sunburnt one, but it will take time for the plants to recover.
You might also lose these seedlings if they are some tender plant varieties like impatient flowers or coleus.
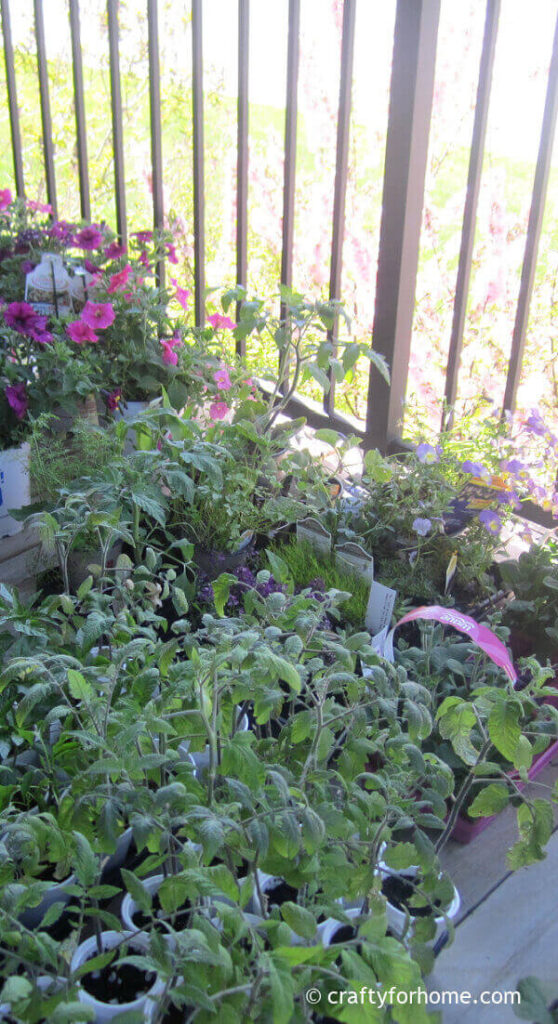
The Best Place To Harden Off Plants
Once these seedlings ready to harden off, find the best place to put them outside. A shaded area or covered porch is the place for it.
If all too sunny or the wind is blowing too strong around this area, you can manipulate the shade by placing the patio chairs or umbrella.
The cold frame is also the best place to harden off plants if available. You can get this simple cold frame, use the large clear tote box, or build a DIY cold frame from this plan.
How To Harden Off Seedlings
If you will harden off seedlings that grow indoors before spring, find out when the last frost date in your area is. Start observing the temperature outside a few weeks before the last frost date and before the day you will transplant them to the garden.

When the temperature stays around the low 50 degrees Fahrenheit or 10 degrees Celcius, you can start hardening off these plants.
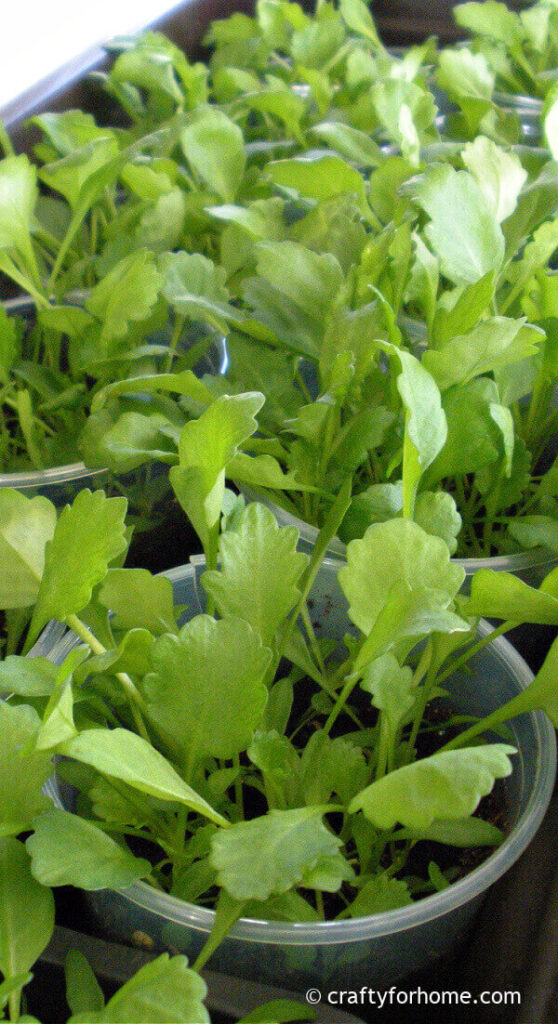
Keep the seedling plugs or containers on the tray to avoid tipping over also for easy transport.
Find a sheltered location outside. You can set up a table or shelf on the patio. Use the umbrella if there is no shelter from the rain.
Cut off the watering schedule. Let the soil dry first before you water it again.
Put the seedling tray on the table, shelf, or deck. The first day should be in a complete shade area and avoid the windy location.
Gradually increase the time outside each day. But if there is snow or frost expected, bring them in right away.
On day one, let these tender plants outside for an hour in a completely sheltered area. Then bring them back indoors.
The next day, bring the plant back outside for two hours in the shaded area and gradually expose them to the sunny spot for an hour. Then bring them in. You will start shuffling seedlings between indoor and outdoor for up to a week.
Move the seedling to a more open area each day. Gradually expose them to the sunshine, wind, or rain for a few hours each day and move them back to the sheltered area.
In a week, you will be able to leave these seedlings outside during the night. Keep them out until the transplanting date.
Early spring temperature can fluctuate as expected. Bring the plants inside if there is frost expected or the night is too cold. Alternatively, use the frost blanket to protect them from the element if it is not below the freezing point.
You can leave the cool season plants outside on a cold night a low as 45 degrees Fahrenheit. Some of them, like onion, parsley, kale, spinach, Swiss chard, snapdragon, and petunia can tolerate a light frost once they finish the hardening-off process.
But make sure you bring the warm season plants like tomatoes, peppers, zucchinis, eggplants inside if the day or night falls below 60 degrees Fahrenheit, even though these plants hardened off already.
Alternatively, use the frost blanket to protect them from the element if it is not below the freezing point.
In case you cannot bring them out for a few days, you have to repeat the process from day one again.
The plants you bought from the garden center or big box stores also need to harden off first. I often see these seedlings are in a hoop house or greenhouse during the plant sale.
They might harden it off already before putting the plants for sale. But you want to avoid the risk of losing the plants once you bring them home.
When To Transplant The Seedlings
Transplant the hardened off seedling after the last frost in your area.
Once the plants adjust to the outdoor environment, they are ready to transplant into their final spot in the garden.
My garden is in zone 4, and the last frost date is on May 23rd. I always plant indoor-grown seedlings after that date, and warm-season plants like tomatoes are on June 1st because there are still some chilly nights expected between May 23rd to June 1st.
Observe the weather again and avoid transplanting them if you still have cool nights. Use the frost blanket during these low-temperature nights.
The best time to transplant the seedling in the garden is during an overcast day. The cloudy days will reduce the plant shock again to their new environment.
Avoid transplanting plants on a bright sunny day as it may cause sunburnt on foliage. The evening is also the best time to transplant seedlings or mature plants.
It would help if you gradually exposed the plant seedlings to outside elements before transplanting. Find out why? #transplantseedling #indoorgardening Share on XTips for a better garden.
- Best Tips For Growing Carrots
- Best Tips For Growing Tomatoes In A Container
- How To Hand Pollinate Zucchini Flowers
- What To Do With Tomato Plant Suckers
- What To Do With Onion Flowers
How To Harden Off Indoor-sown Seedlings
You May Also Like
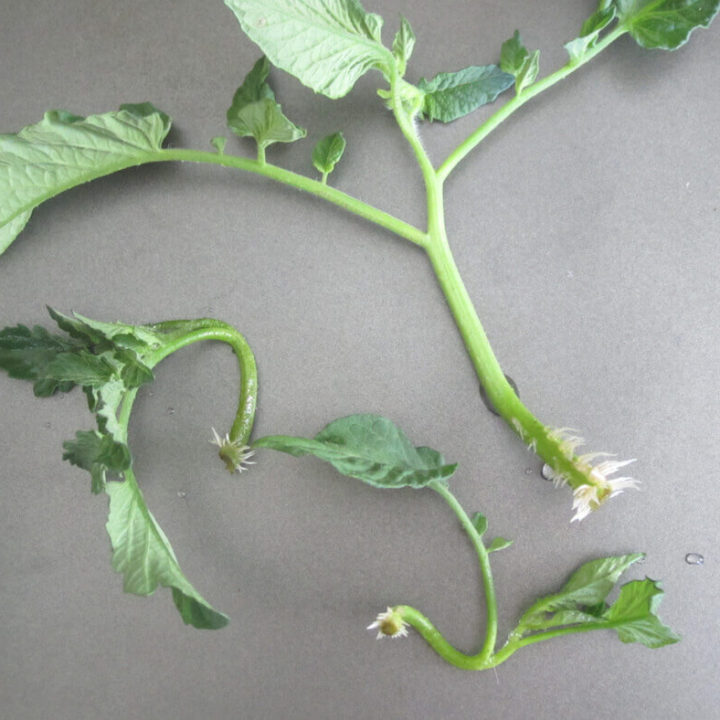
How To Root Tomato Plants From Cuttings
An easy way to grow tomatoes from cuttings and get more free tomato plants in a week without seed started involved.

How To Grow Lemongrass From Kitchen Scraps
If you like to use lemongrass, you might want to regrow lemongrass plant from scraps. Learn how easy to root the lemongrass stalk to make more plants and give you endless supply you need.
Companion Plants To Grow With Tomatoes
Plant these plants next to tomatoes to help it grow, benefit each other, deter certain pests and get the best tomato crops ever.


Leave a Reply