This tutorial is for how to sew fabric tissue box cover as an easy way to update the interior decor that is simple but stylish within budget.
Use This Guide To Make DIY Reversible Tissue Box Cover
The original square or rectangular tissue paper box with a floral or geometric print still looks nice. However, with this tutorial, you can make a decorative tissue box cover that looks even nicer than the original one and match the fabric for the pocket tissue holder.
As an Amazon Associate I earn from qualifying purchases. This post may contain affiliate links. Please see the Disclosure Policy for details.
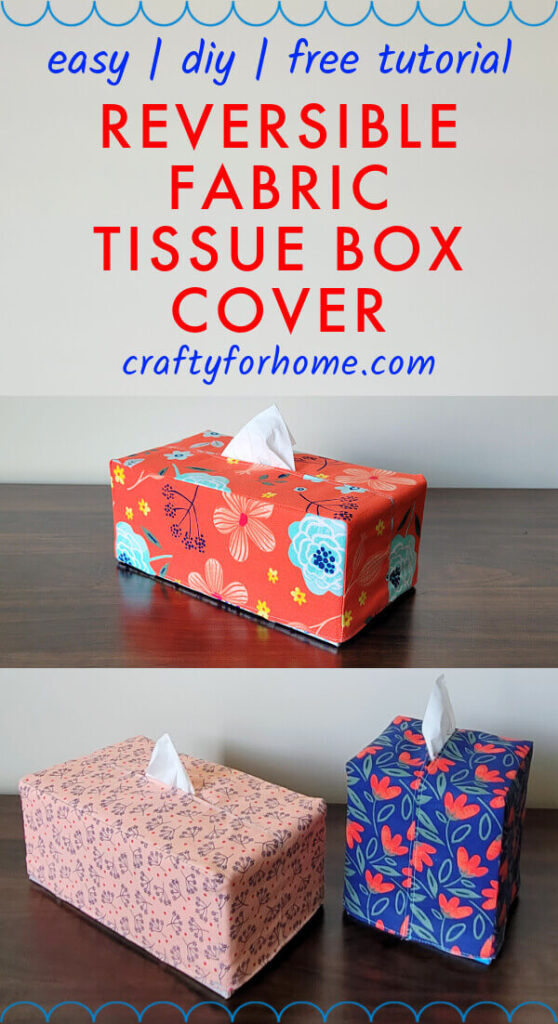
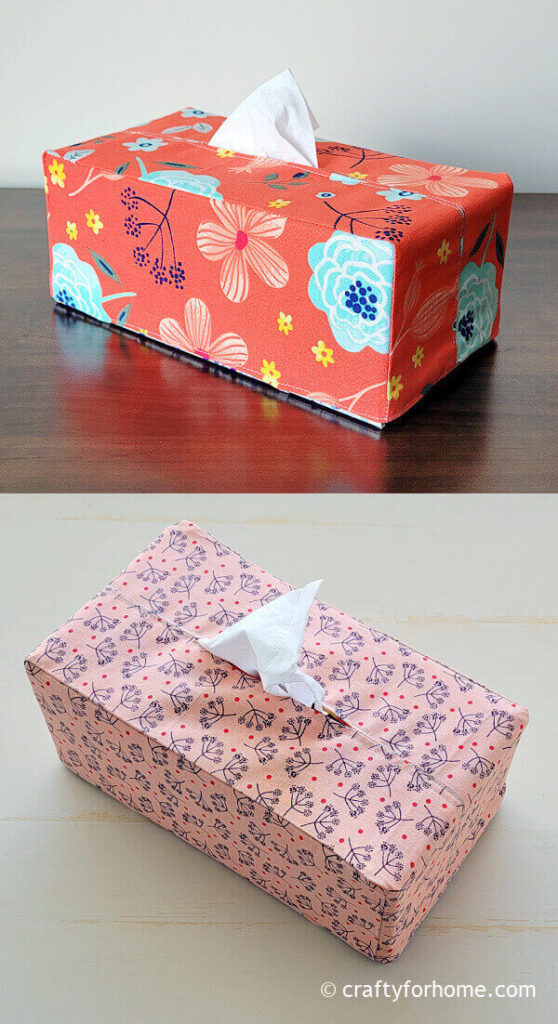
This fabric tissue box cover is reversible, so you can use both sides to alternate the looks.
You will only need a small sheet of fabric. Quilting cotton, flannel, outdoor fabric, or home decor fabric is a perfect material to use.
You can even use a pillowcase or used shirt if you would like to turn this into upcycle project. While there are so many ready-made covers that you can purchase, you can make this easy handmade fabric tissue box cover in just under an hour, anytime.
What You Need To Make Tissue Box Cover
If you decide to use new material, you can use two different prints of fat quarter-size fabric for different looks on each side. Or use half a yard of fabric for the same looks on both sides.
You might want to prewash the fabric to prevent shrinkage, then press it with the ironing machine.
- Fat quarter cotton bundle or half a yard fabric
- Disappeared ink marker, I like to use this dual-purpose fabric marker.
- Thread
- Scissors
- Pinking shears (optional)
- Pin
- Elastic (optional)
- Sewing machine
- Ironing machine
Tissue Box Cover Tutorial
See the Tissue Box Cover video tutorial here on my YouTube channel and subscribe for more videos.
For the rectangular tissue box, cut two 3.35″ x 17″ or 8.5 cm x 43.2 cm rectangular from each fabric print for the top part. Thus, you will get four rectangular fabric sheets.
Cut two 4.5″ x 9.75″ or 11.4 cm x 24.7 cm rectangular from each fabric print for the side panel. Thus, you will get four rectangular fabric sheets.
For the square-cube size tissue box, cut two 3.25″ x 15.75″ or 8.25 cm x 40 cm rectangular from each fabric print for the top part. Thus, you will get four rectangular fabric sheets.
Cut two 6.25″ x 5.25″ or 15.8 cm x 13.3 cm rectangular from each fabric print for the side panel. Thus, you will get four rectangular fabric sheets.
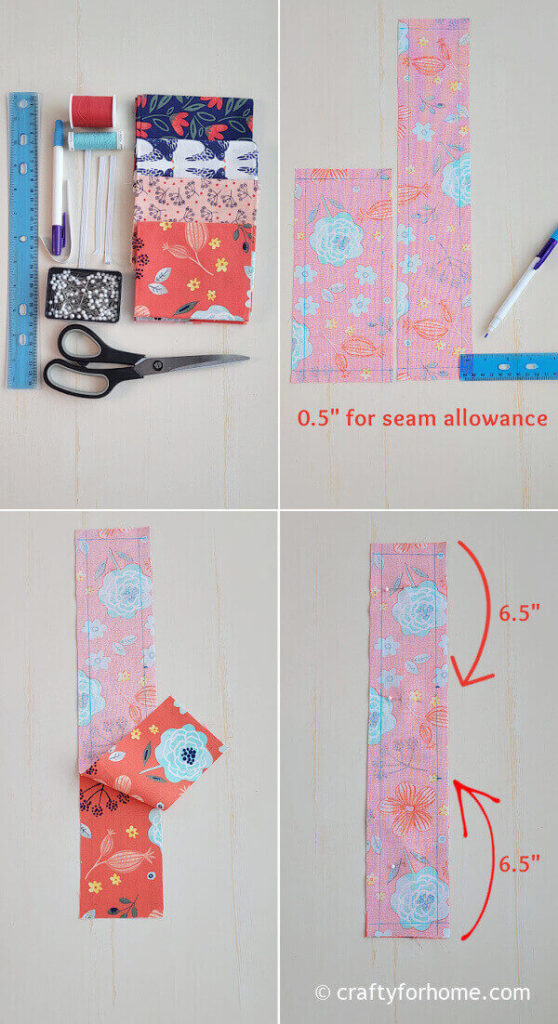
Cut two pieces of 5″ each elastic if you are using it. Mark 0.5″ for the seam allowance on each fabric piece for an easy guide to sewing.
Pin two layers of the rectangular fabric for the top, with the right side facing each other. Mark the opening for the tissue 6.5″ from each shorter side. 6″ for the square-cube tissue box.
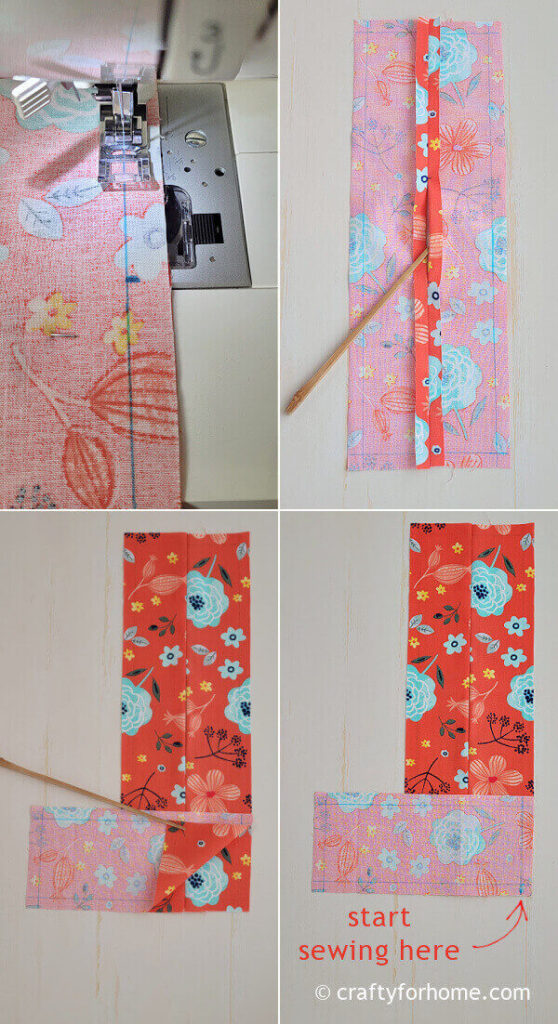
Sew on one long side until the first marked spot, backstitch, skip the sewing, start backstitch again on the second marked spot, and continue sewing.
You can use pinking shears, zigzag stitch, or serger for the raw edges. Fold the seam allowance side inward, press it with the ironing machine.
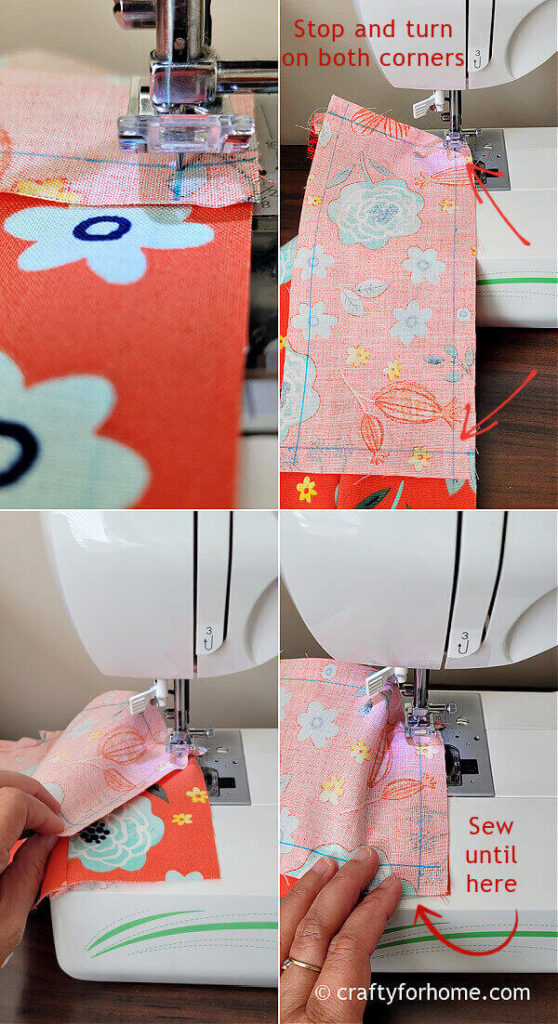
Pin the fabric for the side, align the seam allowance line.
Sew it together by starting on the edge of the fabric, sew on the seam allowance, stop stitching on the marked corner, turn and continue on the seam allowance, stop stitching on the marked corner, turn and continue on the seam allowance to the edge of the fabric.
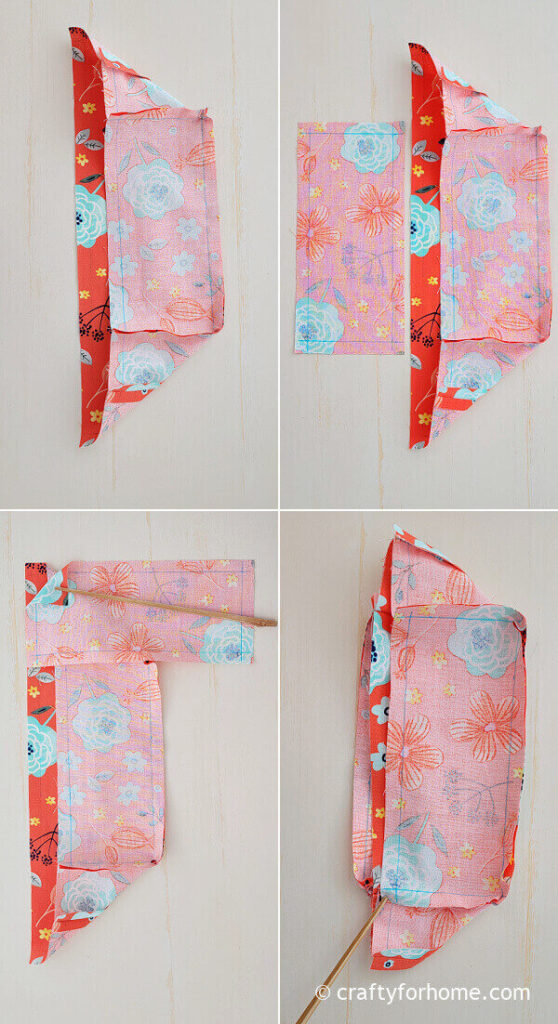
Repeat the process for the other rectangular fabric pieces for the top. And do the same thing to attach the fabric for the side.
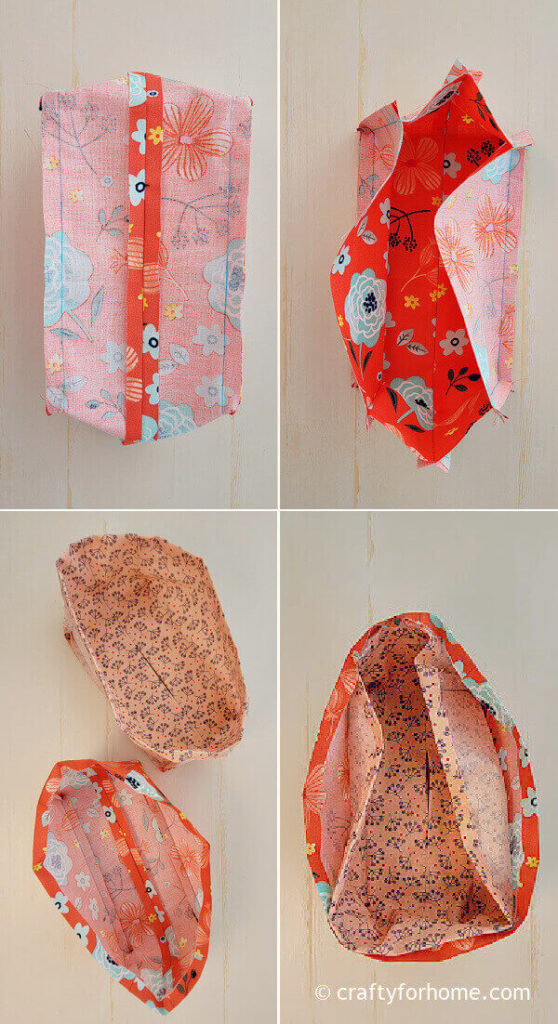
Put together both fabric box covers, with the wrong side of the fabric facing each other. Fold the bottom of the box cover along the seam allowance line, then pin it.
Pin the elastic about 2″ from each corner on the longest side and hide the elastic’s raw edge in between both fabrics.
Topstitch along the edge of the bottom of the box cover.
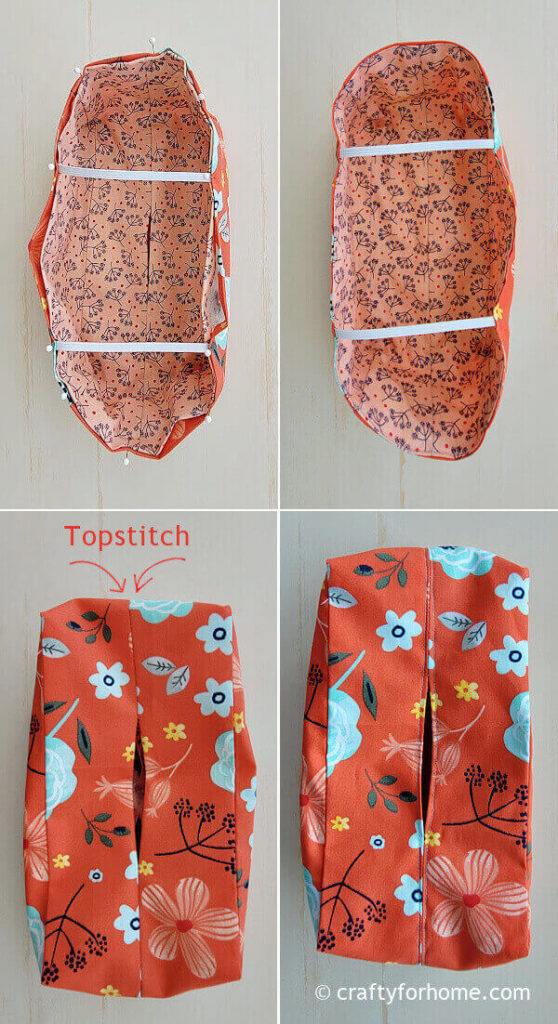
Topstitch along the top of the long rectangular fabric, so you will hide the raw fabric around the opening for the tissue.
The fabric tissue box cover is ready to use.
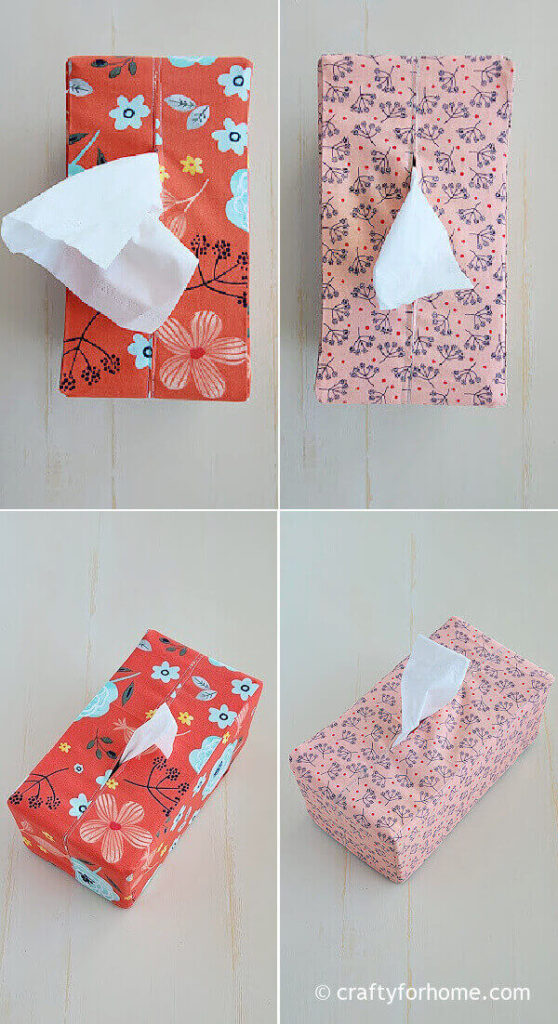
Isn’t this floral tissue box cover adorable? Then flip it to show the fabric print on the reverse side.
Sew tissue box cover from your favorite fabric print with this tutorial for an easy home decor idea. Share on XThis handmade kleenex box cover is washable. Also, it is one of the homemade gift ideas you can make for family and friends.
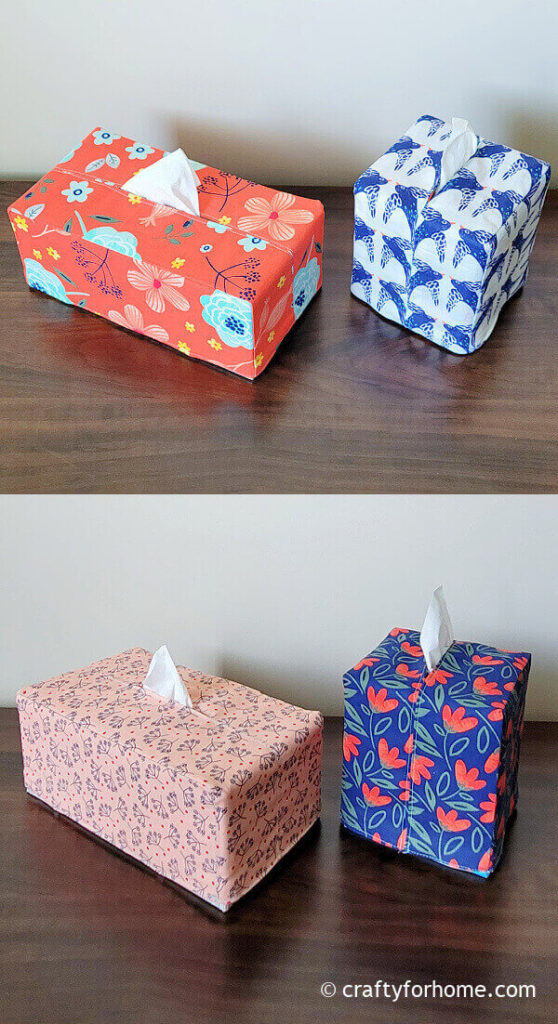
It is a simple thing to make, then pair it with a bouquet of cut flowers on a simple DIY vase. It will add an instant personalized home decor theme.
More Of Sewing Project For Household Item
- Fabric Bowl Cover
- Fabric Soup Bowl Cozy
- Fabric Cord Holder
- Zippered Cushion Cover
- DIY Ironing Board Cover
Easy DIY Reversible Fabric Tissue Box Cover You Can Make From Fat Quarter Fabric
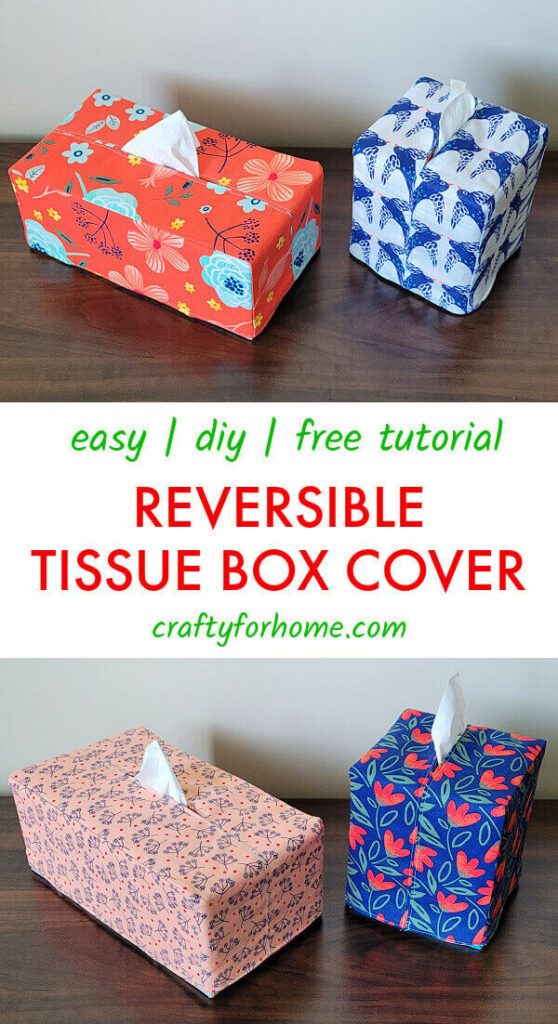
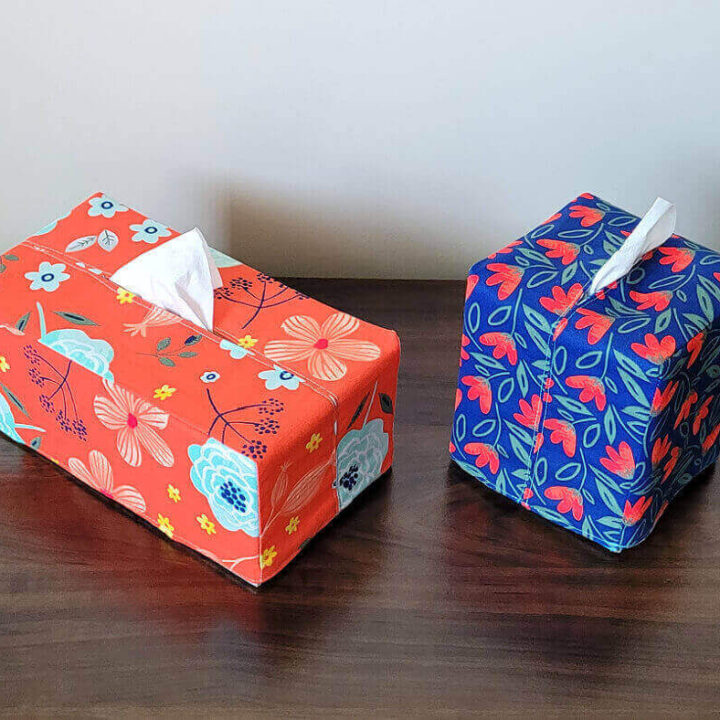
Easy DIY Fabric Tissue Box Cover Tutorial
This tutorial is for how to sew fabric tissue box cover as an easy way to update the interior decor that is simple but stylish within budget.
Materials
- Fat quarter cotton bundle or half a yard fabric
- Elastic (optional)
Tools
- Disappeared ink fabric marker
- Thread
- Scissors
- Pinking shears (optional)
- Pin
- Sewing machine
- Ironing machine
Instructions
- For the rectangular tissue box, cut two 3.35" x 17" or 8.5 cm x 43.2 cm rectangular from each fabric print for the top part. Thus, you will get four rectangular fabric sheets.
Cut two 4.5" x 9.75" or 11.4 cm x 24.7 cm rectangular from each fabric print for the side panel. Thus, you will get four rectangular fabric sheets. - For the square-cube size tissue box, cut two 3.25" x 15.75" or 8.25 cm x 40 cm rectangular from each fabric print for the top part. Thus, you will get four rectangular fabric sheets.
Cut two 6.25" x 5.25" or 15.8 cm x 13.3 cm rectangular from each fabric print for the side panel. Thus, you will get four rectangular fabric sheets.
Cut two pieces of 5" each elastic if you are using it. - Mark 0.5" for the seam allowance on each fabric piece for an easy guide to sewing.
- Pin two layers of the longer rectangular fabric for the top, with the right side facing each other. Mark the opening for the tissue 6.5" from each shorter side. 6" for the cube box.
- Sew on one long side until the first marked spot, backstitch, skip the sewing, start backstitch again on the second marked spot, and continue sewing.
- You can use pinking shears, zigzag stitch, or a serger for the raw edges.
Fold the seam allowance side inward, press it with the ironing machine. - Pin the fabric for the side, align the seam allowance line.
Sew it together by starting on the edge of the fabric, sew on the seam allowance, stop stitching on the marked corner, turn and continue on the seam allowance, stop stitching on the marked corner, turn and continue on the seam allowance to the edge of the fabric. - Repeat the process for the other rectangular fabric pieces for the top. And do the same stitching process to attach the fabric for the side.
- Put together both fabric box covers, with the wrong side of the fabric facing each other. Fold the bottom of the box cover along the seam allowance line, then pin it.
- Pin the elastic about 2" from each corner on the longest side and hide the elastic's raw edge in between both fabrics.
- Topstitch along the edge of the bottom of the box cover.
- Topstitch along the top of the long rectangular fabric, so you will hide the raw fabric around the opening for the tissue.
- The fabric tissue box cover is ready to use.
Notes
Make sure to see the complete steps of picture tutorials in the post for more detailed instructions.
I’m stumped! How long is the elastic? and how much do you put between the fabric?
Hi Robin, elastic is optional as the fabric cover is snuggle fit. But if you want to use the elastic, it is two pieces of 5″ each for the rectangular tissue box and one piece of 5″ elastic for the square-cube tissue box, with a 0.25″ elastic end to put in between fabric. I hope this helps.