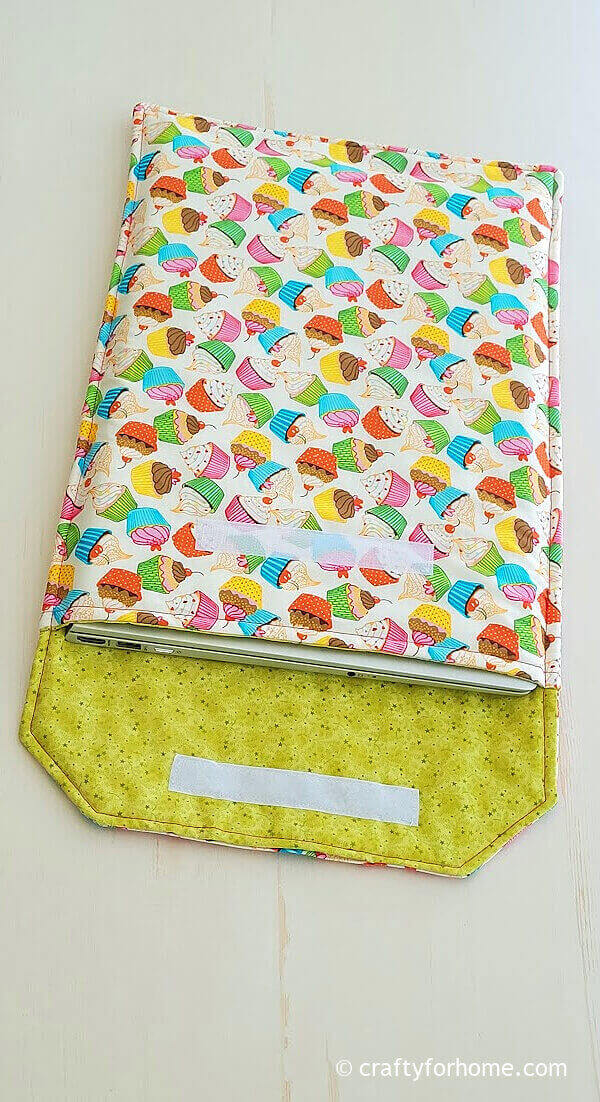
This easy sewing tutorial is for making a padded laptop sleeve from cotton fabric, and easy to customize it based on the size of your laptop with the simple measuring formula.
Easy Padded Laptop Sleeve To Make
A laptop sleeve is probably on the list when preparing back-to-school items or just the thing you need to carry a laptop. Sewing one is easy, and you can use your favourite fabric print and colour.
As an Amazon Associate I earn from qualifying purchases. This post may contain affiliate links. Please see the Disclosure Policy for details.

My daughter and I use a 14 inches (14.25 inches for the exact size) HP laptop. She uses it for school and digital drawing. Some of her drawings are listed on her Etsy Store here.
This laptop sleeve is for a 14 inches laptop, but it is easily customized with the measurement formula to fit different sizes.
Supply To Make Laptop Sleeve
You only need 1/2 yard of fabric for the outer side and half yard for the lining if you want to make it different colour on each side like mine on the picture here. Or use 1 yard of fabric if you are okay to have both sides with the same colour and print.
Since this laptop cover is for a 14 inches laptop, you can use four sheets of fat quarter fabrics. For a larger size laptop is better to use the yardage fabric.
I use cotton quilt fabric, but you can use outdoor fabric, canvas, linen, flannel, or home decor fabric. If you have a pillow cover that you don’t use, you can upcycle that too.
You only need two sheets of fabric rectangles and one sheet of batting for the flap and the same for the pocket.
To give more cushion on the sleeve, I use one sheet of cotton quilt batting for each side because that’s the only batting I currently have. But of course, you can use polyester batting, fusible fleece, sew-on batting, or felt fabric.
For the fastener, you can use a hook and loop like Velcro, snap buttons, or hair elastic with a button like making a coffee cup sleeve.
- 1/2 yard fabric for the outer side
- 1/2 yard fabric for the lining side
- Hook and loop, like Velcro or other fasteners of your choice
- Quilt batting or fusible fleece
- Disappeared ink marker, I use the dual-purpose fabric marker
- Thread
- Quilting clips
- Pins
- Ruler or measuring tape
- Scissors
- Chopstick
- Sewing machine
- Ironing machine
Laptop Sleeve Tutorial
See the DIY Laptop Sleeve video tutorial here.
Measure the laptop length, width and depth, then use this formula to determine how much fabric you need, and it already includes the seam allowance.
For the length of the fabric, use this formula:
Length + depth + 1.5 inches
For the width of the fabric, use this formula:
Width + depth + 1.5 inches
The flap side would be longer than the pouch side. So, you want to add another 4.5 inches to the length of the rectangle fabric for the flap.
My laptop measurements are:
Length: 14.25 inches
Width: 9.75 inches
Depth: 0.75 inch
The fabric I use for the pouch side:
Length: 14.25″ + 0.75″ + 1.5″ = 16.5″
Width: 9.75″ + 0.75″ + 1.5″ = 12″
Cut the fabric for the pouch into 2 sheets of 16.5″ x 12″ rectangles
Cut the batting into 1 sheet of 16.5″ x 12″ rectangle.
The fabric I use for the flap side:
Length: 14.25″ + 0.75″ + 1.5″ = 16.5″ + 4.5″ = 21″
Width: 9.75″ + 0.75″ + 1.5″ = 12″
Cut the fabric for the flap into 2 sheets of 21″ x 12″ rectangles.
Cut the batting into 1 sheet of 21″ x 12″ rectangle.
Cut the hook and loop fastener into 5 inches.
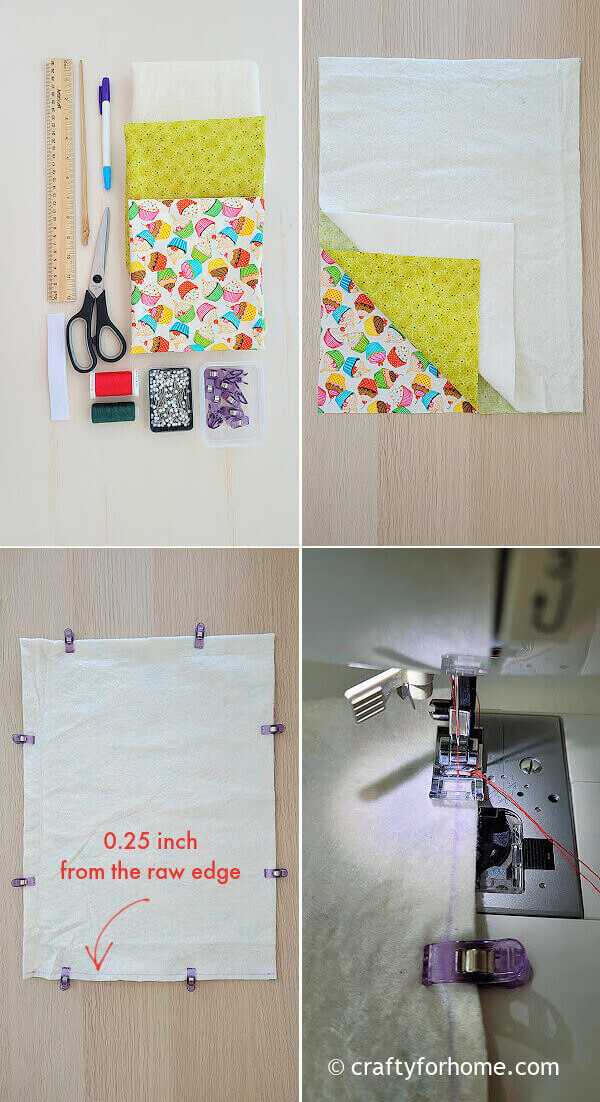
To make the pouch side, put the outer fabric and the lining fabric together with the right side facing each other and batting.
Sew straight on one of the shorter sides. The seam allowance is 0.25 inches, but there is still room up to 0.5 inches. Draw the line as a guide if you need to make it easier to sew.
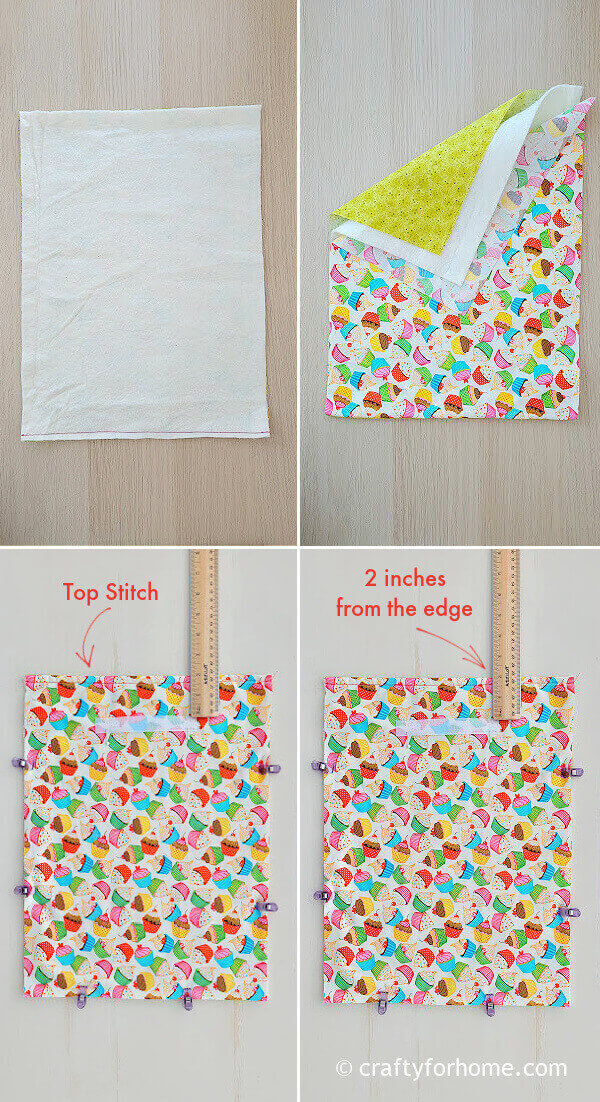
Flip the outer fabric so the batting would be in the middle between both.
Topstitch on the stitched side. Put the hook fastener on the outer fabric 2 inches from the edge.
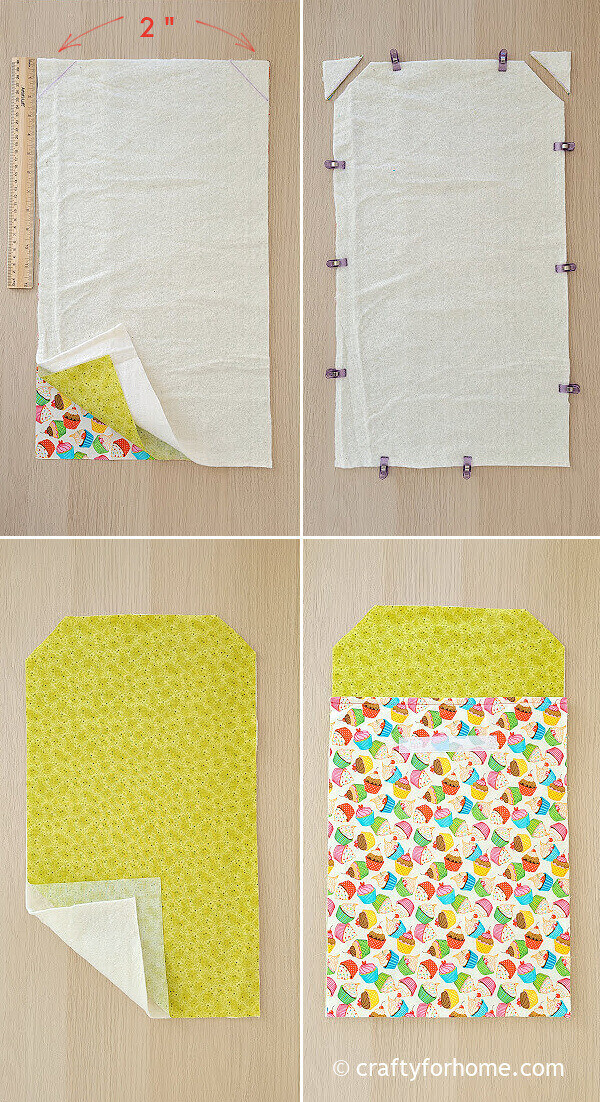
To make the flap, put the outer fabric with the wrong side facing down, lining fabric with the wrong side facing up, and batting.
On one of the shorter sides, measure 2 inches left/right and 2 inches down from each corner. Connect the two dots so that you will have a triangle. Use the quilting clips to keep the fabric aligned. Trim the triangle.
To make the sleeve, put material for the flap with the batting and the lining fabric on the wrong side facing down. Next, place the pocket side on top of it with the lining fabric facing each other, then put the outer fabric for the flap with the wrong side facing up.
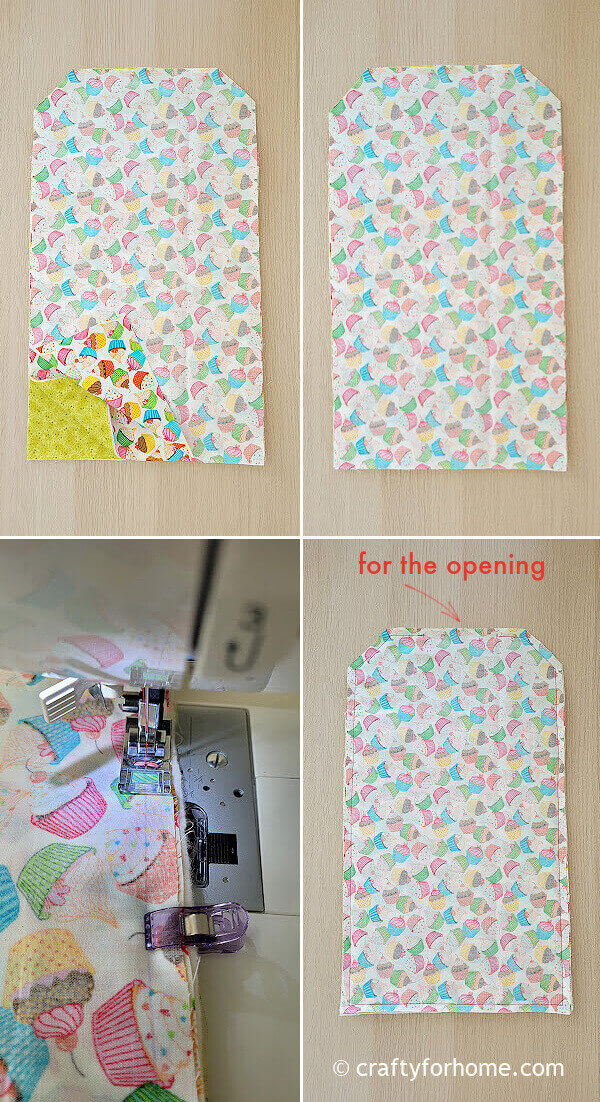
Sew straight along the edge with 0.25″ seams allowance (there is room for up to 0.5″ seam allowance), and skip 4 inches for the opening on the flap top side.
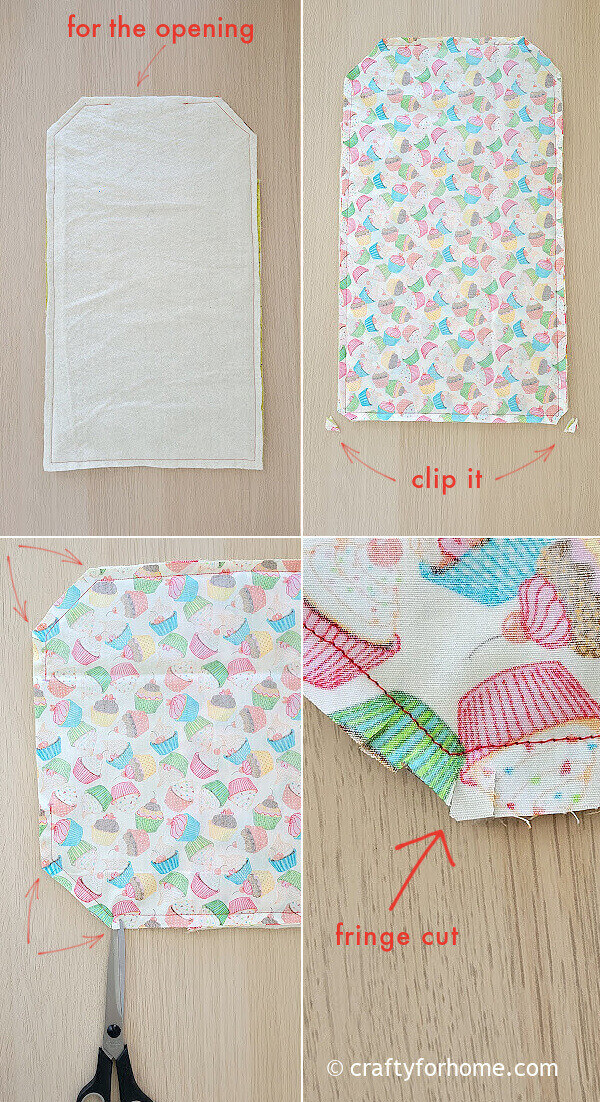
Clip the two corners on the bottom of the pocket side to reduce bulk. Next, cut each corner on the flap side to resemble the fringe. Be careful not to cut the stitch off.
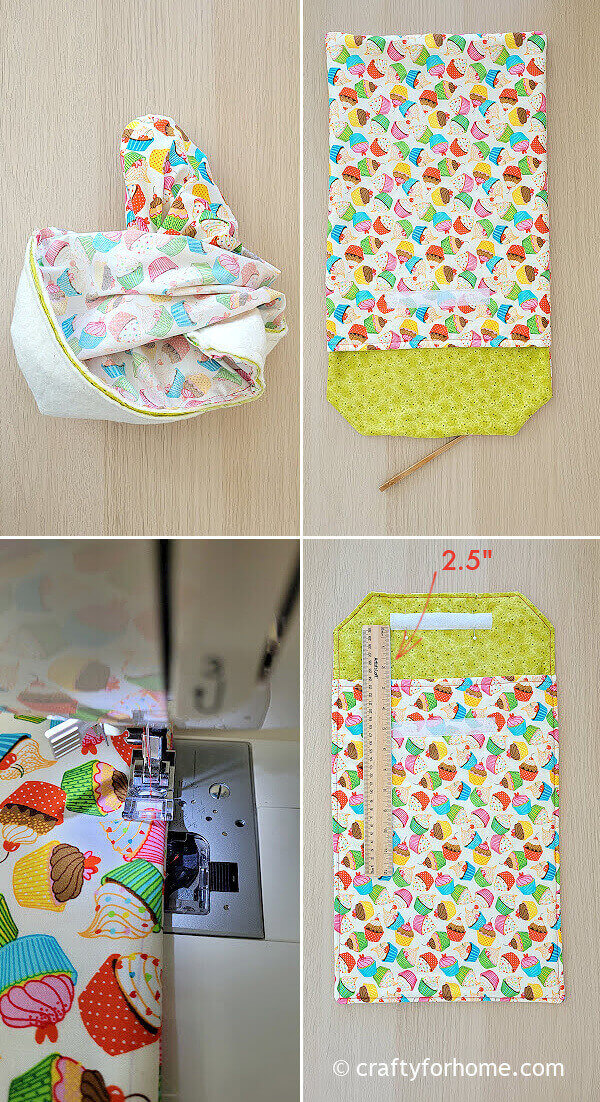
Turn the sleeve right side out, and use the chopstick to push each corner. Topstitch along the edge of the sleeve and close the opening gap at the same time.
Sew the loop fastener on the flap 2.5 inches from the pocket edge.
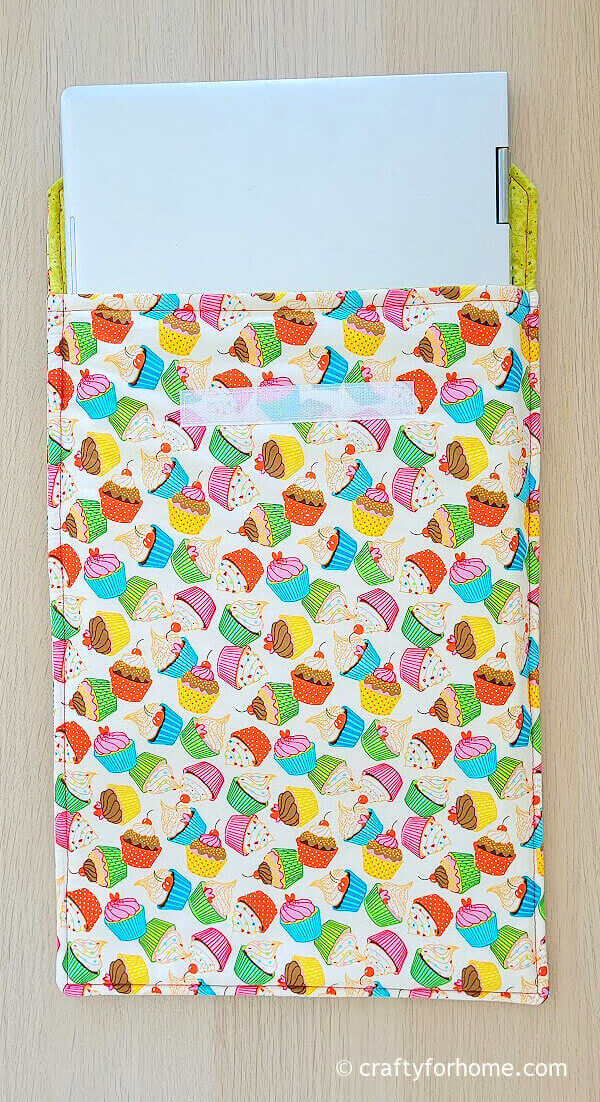
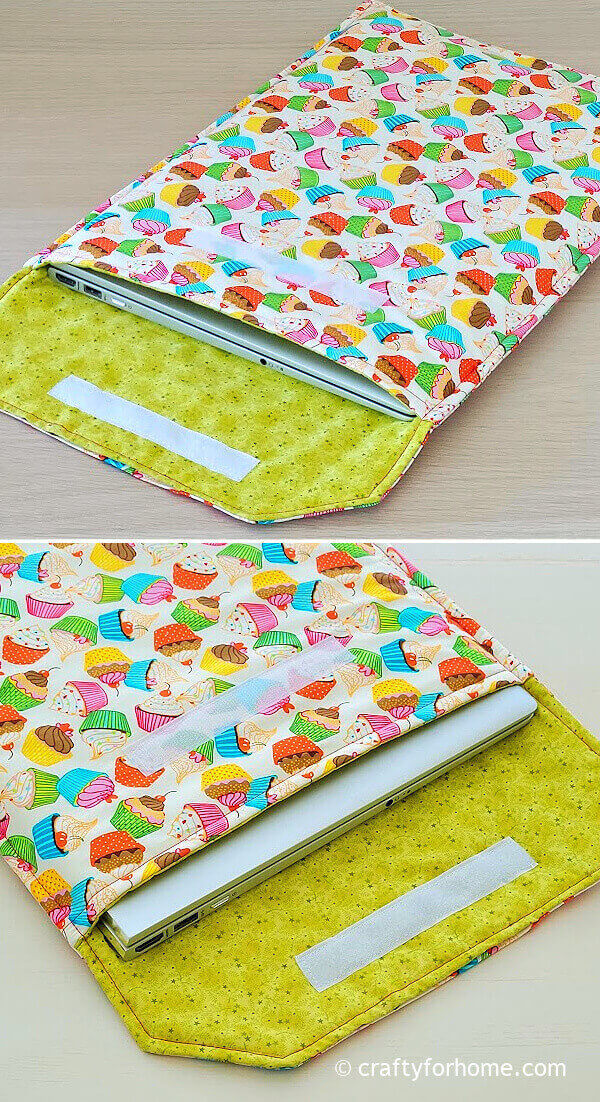
Your fabric laptop case is ready to use.
You Always Need A Laptop Sleeve
Why? Because the laptop cover, pouch or sleeve is helpful to minimize dust and may protect your device from being bumped, or damaged on material, like scratches or peeled-off paint.

If you want the sleeve has more padded, add felt or another layer of batting on each side.
More sewing projects for back-to-school you can make from fat quarter fabric.
- Pocket Tissue Holder
- Easy Fabric Bookmarks
- Fabric Cord Holder
- Ruffled Key fob Wristlet
- Hand Sanitizer Holder
Sew An Easy DIY Laptop Sleeve And Customize It To Fit Any Size Of Laptop
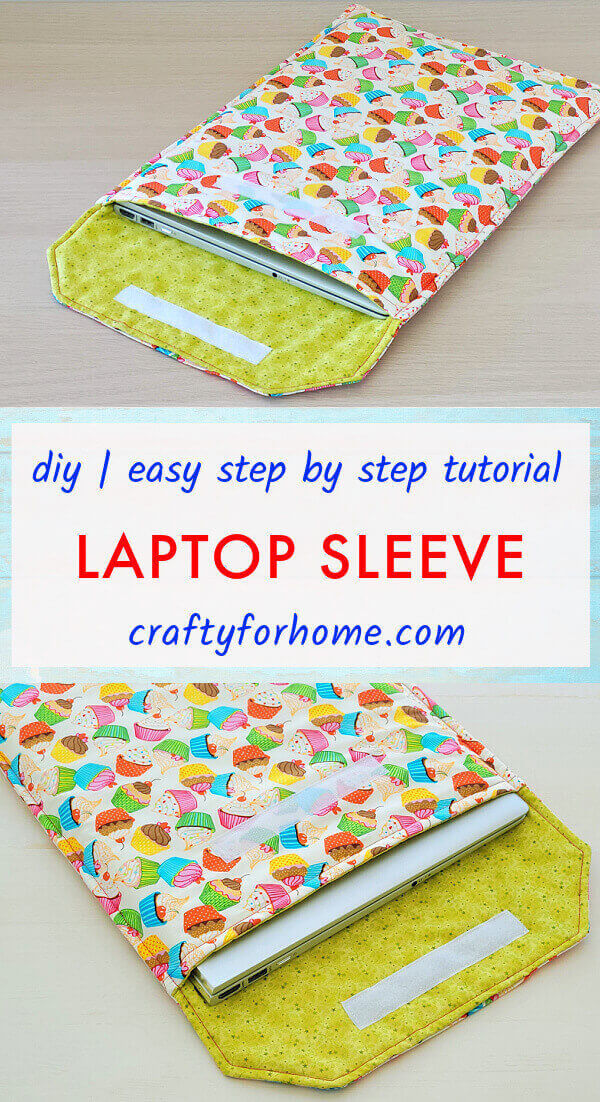
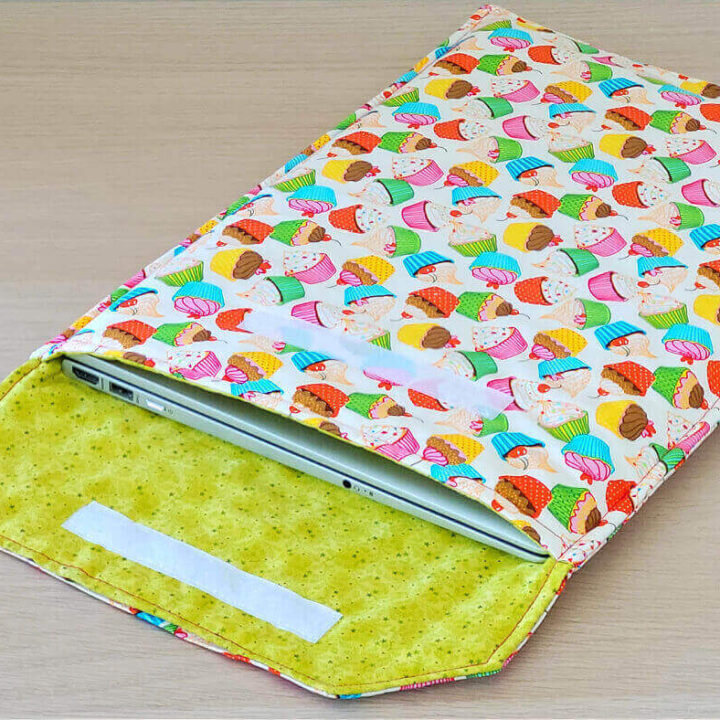
DIY Laptop Sleeve Tutorial From Fabric
This easy sewing tutorial is for making a padded laptop sleeve from cotton fabric, and easy to customize it based on the size of your laptop with the simple measuring formula.
Materials
- 1/2 yard fabric for the outer side
- 1/2 yard fabric for the lining side
- Hook and loop, like Velcro or other fasteners of your choice
- Quilt batting or fusible fleece
Tools
- Disappeared ink marker
- Thread
- Quilting clips
- Pins
- Ruler or measuring tape
- Scissors
- Chopstick
- Sewing machine
- Ironing machine
Instructions
- Measure the laptop length, width and depth, then use this formula to determine how much fabric you need, and it already includes the seam allowance.
For the length of the fabric, use this formula:
Length + depth + 1.5 inches
For the width of the fabric, use this formula:
Width + depth + 1.5 inches
The flap side would be longer than the pouch side. So, add another 4.5 inches to the length of the rectangle fabric for the flap. - Cut the fabric for the pouch into 2 sheets rectangles
Cut the batting into 1 sheet rectangle. - Cut the fabric for the flap into 2 sheets rectangles.
Cut the batting into 1 sheet rectangle. - Cut the hook and loop fastener into 5 inches.
- To make the pouch side, put the outer fabric and the lining fabric together with the right side facing each other and batting.
- Sew straight on one of the shorter sides. The seam allowance is 0.25 inches, but there is still room up to 0.5 inches. Draw the line as a guide if you need to make it easier to sew.
- Flip the outer fabric so the batting would be in the middle between both.
- Topstitch on the stitched side. Sew the hook on the outer fabric 2 inches from the edge.
- To make the flap, put the outer fabric with the wrong side facing down, lining fabric with the wrong side facing up, and batting.
- On one of the shorter sides, measure 2 inches left/right and 2 inches down from each corner. Connect the two dots so that you will have a triangle. Use the quilting clips to keep the fabric aligned. Trim the triangle.
- To make the sleeve, put material for the flap with the batting and the lining fabric on the wrong side facing down. Next, place the pocket side on top of it with the lining fabric facing each other, then put the outer fabric for the flap with the wrong side facing up.
- Sew straight along the edge with 0.25" seams allowance (there is room for up to 0.5" seam allowance), and skip 4 inches for the opening on the flap top side.
- Clip the two corners on the bottom of the pocket side to reduce bulk. Next, cut each corner on the flap side to resemble the fringe. Be careful not to cut the stitch off.
- Turn the sleeve right side out, and use the chopstick to push each corner.
- Topstitch along the edge of the sleeve and close the opening gap at the same time.
- Sew the loop fastener on the flap 2.5 inches from the pocket edge.
- Your fabric laptop case is ready to use.
Notes
- A snap button or hair elastic with a button can be used as the fastener.
- Add felt or another layer of batting on each side to make a more padded sleeve.
- See the picture tutorial for more details.
- See the DIY Laptop Sleeve video tutorial here.


Leave a Reply