Easy sewing tutorial for making quarter keeper keychains from fabric for the shopping cart, so it is always available within reach when needed anytime.
DIY Quarter Keeper Keychain
It is not all stores, but some require you to insert a quarter coin or a loonie (1 dollar coin in Canada) to use the shopping cart. Sometimes I forgot to bring it or would dig far to the bottom of my purse for a loonie.
As an Amazon Associate I earn from qualifying purchases. This post may contain affiliate links. Please see the Disclosure Policy for details.
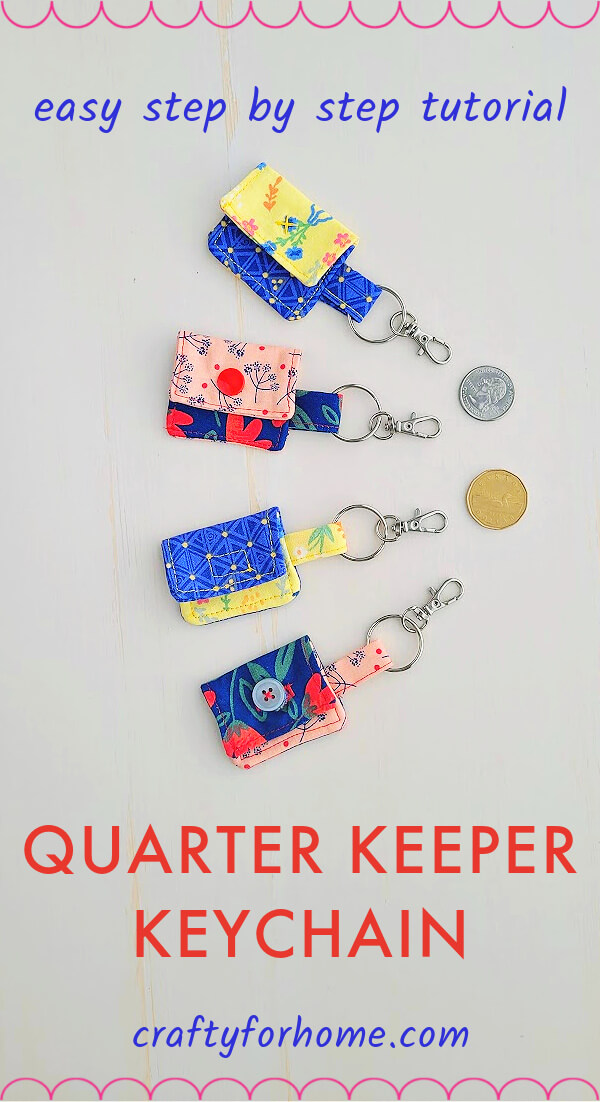
In this tutorial, you don’t have to reach far in your purse looking for a quarter or a loonie. With a simple stitch and a little fabric, you will get one mini coin holder to attach to the metal ring and clasp as a DIY quarter keeper keychain.
What Is Quarter Keeper Keychain
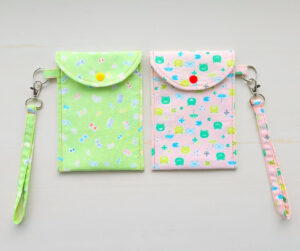
If you have a collection of keys to carry everywhere, like a car key, house key, and mailbox key, then you can put them all together with this fabric wristlet, using the same metal ring and clasp for this sanitizer holder.
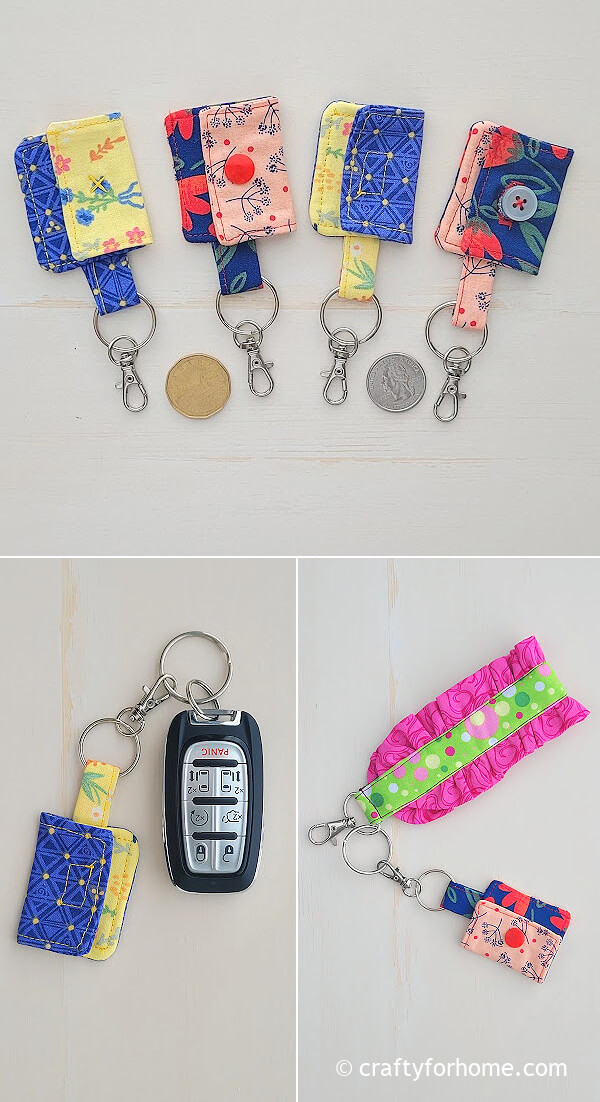
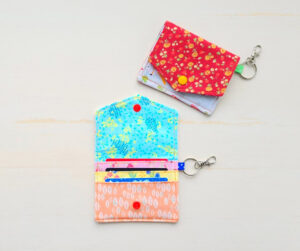
The quarter keeper is a charm for the keychain that looks like a little pouch to hold a quarter or a loonie coin, so you always have it available when you need it to use the shopping cart.
You can always keep the quarter in your wallet or get the ready-made quarter keeper from the store, but making one from fabric is easy and only requires less than 10 minutes for one coin holder.
Supply To Make Quarter Keeper Keychain
If you have fabric scraps from your previous sewing project, use them to make this mini pouch. Or you can use a charm pack, jelly roll size fabric, or jolly bar size fabric since you only need three sheets of 2.5 x 3.5 inches.
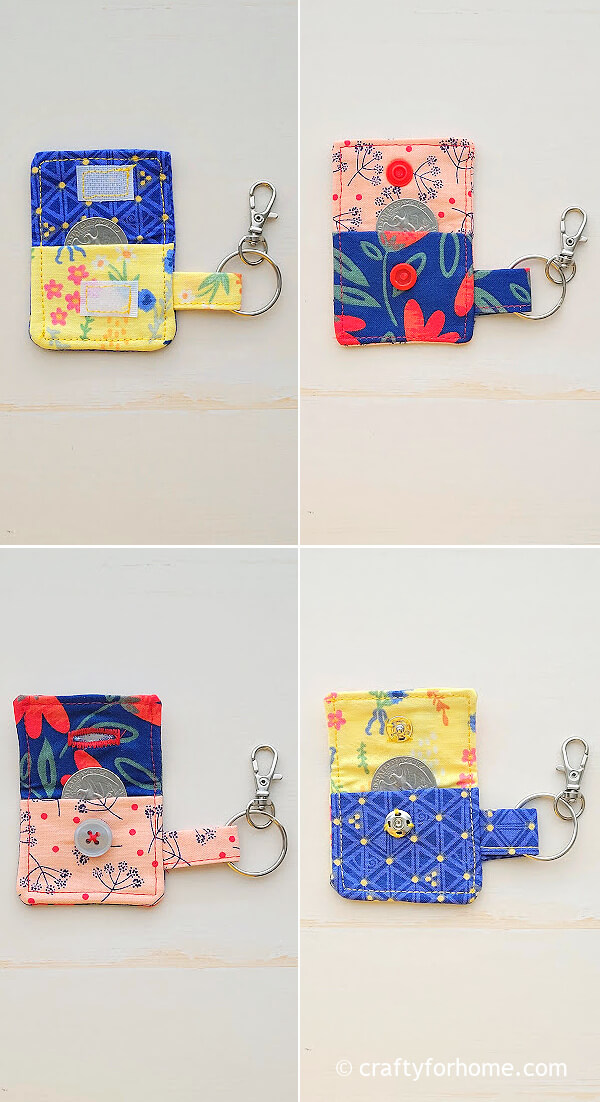
I use fabric scraps from the previous project of bowl cozy and tissue box cover.
You can use a ribbon or make a little rectangular piece of fabric for attaching the key ring. Use hook and loop like Velcro brand, snap button, or button with buttonhole for the fastener.
You can use Iron-On fusible interfacing if you need to make the pouch stiffer. Or add one more fabric sheet on the flap and the pouch if the fusible interfacing is unavailable.
- Charm pack, jelly roll fabric, jolly bar fabric, or scrap fabric
- Hook and loop for fasteners size 0.75 inches wide, or button, or snap button, or sew-on snap button
- Light weight Iron-On Fusible Interfacing
- Metal key ring
- Metal clasp like this swivel clasp that comes with the ring
- Disappeared ink marker, I always use the dual-purpose fabric marker
- Thread
- Chopstick or any small pointy object like a pencil
- Pin or quilting clips
- Sewing machine
- Ironing machine
How To Make Quarter Keeper Keychain
See the Quarter Keeper Keychain video tutorial here.
Cut the fabric into these measurements:
Three sheets of 2.5 x 3.5 inches (two sheets are for the flap, and one sheet is for the pouch).
One sheet of 2.5 x 2 inches fabric or 2 inches ribbon for attaching the key ring.
Two sheets of 2.5 x 3.5 inches for Iron-On Fusible Interfacing.
Cut hook and loop fastener into 0.5 inches.
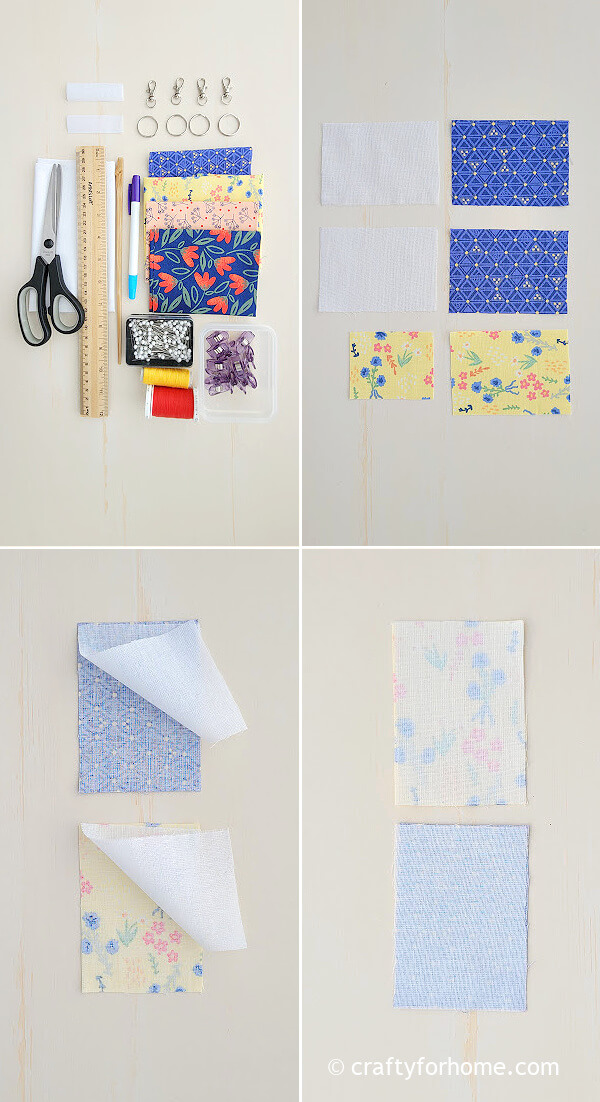
Iron on the fusible interfacing on one of the fabrics for the flap and the pouch.
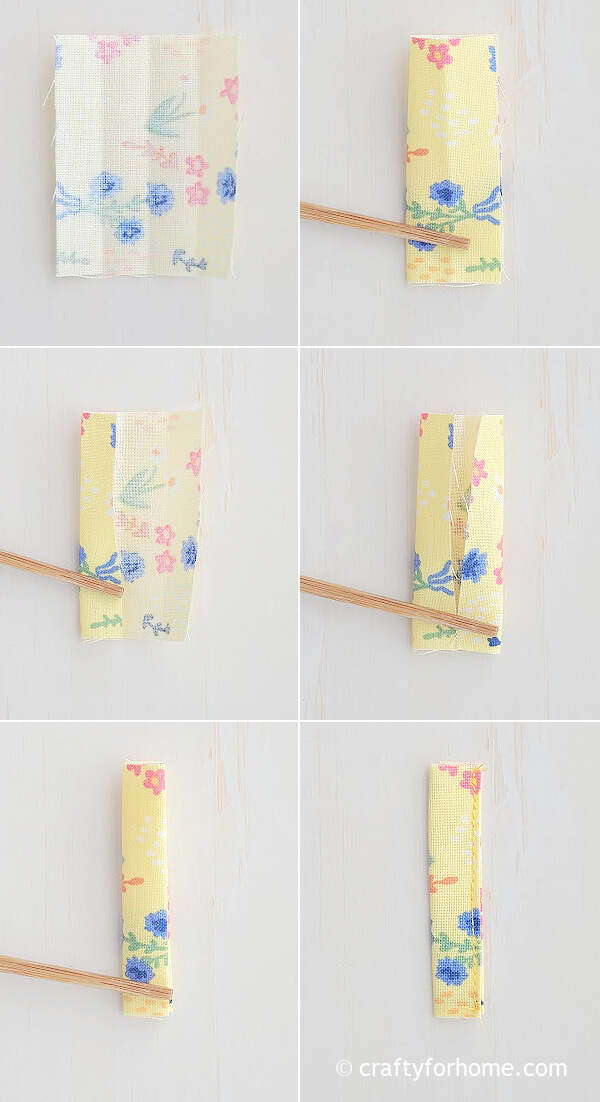
Fold the fabric piece for the key ring tab in half. Open it, then fold each side in, then fold again so the raw edge of the fabric is inside the fold. And sew it along the double fold.
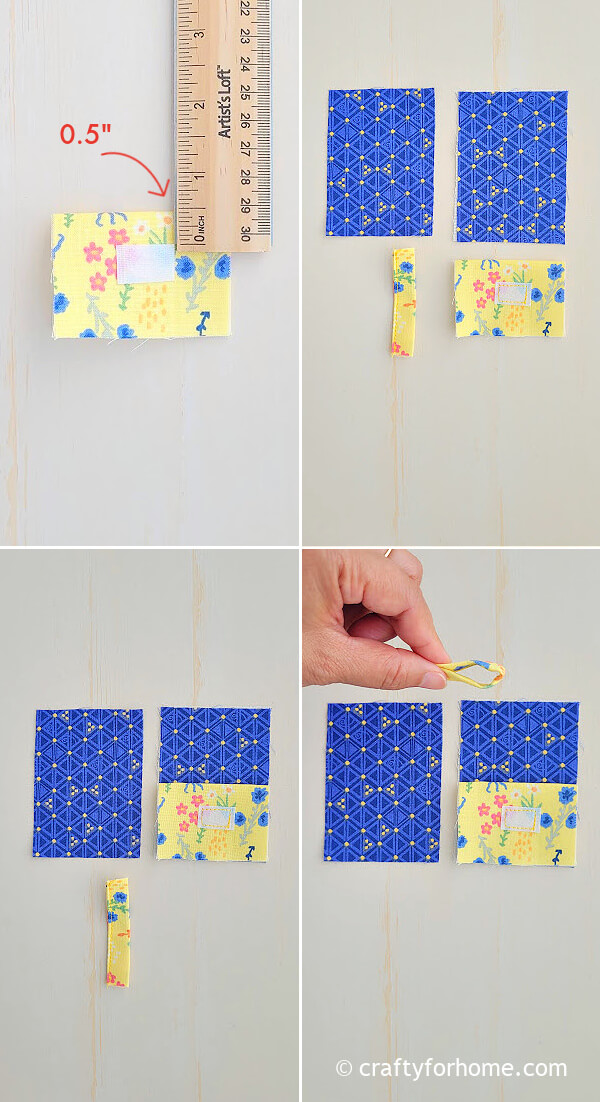
Fold the fabric piece for the pouch in half with the wrong side facing each other.
Sew the loop on the fabric half an inch from the folding line. If you use a snap button, then skip the process of attaching the loop.
Put one of the fabrics for the flap with the right side facing up. Next, put the fabric for the pouch on one of the shorter edges of the flap, with the raw edge matching each other.
Fold the fabric piece for the key ring tab in half. Pin the key ring tab on one of the pouch edges. The left side or right side is fine.
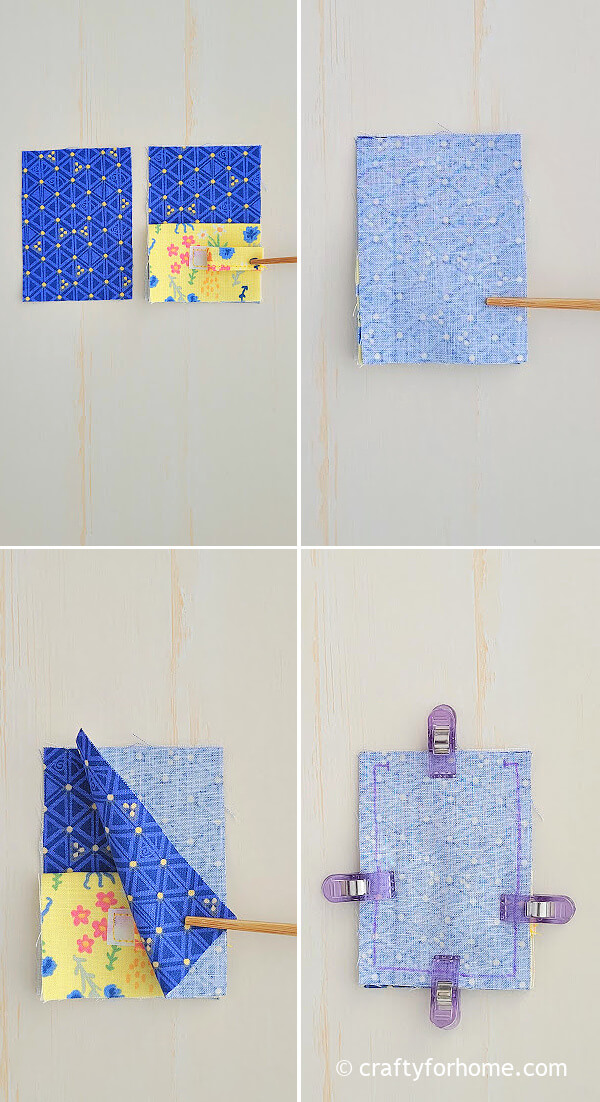
Put the other fabric for the flap on top of it, with the right side facing down. Pin it or use quilting clips.
Mark 0.25 inches for the seam allowance. Sew straight along the seam allowance line and skip 1 inch for the opening on the flap top side, not the pouch side.
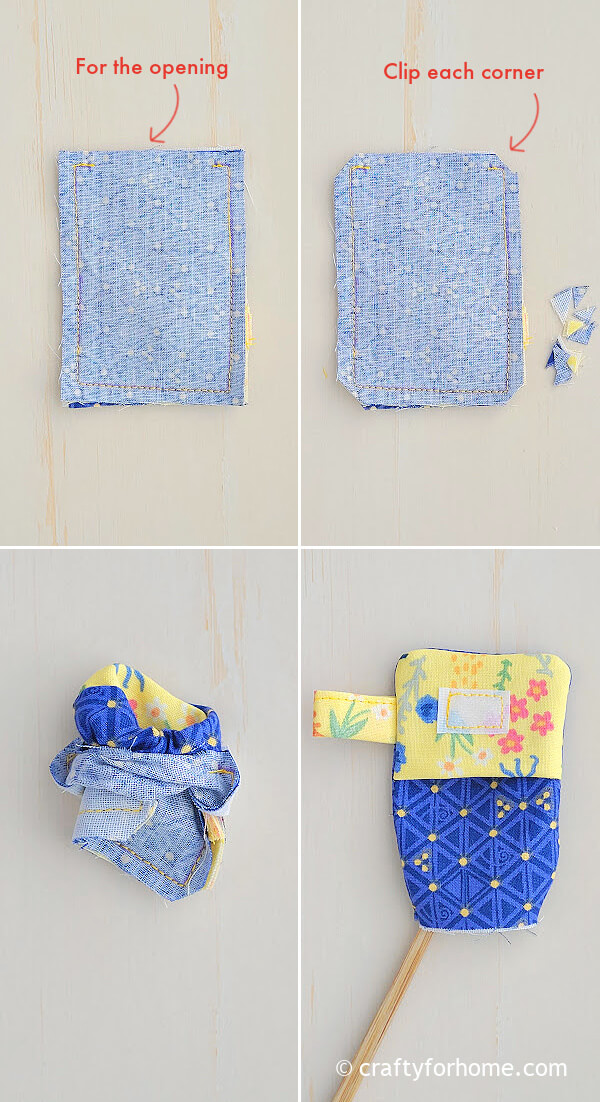
Clip each corner, so it doesn’t look bulky.
Turn the pouch right side out. Use a chopstick or a small pointy object like a pencil to push each corner.
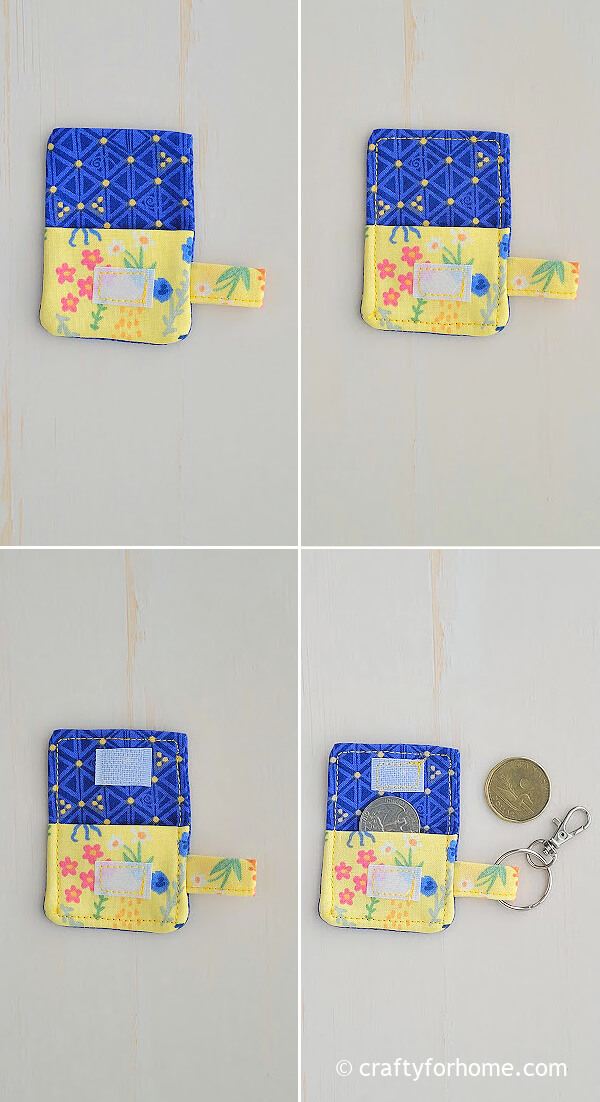
Top stitch along the long rectangle edge and close the opening at the same time. Sew the hook on the flap side by matching it to the loop.
If you use the snap button, then you can attach it now. If you use a single button, make a buttonhole on the flap, and hand-stitch the button on the pouch.
Attach the clasp on the key ring, then attach the key ring to the quarter keeper pouch tab.
DIY Mini Wallet For Coin
Attach this coin holder as a keychain charm, purse charm, or backpack charm, so you always have the quarter available whenever you need it for the shopping cart.
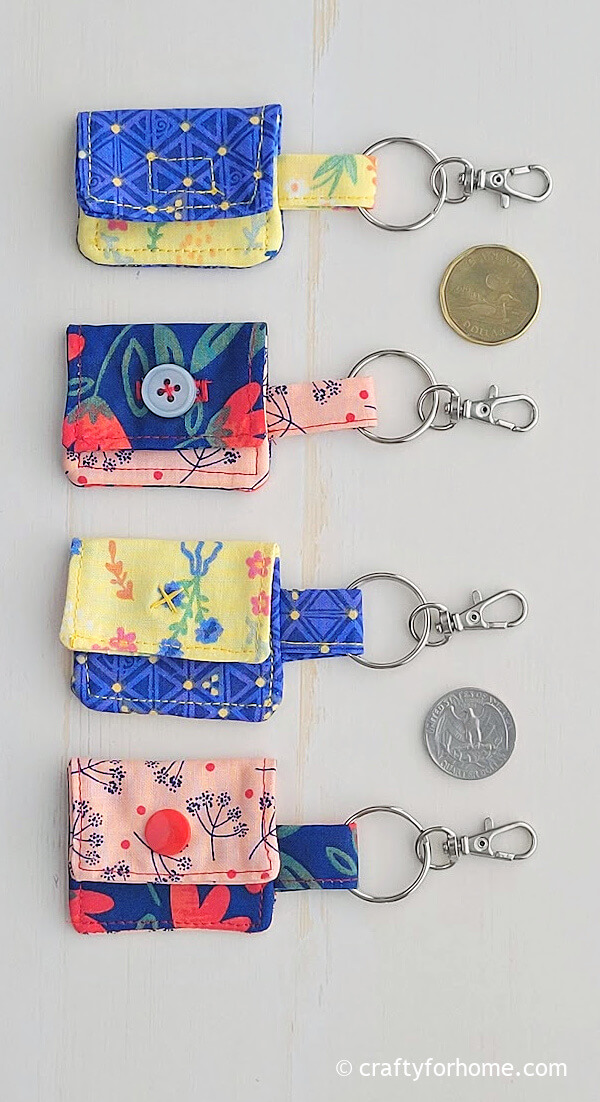
You can also use it to keep your favourite jewelry if you don’t want to wear it at the moment.
Never reach the bottom of your purse again to find a coin for a shopping cart with this quarter-keeper keychain from cotton fabric. #coinholder #quarterkeeper #coinforshoppingcart Share on XMore sewing projects you can make from fabric scraps.
- Easy Cord Holder
- Easy Fabric Bookmark
- Fabric Heart Garland
- Fabric Ornaments
- Carrot Top Egg Cozy
- Freezie Pop Cozy
Sew This Easy DIY Quarter Keeper From Cotton Fabric
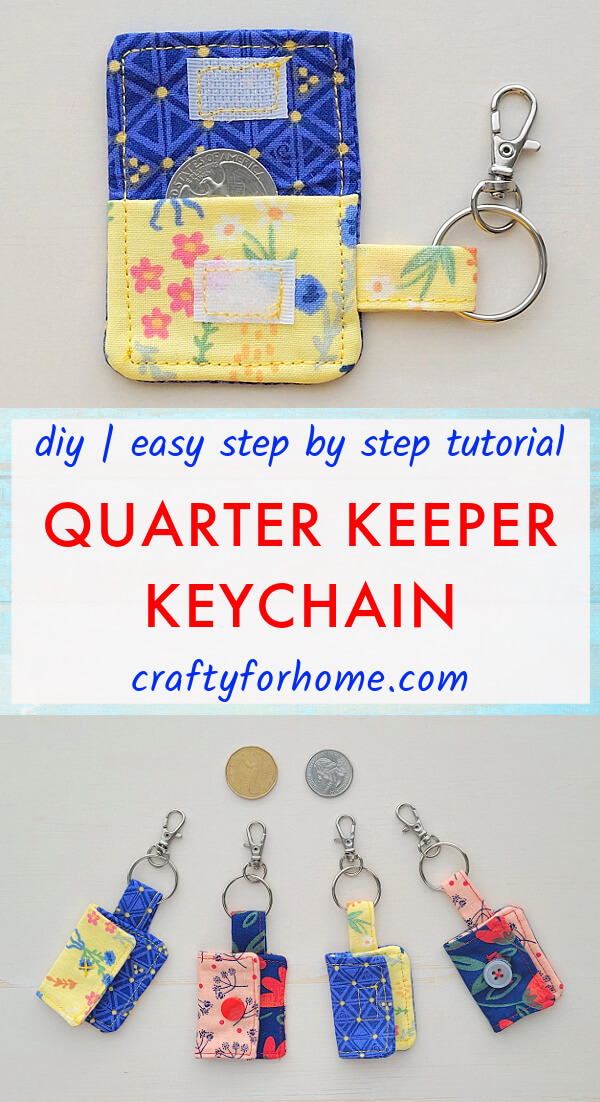
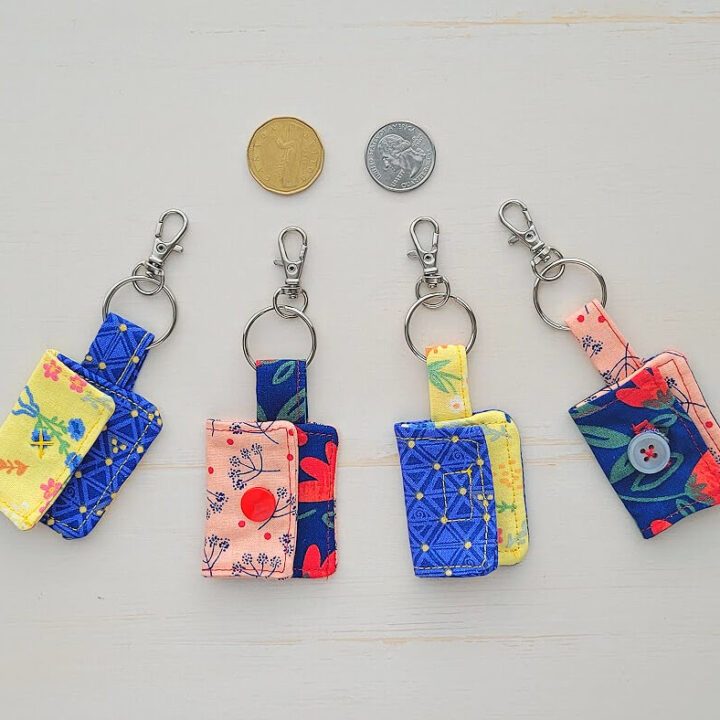
Quarter Keeper Keychain For Shopping Cart Tutorial
Easy sewing tutorial for making quarter keeper keychains from fabric for the shopping cart, so it is always available within reach when needed anytime.
Materials
- Charm pack, jelly roll fabric, jolly bar fabric, or scrap fabric
- Hook and loop for fasteners size 0.75 inches wide, or button, or snap button, or sew on snap button
- Light weight Iron-On Fusible Interfacing
- Metal key ring
- Metal swivel clasp
Tools
- Disappeared ink fabric marker
- Thread
- Chopstick or any small pointy object like a pencil
- Pin or quilting clips
- Sewing machine
- Ironing machine
Instructions
- Cut the fabric into 3 sheets of 2.5 x 3.5 inches (two sheets are for the flap, and one sheet is for the pouch).
Cut the fabric into 1 sheet of 2.5 x 2 inches or 2 inches ribbon for attaching the key ring.
Cut the lightweight Iron-On Fusible Interfacing into 2 sheets of 2.5 x 3.5 inches.
Cut hook and loop fastener into 0.5 inches. - Iron on the fusible interfacing on one of the fabrics for the flap and the pouch.
- Fold the fabric piece for the key ring tab in half. Open it, then fold each side in, then fold again so the raw edge of the fabric is inside the fold. And sew it along the double fold.
- Fold the fabric piece for the pouch in half with the wrong side facing each other.
- Sew the loop on the fabric half an inch from the folding line. If you use a snap button, then skip the process of attaching the loop.
- Put one of the fabrics for the flap with the right side facing up. Next, put the fabric for the pouch on one of the shorter edges of the flap, with the raw edge matching each other.
- Fold the fabric piece for the key ring tab in half. Pin the key ring tab on one of the pouch edges. The left side or right side is fine.
- Put the other fabric for the flap on top of it, with the right side facing down. Pin it or use quilting clips.
- Mark 0.25 inches for the seam allowance. Sew straight along the seam allowance line and skip 1 inch for the opening on the flap top side, not the pouch side.
- Clip each corner, so it doesn't look bulky.
- Turn the pouch right side out. Use a chopstick or a small pointy object like a pencil to push each corner.
- Press it with the ironing machine if you need to.
- Top stitch along the long rectangle edge and close the opening at the same time.
- Sew the hook on the flap side by matching it to the loop.
- If you use the snap button, then you can attach it now. If you use a single button, make a buttonhole on the flap, and hand-stitch the button on the pouch.
- Attach the clasp on the key ring, then attach the key ring to the quarter keeper pouch.
Notes
- Use one more fabric sheet on the flap and the pouch if the fusible interfacing is unavailable.
- For the video version, you can see the Quarter Keeper Keychain video tutorial here.
Leave a Reply