This DIY felt envelope tutorials is a fun craft project you can do with kids and teens, perfect for a handmade gift card holder or sweet treats for family and friends.
Use This Guide To Make Felt Envelope
Have you ever thought to make the felt envelope? Surprisingly, this is a simple project to do in one single afternoon just like making this easy freezie cozy.
As an Amazon Associate I earn from qualifying purchases. This post may contain affiliate links. Please see the Disclosure Policy for details.
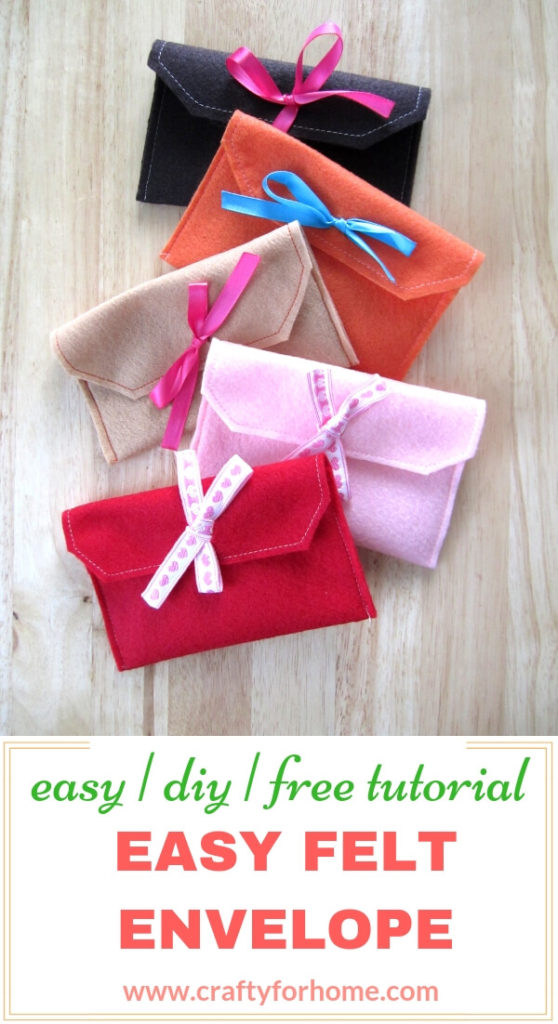
There are lots of things how you can use the felt envelope for everyday wear or special occasions. This handmade item is something you will use over and over again.
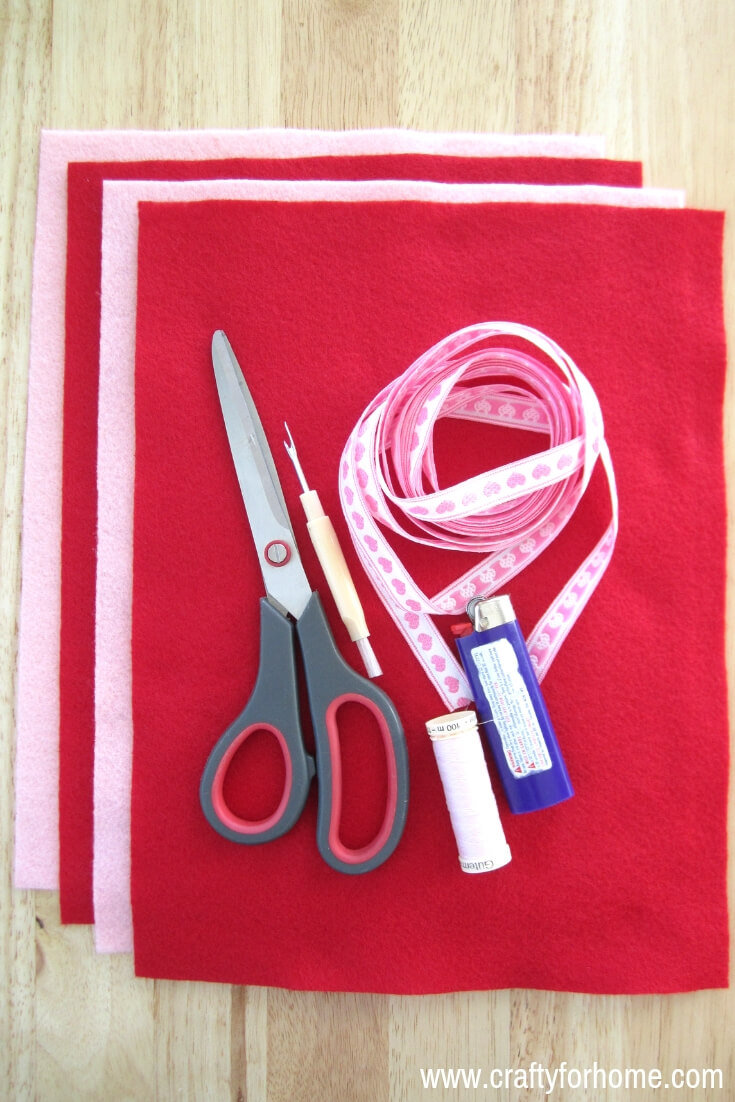
This handmade felt envelope only use simple tools and supply that you might have it already around the house, any dollar store or gets them online.
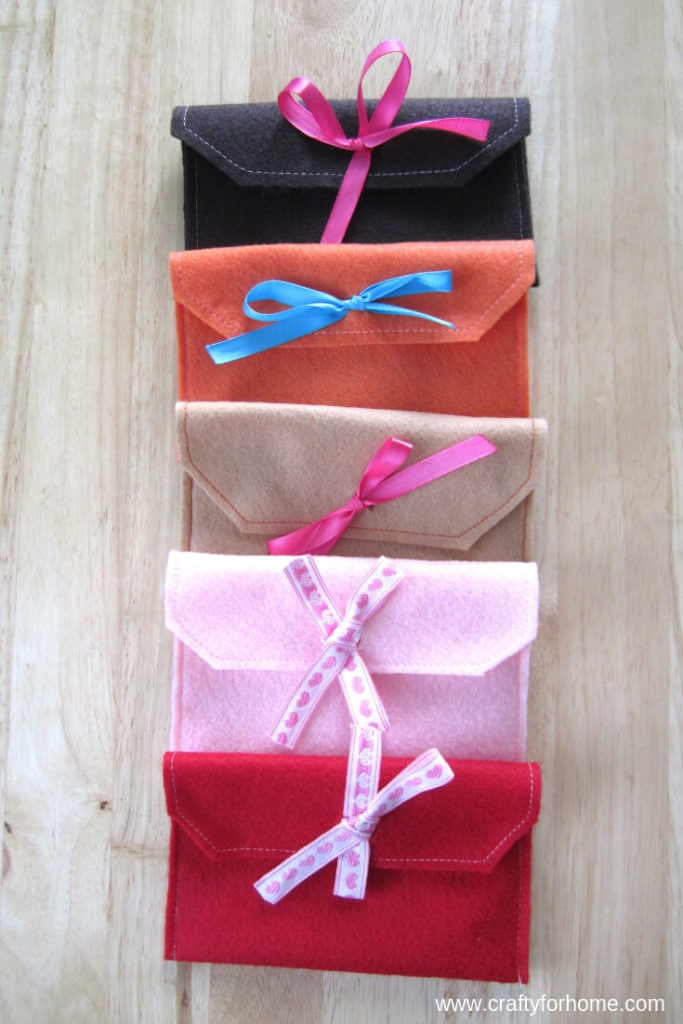
It is an inexpensive craft project, but it sure makes someone feel special when they receive this cute envelope.
What You Need To Make Felt Envelope
- Free felt envelope pattern
- Felt, size 9″ x 12″ or 23 x 30 cm or close to that size
- Small ribbon or crafting/baker twine
- Scissors
- Seam ripper
- Washable fabric marker
- Lighter
- Sewing machine with matching thread or contrast thread (hot glue or hand sewing needle if you prefer)
How To Make Felt Envelope
Fold the felt in half, then cut it so that you will end up with two felt sheets from one, or you can trace the felt envelope pattern.
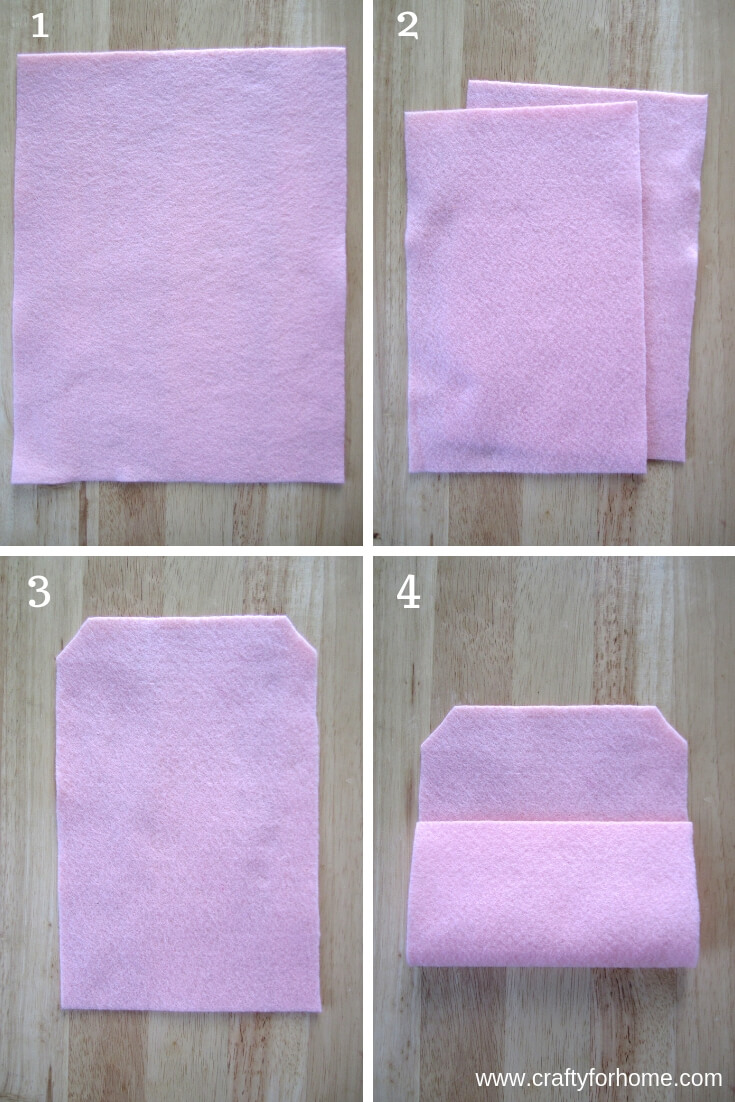
Fold in half again, then cut the two top corners in an angle. Fold the rectangle bottom up.
Start to sew each side, or around the envelope if you prefer (use a hot glue or hand stitch if the sewing machine is not available).
Cut the ribbon 12 inches long, burn the cutting edge to prevent fraying.
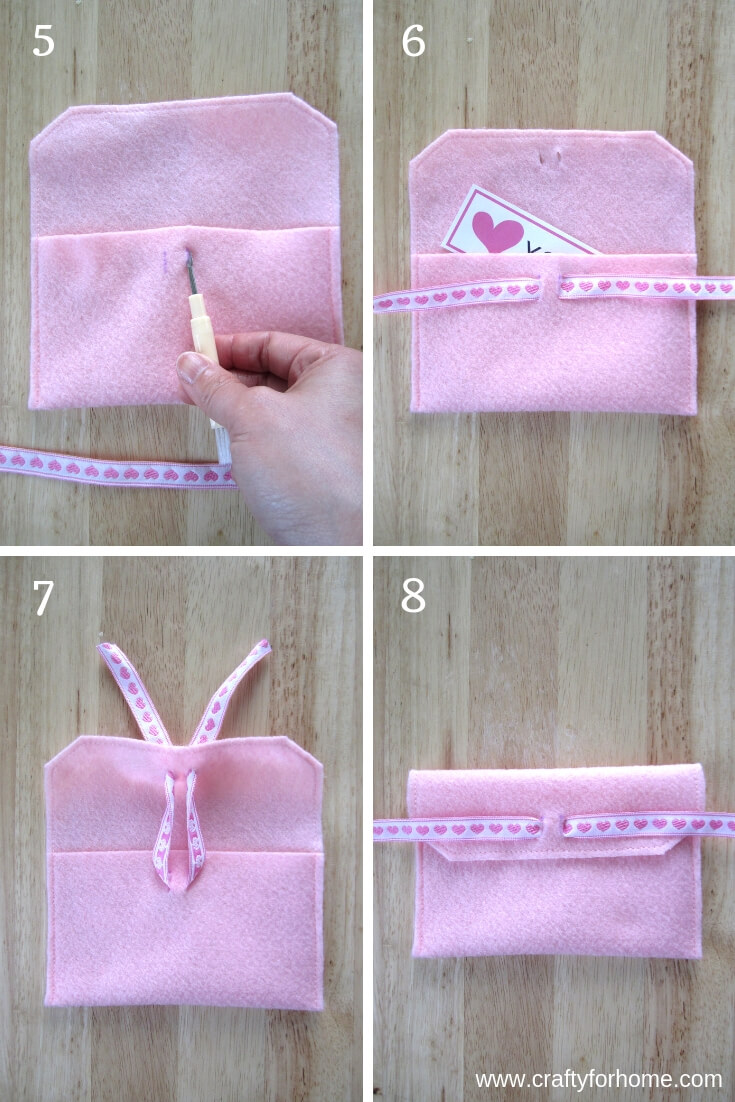
Mark two short lines on the pouch. Use the seam ripper to make holes on the marked lines, then insert the ribbon/baker twine on the holes.
Mark two short lines on the top flap. Use the seam ripper to make the hole on the marked lines for the ribbon/baker twine to secure the envelope.
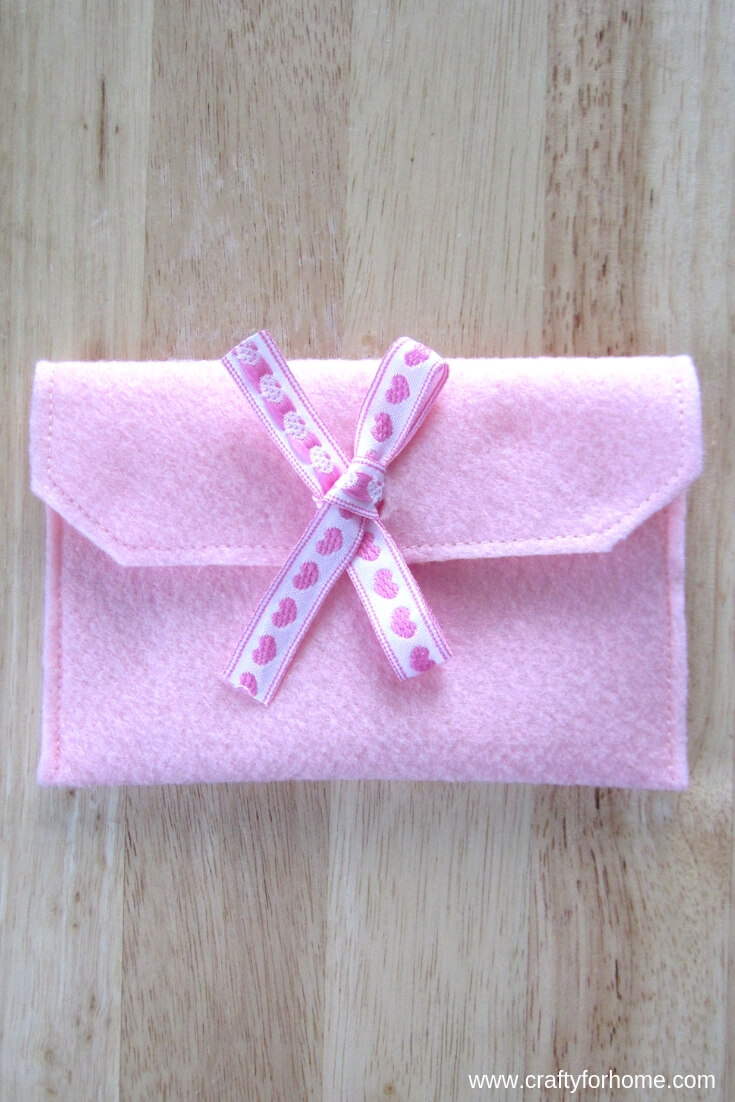
Put any treats, card, or anything you like inside the envelope pouch. Insert each end of the ribbon on holes by the top flap. Knot the ribbon to make a simple bow.
How To Use Felt Envelope
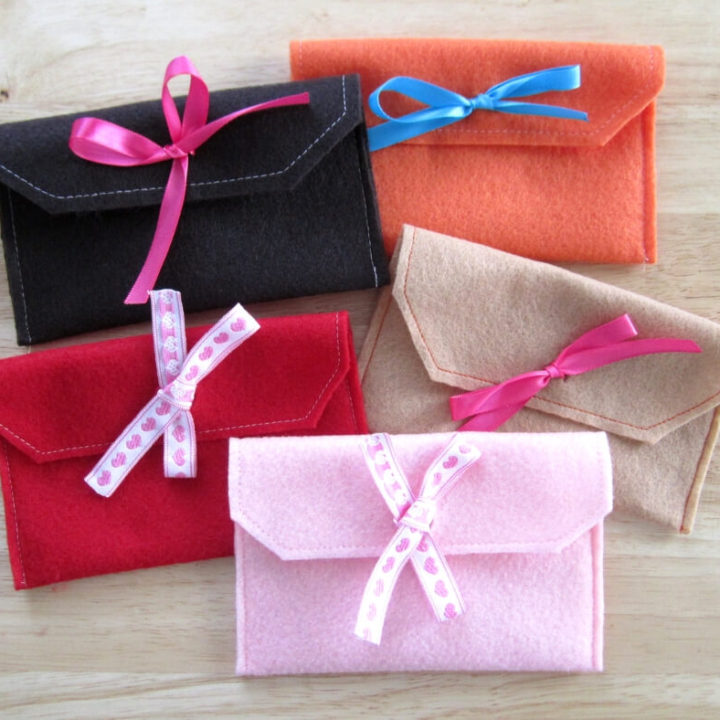
There are lots of possibilities of how to use felt envelope. Think about the Valentine card, sweet treats, pretend play for kids, stocking stuffer, gift card holder, business card holder or even you can display it on any craft show.
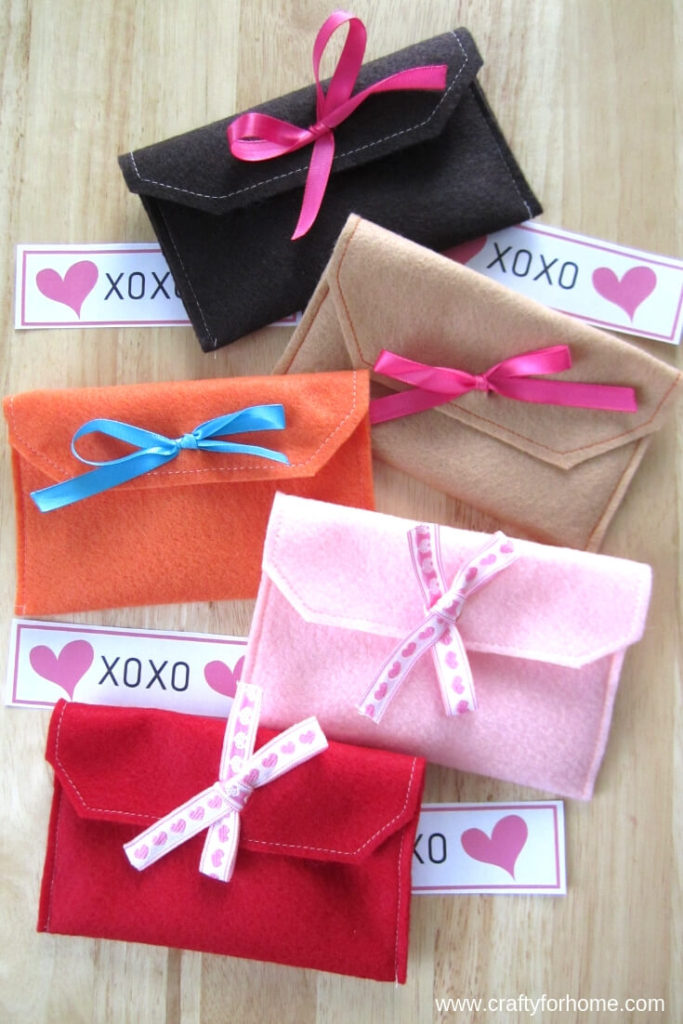
My daughter decides that she is going to use felt envelope for Valentine sweet treats and hand them over to all her friends at school.
You can put any heart candy, cute sticker, heart shape eraser, chocolate bars, handmade cards, or any kind that will fit perfectly on the envelope.
Turn the felt into an envelope is a crafty idea for a sweet treat holder #feltenvelope #easycraft #feltcraft Share on XAsk the kid to pick the item they will put on it will make them excited about it even more. Here is the little XOXO card like shown on the image above.
More beginner-friendly sewing projects
- How To Sew Freezie Cozy
- Valentine Mug Rug
- 4 Easy Way To Make Fabric Flowers
- Handmade Cloth Napkins: Easy Tutorials
- No-sew Hand Sanitizer Cozy
- Laptop Sleeve Tutorial
This DIY Felt Envelope Is Easy And Quick To Make
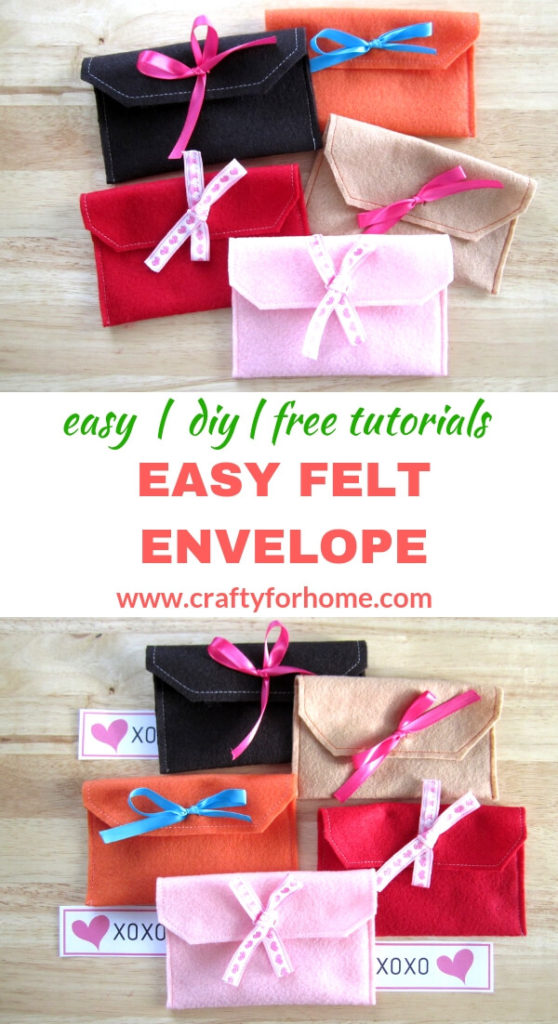
Easy Felt Envelope Tutorial
This DIY felt envelope tutorials is a fun craft project you can do with kids and teens, perfect for a handmade gift card holder or sweet treats for family and friends.
Materials
- Free felt envelope pattern
- Felt, size 9″ x 12″ or 23 x 30 cm or close to that size
- Small ribbon or crafting/baker twine
Tools
- Scissors
- Seam ripper
- Washable fabric marker
- Lighter
- Sewing machine with matching thread or contrast thread (hot glue or hand sewing needle if you prefer)
Instructions
- Fold the felt in half, then cut it so that you will end up with two felt sheets from one, or you can trace the felt envelope pattern.
- Fold in half again, then cut the two top corners in an angle.
- Fold the rectangle bottom up.
- Start to sew each side, or around the envelope if you prefer (use a hot glue or hand stitch if the sewing machine is not available)
- Cut the ribbon 12 inches long, burn the cutting edge to prevent fraying.
- Mark two short lines on the pouch. Use the seam ripper to make holes on the marked lines, then insert the ribbon/baker twine on the holes.
- Mark two short lines on the top flap. Use the seam ripper to make the hole on the marked lines for the ribbon/baker twine to secure the envelope.
- Put any treats, card, or anything you like inside the envelope pouch. Insert each end of the ribbon on holes by the top flap. Knot the ribbon to make a simple bow.
Wow I love these..great for giving little gifts like jewelry for Valentine’s day!!
Thank you, it is a cute thing for a special day.
so so cute. It can hold letters for my daughters!!!
Thank you, yes it is, also fun for pretend play
Love these! I think I’ll adapt these to hold my essential oil roll ons that I keep in my purse!
Thank you, and that is a great ideas how to use this envelope!