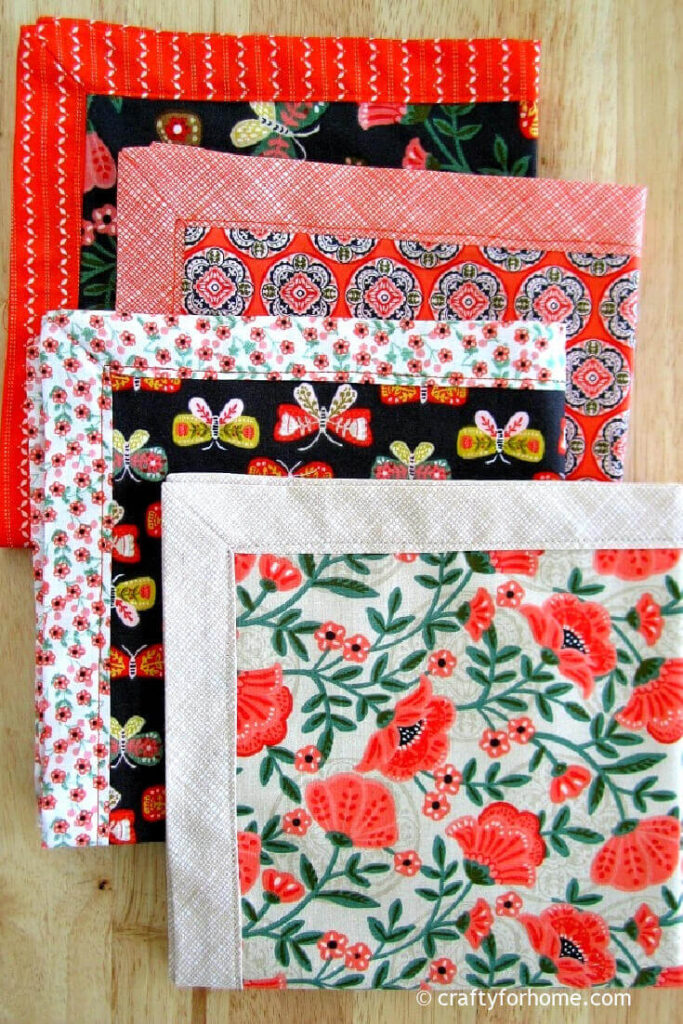
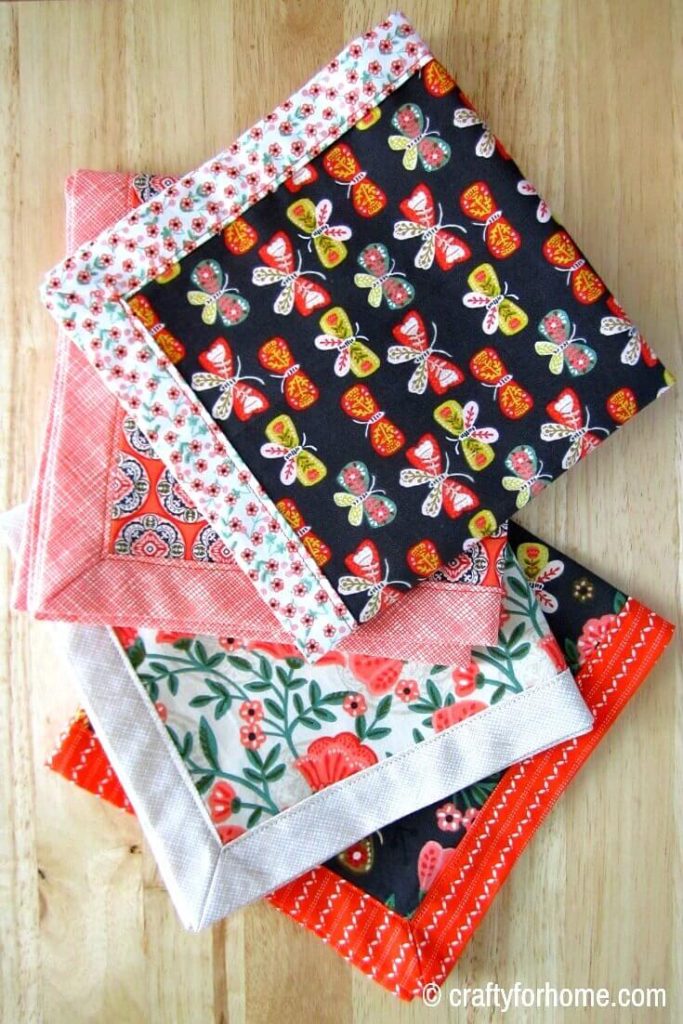
Easy DIY sewing project on how to make self binding cloth napkins for your table setting decor. Make this double-sided mitered napkins by using fat quarter fabric or repurpose materials that perfect for DIY homemade gift.
Use This Guide To Make Self-Binding Cloth Napkins
I found my self keep making cloth napkins because it is so easy, fun, and reusable. Every time I saw a cute print on quilt cotton, especially those on the fat quarter bundle, I will grab it, and off I go making more napkins. It is an easy and fast sewing project especially if you are using the pattern from the double-sided 10-minute cloth napkins.
As an Amazon Associate I earn from qualifying purchases. This post may contain affiliate links. Please see the Disclosure Policy for details.
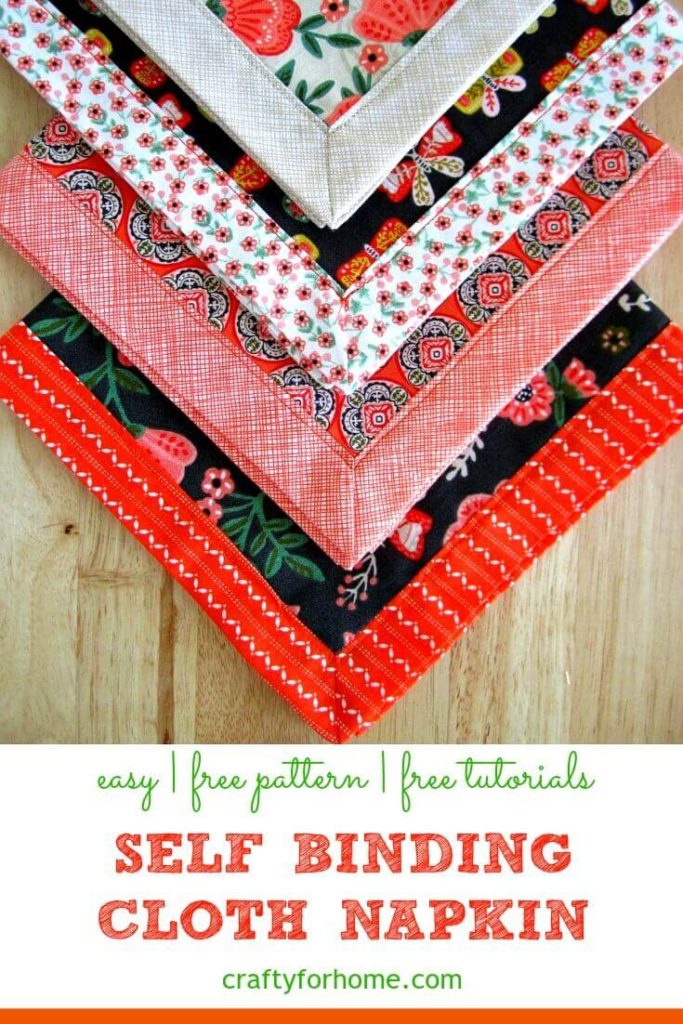
If you try the DIY mitered corner napkins, then you should try to make this self-binding napkin too. It is like the mix of the double-sided napkins and mitered napkins together.
I use the fat quarter bundles that comes with 8 pcs per package of different fabric prints. I found this fabric from the local fabric store where I live here. You can also get a fat quarter bundle from here.
If you prefer purchasing fabric on meter or yard, you would need about 1,82 meters or 2 yards of material to get eight fat quarters. From eight fat quarters, you will get four sets of double-sided napkins.
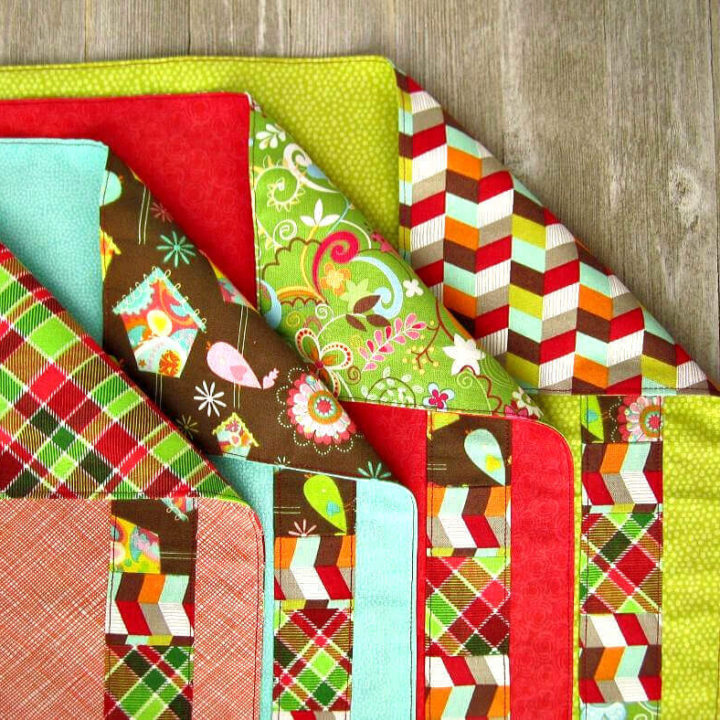
The bold color is just beautiful and pops when you display it on the dining table. The darker and multiple colors will help to disguise any stain that left on the napkins.
But not to worry, these cloth napkins are washable and reusable over and over again. If you don’t have time to iron it, me sometimes too, you can use the wrinkle release option on the dryer machine.
What You Need To Make Self Binding Cloth Napkins
- 1 bundle of fat quarters fabric ( 4 pcs for front side and 4 pcs for backing)
- Self-binding cloth napkin pattern
- Matching thread
- Washable fabric marker, I like the disappeared ink fabric marker
- Sewing machine
- Pins
- Ruler
How To Make Self Binding Cloth Napkins
Measure and cut the fabric just like it show on the pattern, 4 pcs of 18 ” x 18″ for the backing side and 4 pcs of 14″ x 14 ” for the front side.
Fold the larger square one in half, mark the the folded line. Repeat the process for all four sides. Repeat the process with the smaller square pieces fabric. (image no.2)
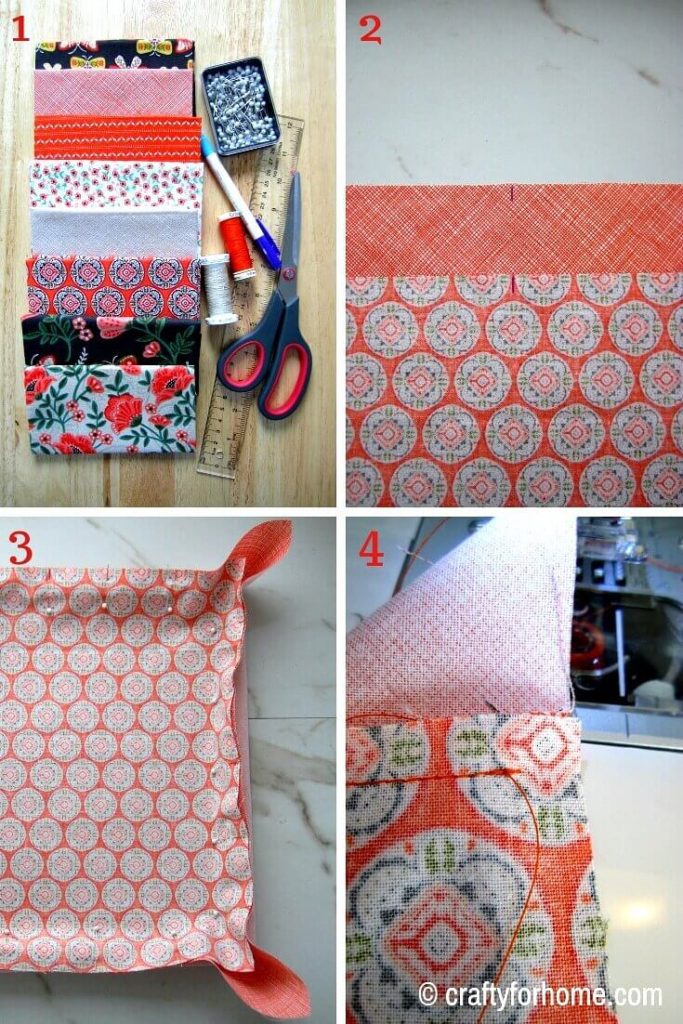
Layer the larger square and the smaller one with the right side facing each other. Pin it together in place and continue to make the smaller square fabric is in the center. The sides won’t be the same length. (image no.3)
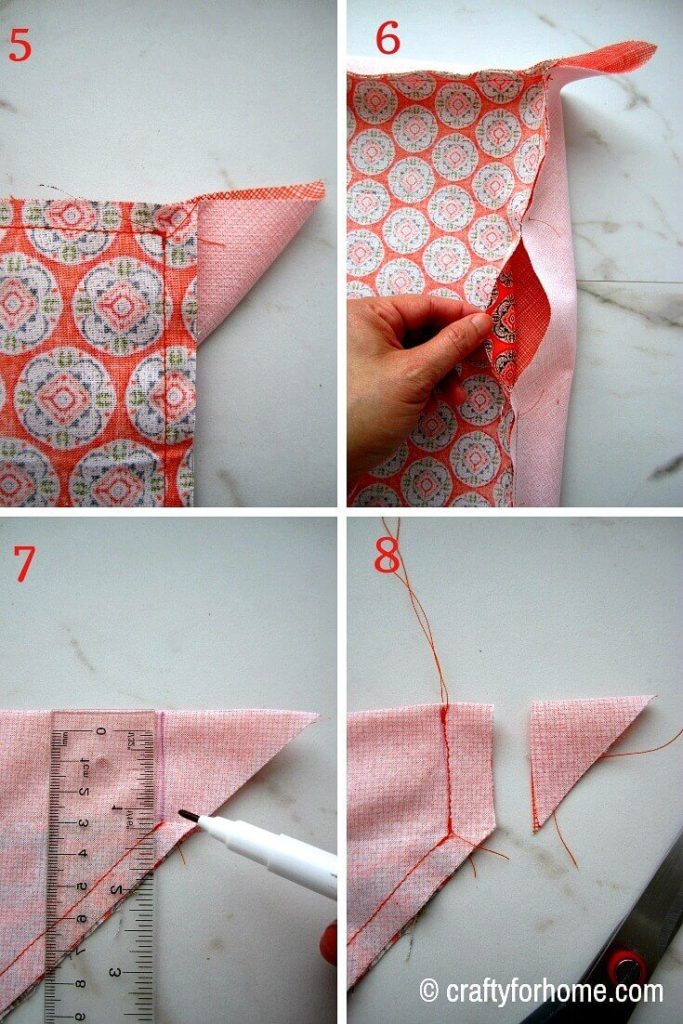
Straight stitch around the smaller square fabric edges with 1/4″ seam allowance and leave it about 4″ for the opening. (image.4, 5, 6).
Mark a line in each overhang corners to the stitch, then sew it (it is easier to determine the line by putting the ruler to make a 90° angle). (image no.7)
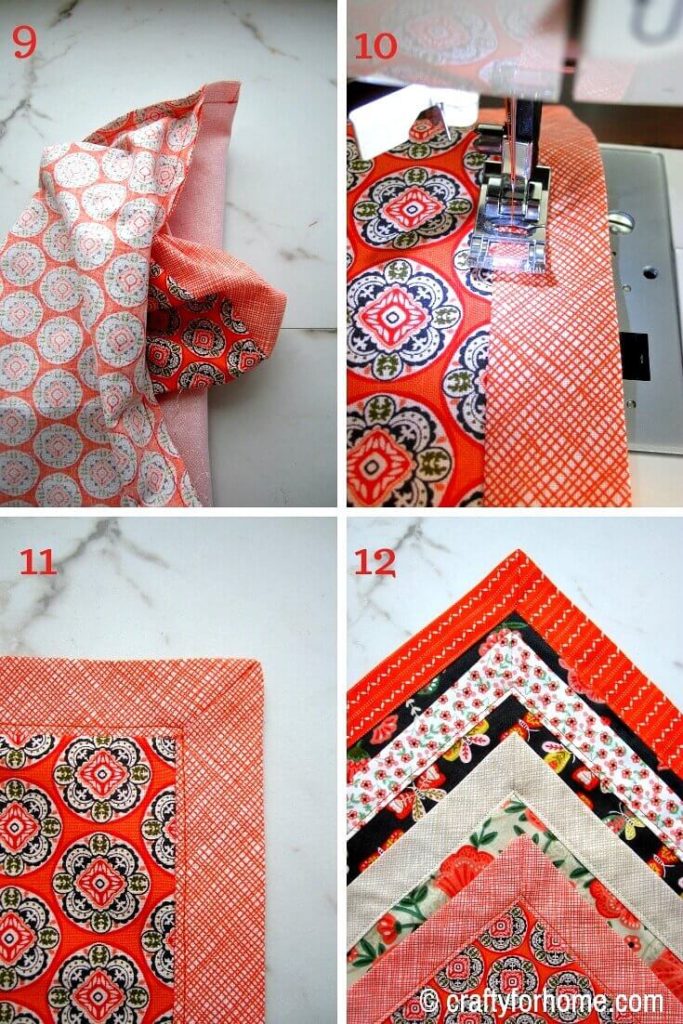
Clip the extra fabric. (image no.8). Turn it inside out through the opening. Press the napkin to make it easier when you sew the binding. (image no.9)
Sew the binding and close the opening at the same time. (image no.10)
This double-sided napkin with mitered corner is perfect for a formal dinner party or special occasion because of the elegant look of these napkins. Here are the easy ways to fold napkins for your next dinner party.
Get the PDF
I have a collection of 10 cloth napkins tutorial, which six of them have been published on the blog, and four of them are new and never published on the blog.
If it is more convenient, you can purchase the PDF format ebook of 10 Different Style Cloth Napkins for only $5. The ebook has complete tutorials with pictures included. There is no ads or video display on the PDF so that you can print it, and it will be available for you anytime you need the tutorial for your next project. Click on the ebook cover image below to purchase.
Cloth napkins are also perfect items for homemade gift ideas or craft for sale at your next country fair in your area.
For a complete custom gift idea, include the reversible bowl cozy with these napkins and match all fabric prints for both items.
More of sewing project for the kitchen
- How To Sew Easter Egg Placemat
- How To Sew Freezie Cozy
- Easy Patchwork Cloth Napkins
- DIY Scalloped Cloth Napkins
- Easy Oval Mug Rug Tutorial
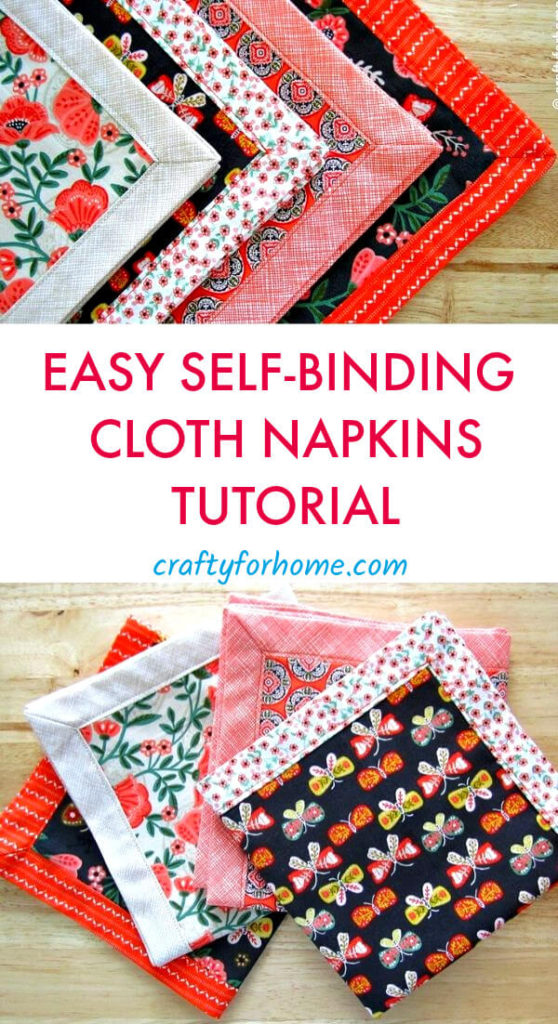
Easy Tutorial To Make Self-Binding Cloth Napkins
You May Also Like
Easy Binding Mug Rug
An easy sewing craft on how to make a mug rug with the easy binding tutorial using the backside of the fabric.
Easy Patchwork Cloth Napkins
Easy sewing tips on how to make cloth napkins with simple patchwork that will brighten up your tabletop setting any time of the year.
Oval Shaped Placemat Tutorial
How easy it is to sew an oval-shaped placemat. The placemat is perfect for your DIY home decor or homemade gift ideas.
So cute! I love the one with the butterflies!
Thank you, it is beautiful print, although the color toward the fall season theme, but it is fun for any time actually.
The napkins are lovely! Love the colorful prints!
Thank you, I do too love these prints, I think it is unique and fit for any seasons!
Such a great idea! I am excited to get to the fabric store and make some! Thank you for the instructions
Thank you, I am glad the instructions are easy and helpful, and a trip to fabric store is excited for sure.
I had a hard time with the corners. They just aren’t right. Any tips?
Hi Brenda, which part? Is it where you mark the corner? You can use a simple ruler then make a 90 degree angle as it show on the image no.7 then you sew the marked line before clip the corner off. Let me know again please if you need more help with this napkins.
I’m having a hard time with the corners too. A 90 degree angle gives me a box shape when turned right side out. I have been adjusting, and adjusting but still struggle to get the corners right on the first sew. More details on which fabric your 90 degree angle is measured from would help ( inside or outside fabric?) Thank you!
Hi Rachel, if you see the image no.7, fold the bigger size fabric to make a triangle corner (still on the wrong side of fabric, means the inside), then use the simple ruler to create 90 degree angle just like it show on the image, draw the line all the way to the stitch point. You can see that I use purple marker to draw the line. From there, you stitch along the line before you cut off the corner. Hope it help.
ina has created a youtube video that shows the process. it might be easier to follow if you watch that. https://www.youtube.com/watch?v=WB_k16FGgP8
Yes it is, there is video of the tutorial on You Tube, thank you Jodi for mention it, I appreciate it.
I finally realized that the right angle is with the fold, not the line of stitching. The photo shows that, but the directions didn’t phrase it that way, so I kept doing it wrong until I found directions on a similar project. 😋Fingers crossed that third time is a charm!
I realize that this question is several years old, but maybe it will help someone else. I’m excited to make some cute napkins.
Hi Vicki, yes it is from the fold not the stitched line. Thank you for pointing that out.
Thanks for this. Was a lot harder than I anticipated – off to watch the corner video as I had caught the corners up when stitching round the edges so had to unpick then do the corners separately.
I also struggled to get the binding over the smaller inner once turned out the right way and ready to iron and sew. Some practice needed I think
I hope it turn out well for you too. The easiest way to get the corner right is make 1/4 inch seam allowance on the smaller fabric square. The line will guide you where to stitch by the corner.