Use the regular sewing machine with the specific stitch style to make the scalloped edge for vintage-inspired cloth napkins.
Use This Helpful Guide On How To Make Scalloped Cloth Napkins
Honestly, I rarely see scalloped cloth napkins these days. We have these Christmas cloth napkin sets that have vintage looks but also elegant for any casual or formal dinner party. But what we have for everyday use are mitered corner napkins style.
As an Amazon Associate I earn from qualifying purchases. This post may contain affiliate links. Please see the Disclosure Policy for details.
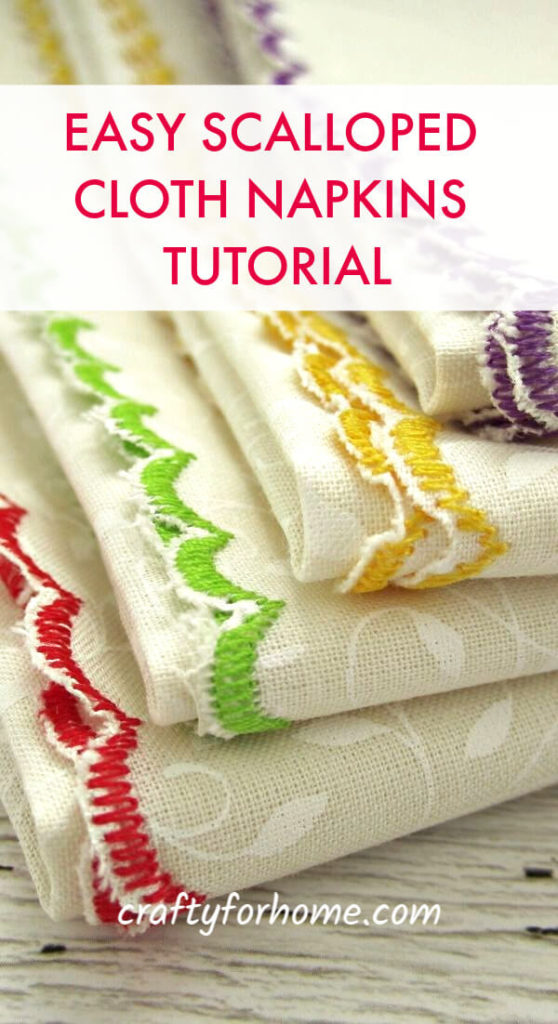
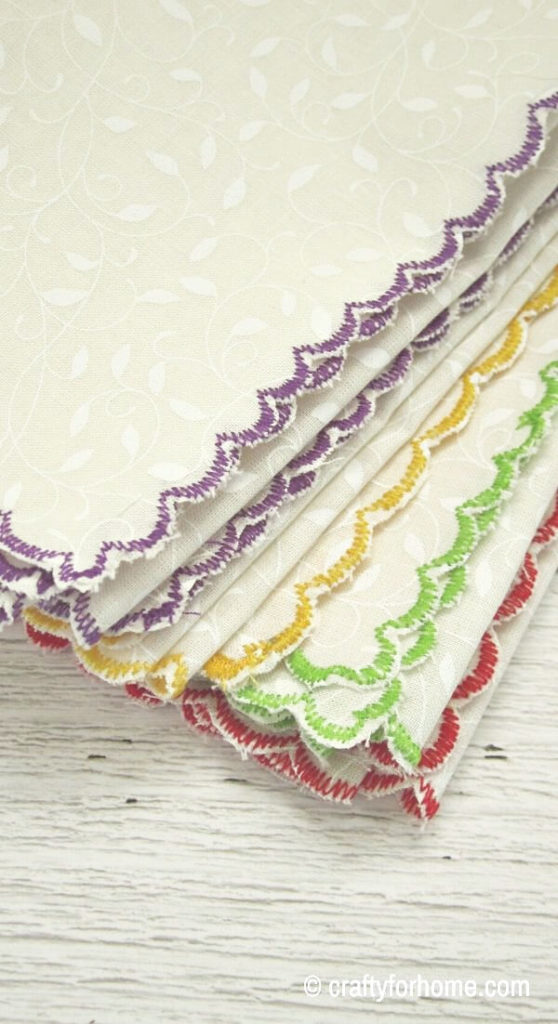
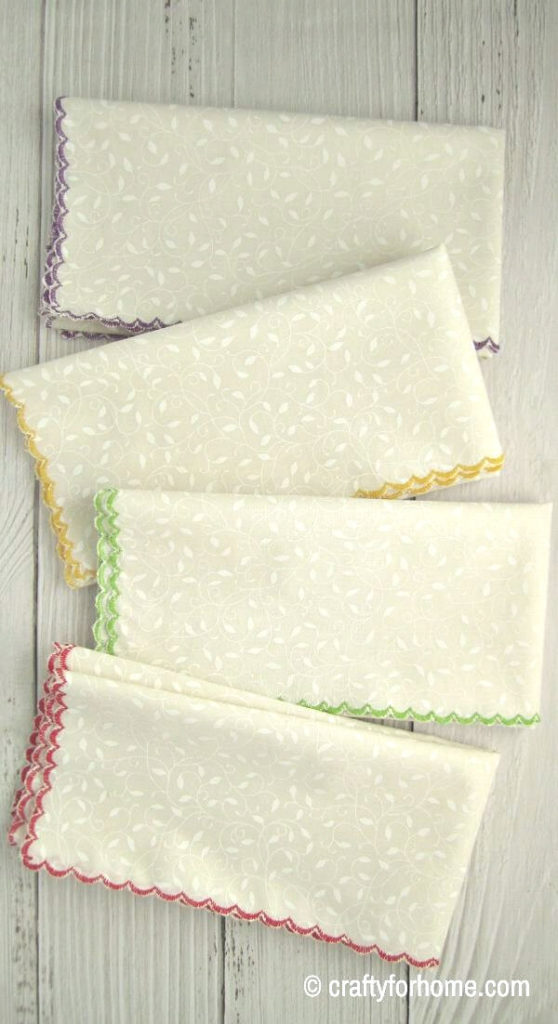
I know it is available in specific home decor stores like Wayfair, Pottery Barn, and online. But you know, you can make a set or two yourself by just using a regular sewing machine scallop stitch to keep on budget.
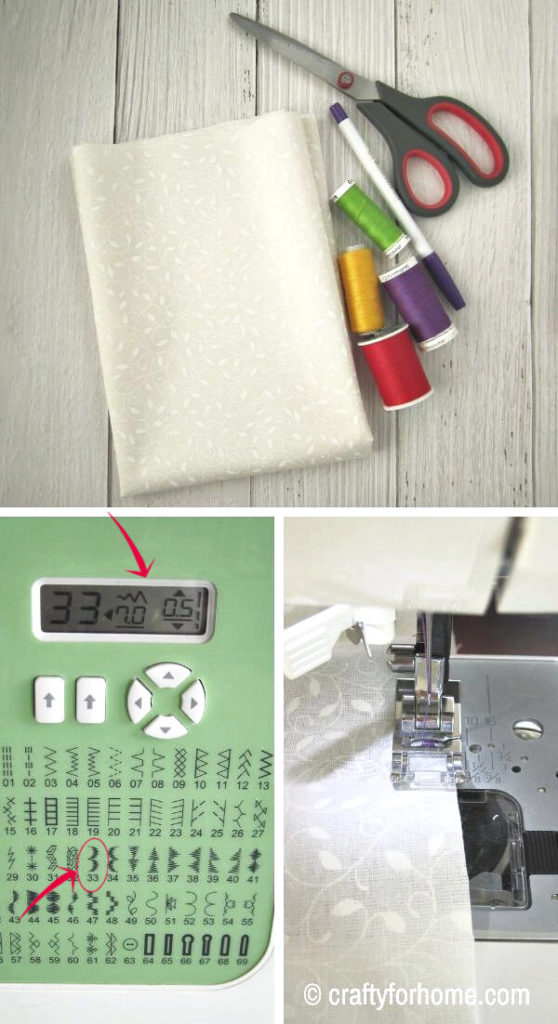
If you see the stitch variety on a sewing machine, there is one decorative stitch for embroidery scallop. You will use this stitch to hem these DIY cloth napkins.
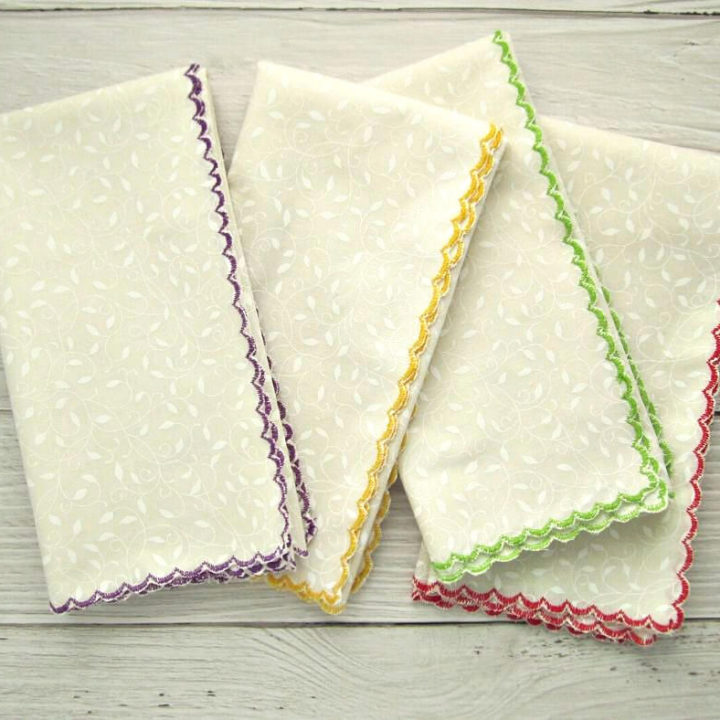
Use the plain color fabric and colorful thread for the hem to keep on vintage-inspired style. Use a cotton quilt for a lightweight one or linen.
I usually love to use a printed cotton quilt for cloth napkins. But it is better to use plain color for this project or a simple print that blended with the primary color of the fabric.
You don’t need to cut the edge of the fabric into a scallop shape first. You only sew the hem with this decorative stitch then use the scissors to trim the fabric.
So the scalloped stitch will be exposed on edge. If the material is too thin, you can use stabilizers such as fusible webbing.
Before you start sewing, set the length of the embroidery stitch first. Try on the fabric scraps first until you get the stitch length you need.
To get a nice-looking scalloped edge, I set up the length into max, which is about 1 inch.
Keep in mind that each sewing machine could have a different setting and result. I use my favorite Singer Sew Mate 5400, it is straightforward to use, and it has stitch varieties for functional and decorative purposes.
However, if you use Brothers, Janome, or Kenmore sewing machine, it might have a different setting.
Supply To Sew DIY Simple Scalloped Cloth Napkins
Use plain color cotton or linen. If you choose printed fabric, use simple print and thread with contrast color.
Here are some of the simple white printed fabric similar to what I use.
- Cookie Dough White On White Scroll
- Cookie Dough White On White Leafy Scroll
- Cookie Dough Fat Quarter Bundle
But there is no rule on this project. Whichever color and print you like, match the scalloped edge thread color that pops or blends in with the fabric.
From 1 yard/1 meter of fabric, you will have four napkins with approximately 18-inches x 18-inches square.
- 1 yard/1 meter cotton quilt or linen
- Matching or contrast color threads
- White sheer fusible webbing (optional)
- Disappeared ink fabric marker
- Scissors
- Sewing machine
- Ironing machine
How To Make Scalloped Edge Cloth Napkins
See the Scalloped Edge Cloth Napkins video tutorial here.
This tutorial is for 18-inches x 18-inches square cloth napkins so that you will divide the fabric into four squares. Set up the decorative scallop stitch first into the desired length. Try the stitch first by sewing it on scraps before you start it.
Cut the fabric into 18-inches x 18-inches square. Cut the fusible webbing if you use it, four of 1-inch x 18-inches for one napkin.
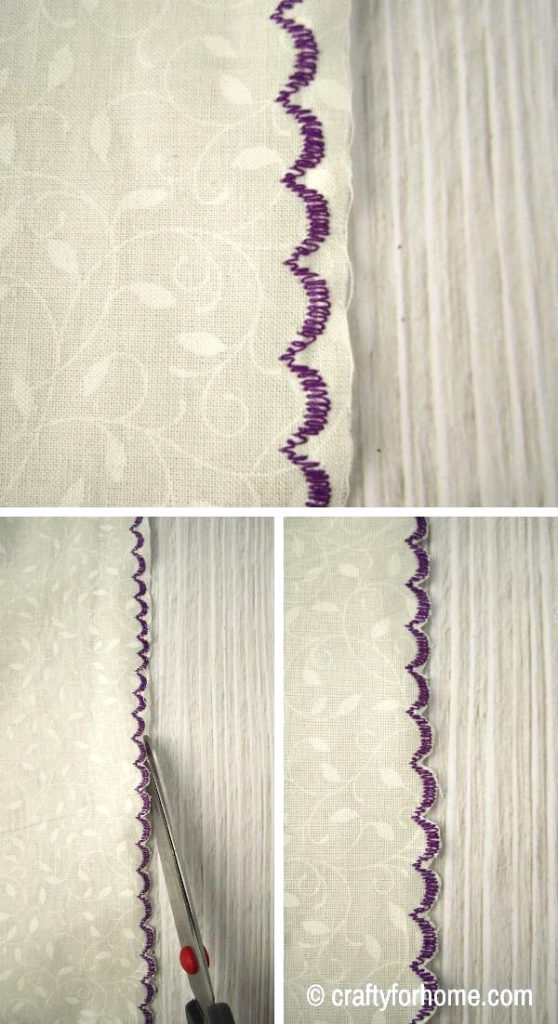
Pin the fusible web along the edge of the napkin. Sew the edge of the fabric with the decorative scallop stitch.

Trim the edge of the fabric as close as possible to the stitch. Pull the fusible webbing away from the stitch (if you use one). Press the napkins with the ironing machine, and napkins are ready to use.
Get the PDF
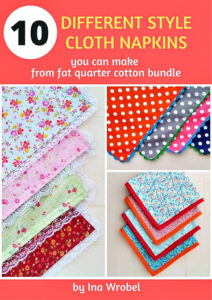
I have a collection of 10 cloth napkins tutorial, which six of them have been published on the blog, and four of them are new and never published on the blog.
If it is more convenient, you can purchase the PDF format ebook of 10 Different Style Cloth Napkins for only $5. The ebook has complete tutorials with pictures included. There is no ads or video display on the PDF so that you can print it, and it will be available for you anytime you need the tutorial for your next project. Click on the ebook cover image above to purchase.
Easy Way To Hem Cloth Napkins
The scalloped edge is probably one of the easy ways to hem cloth napkins. There is no other technic and measurement involved like self-binding napkins.
But it still looks elegant and saves on cost because you will get a set of napkins from one yard of fabric. You will get even more if you make it into smaller sizes.
Using cloth napkins for everyday use also saves on a budget because it is reusable and washable repeatedly. Instead of tossing it into the trash like paper one, throw it into the laundry after use.
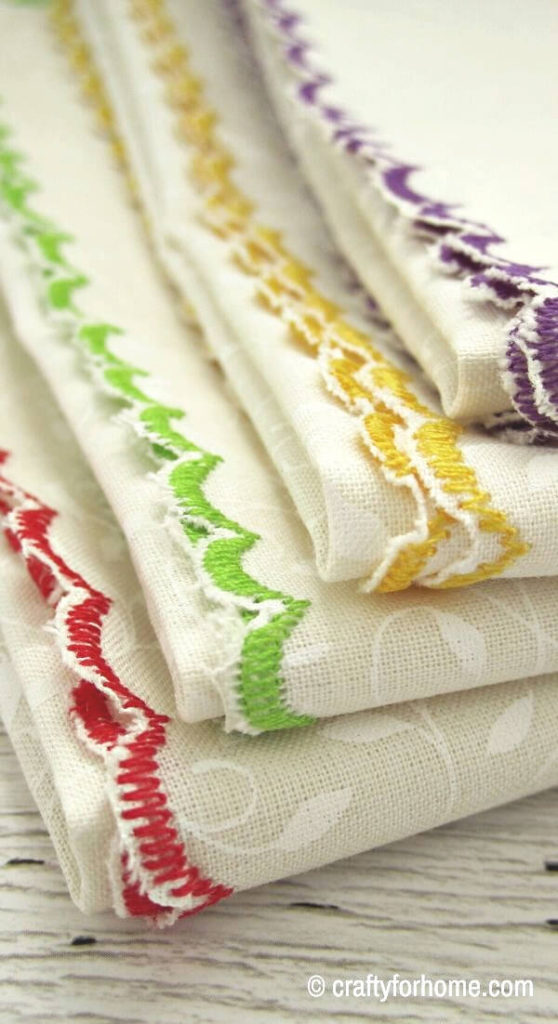
If you want to skip pressing the napkin with an ironing machine every time you finish washing them, there is usually a wrinkle release option on the dryer machine.
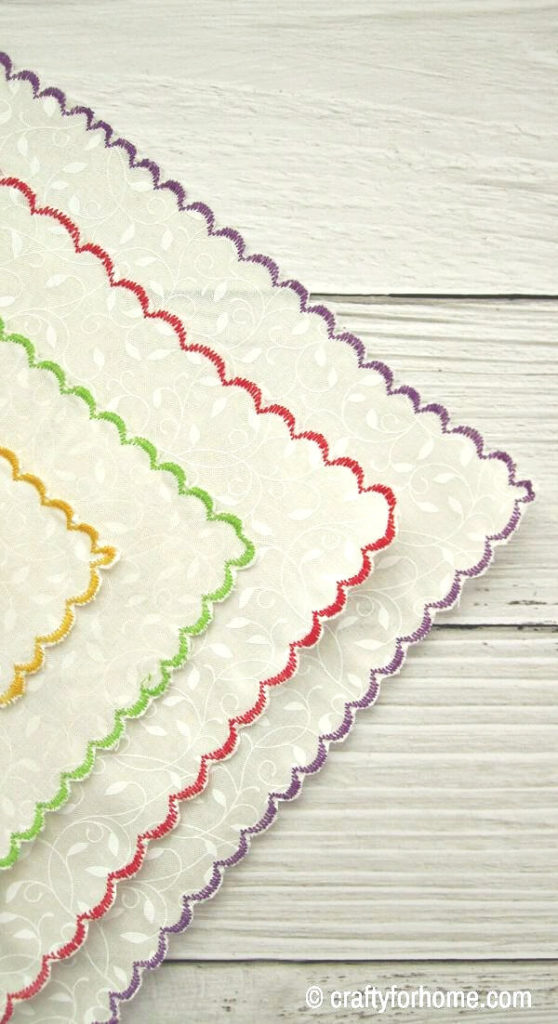
If you are using linen fabric, it gets wrinkles quickly and shrinks after washing. You can use these tips on how to release wrinkles out of linen for a crisp look. Pair the napkin with the bowl cozy for a fun custom look.
Make these vintage-inspired cloth napkins for your everyday use. #clothnapkins #handmadenapkins Click To TweetMore easy cloth napkins you can make from cotton fabric.
- Handmade Cloth Napkins: Easy Tutorial
- Easy Patchwork Cloth Napkins
- Self-Binding Cloth Napkins Tutorial
- Lace-Trimmed Cloth Napkins
Use colorful threads to hem scalloped cloth napkins.
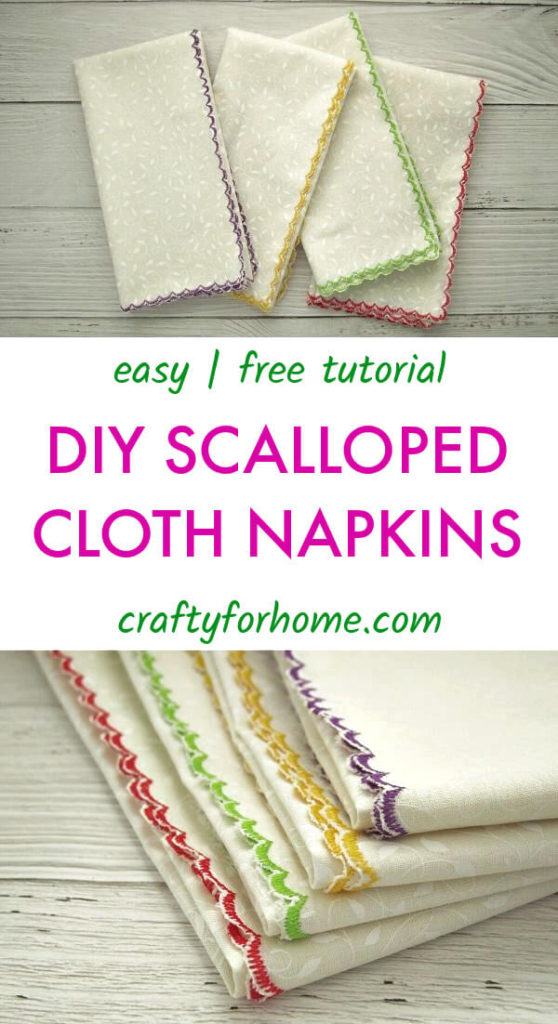
DIY Scalloped Cloth Napkins Tutorial
Use the regular sewing machine to make the scalloped edge for vintage-inspired cloth napkins.
Materials
- 1 yard/1 meter cotton quilt or linen
- Matching or contrast color threads
- Non-woven fusible webbing (optional)
Tools
- Disappeared ink fabric marker
- Scissors
- Pins
- Sewing machine
- Ironing machine
Instructions
- Cut the fabric into 18-inches x 18-inches square.
- Cut the fusible webbing if you use it, four of 1-inch x 18-inches for one napkin.
- Pin the fusible web along the edge of the napkin.
- Sew the edge of the fabric with the decorative scallop stitch.
- Trim the edge of the fabric as close as possible to the stitch.
- Pull the fusible webbing away from the stitch.
- Press the napkins with the ironing machine, and napkins are ready to use.
Notes
- This tutorial is for 18-inches x 18-inches square cloth napkins so that you will divide the fabric into four squares. Set up the decorative scallop stitch first into the desired length. Try the stitch first by sewing it on scraps before you start it.
- Make sure to see the complete steps of picture tutorials in the post for more detailed instructions.
Leave a Reply