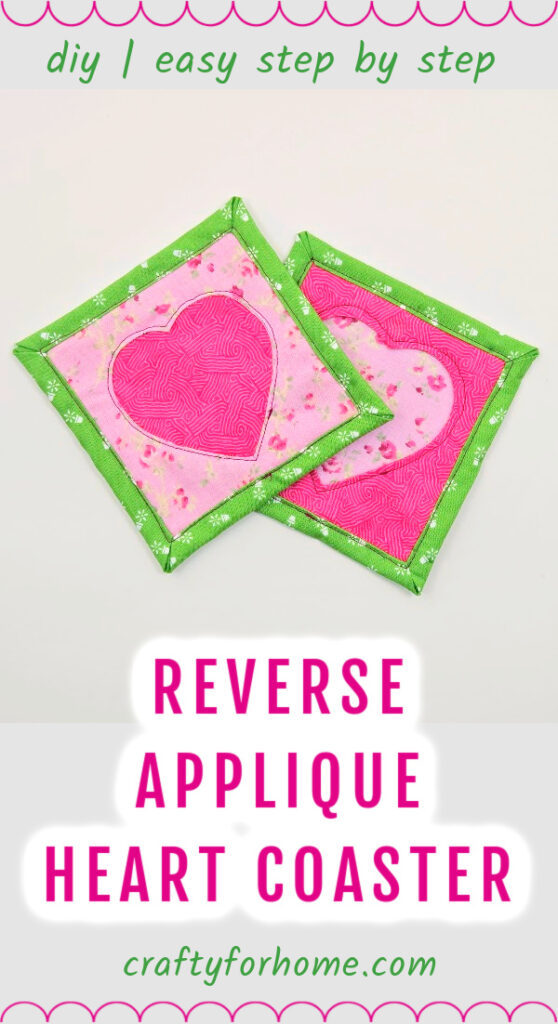
This easy step-by-step sewing tutorial is for making a reverse applique heart coaster. It’s an easy sewing project for Valentine’s Day, using charm pack fabric or fabric scraps.
Valentine’s Day Coaster Idea
When there are too many fabric scraps, turn them into something fun and new. With this simple reverse applique quilt tutorial, you can make a DIY Valentine’s Day coaster with easy binding. No bias tape is needed.
As an Amazon Associate I earn from qualifying purchases. This post may contain affiliate links. Please see the Disclosure Policy for details.
The binding style is from this Easy Binding Mug Rug tutorial. This fabric heart coaster style is a similar applique project to this Christmas Ornament Mug Rug tutorial.
Supply To Make Square Reverse Applique Heart Coaster
Use charm pack size fabric, which is 5″ square, or fabric scraps for the front and middle layers. Use a larger square fabric scrap for the back layer. This project is great for mixing and matching fabric prints and colours.
Even though this is a Valentine’s Day theme coaster, you can use any fabric color other than pink, red, and purple. Use the most contrasting color fabric for the middle layer to pop the heart shape.

If you use 5″ square for all fabric pieces, use bias tape for the binding or turn the fabric right side out like this Flower Coaster tutorial.
- 1 sheet of 7″ x 7″ fabric for the back layer
- 1 sheet of 5″ x 5″ fabric for the middle layer
- 2 sheets of 5″ x 5″ fabric for the front layer
- 1 sheet of 5″ x 5″ fusible fleece
- Heart shape template, the size is approximately 3.25″ long and wide, or print it through this link
- Disappeared ink fabric marker. My favorite is the dual-purpose marker.
- Pins or quilting clips
- Ruler
- Scissors
- Chopstick
- Thread
- Sewing machine
- Clothes iron
Reverse Applique Heart Coaster Tutorial
The video tutorial is also available. Click on this link to watch the Reverse Applique Heart Coaster video tutorial on my YouTube channel, and subscribe for more videos.
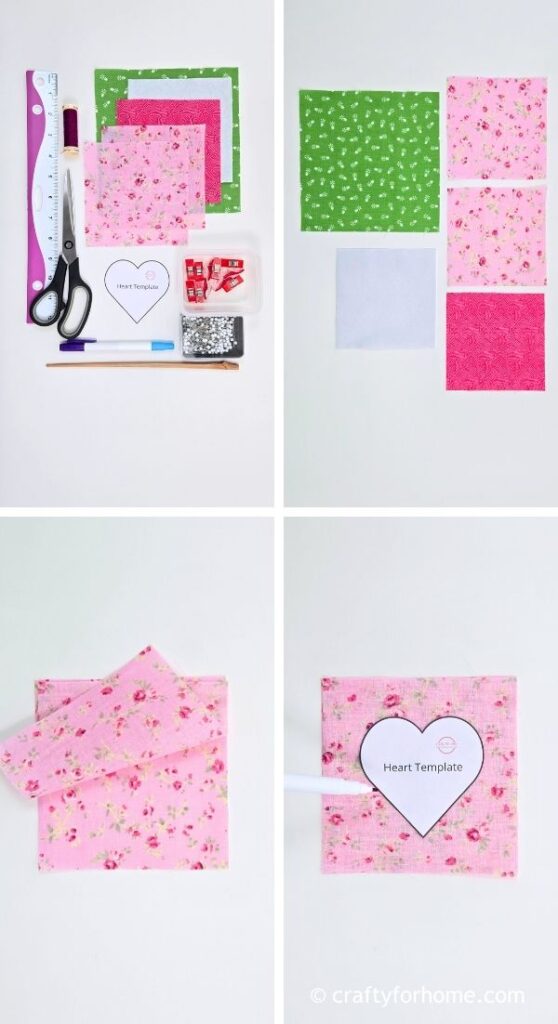
Put together the front layer fabrics with the right side facing each other.
Trace the heart shape template in the center.

Sew along the traced heart shape.
Trim the heart shape 0.25″ inside the stitched line.

Clip or fringe cut the extra fabric along the curve away from the stitched line.
Turn the fabric on the right side out through the heart shape.
Press the fabric with a clothes iron.

On the wrong side of the fabric for the back, mark a line 0.5″ from the edge, then mark a line 0.5″ from the first line.
Layer together the wrong side of the fabric for the back facing up, fusible fleece in the center of the back layer fabric, the right side of the fabric for the middle layer facing up, and the fabric for the front layer.
Fold the corner of the backing fabric layer inward to face the corner of the front fabric layer. Then, fold the corner again.

Fold the edge of the backing fabric layer inward twice with the 0.5″ marked line as the guide for the folding line, then pin it or use a quilting clip so that the raw or frayed edge of the fabric is hidden inside the fold.
Repeat the process for folding all corners and edges of the backing fabric to resemble mitered corners.
Press the binding with a clothes iron. Topstitch the seam on the binding.
Topstitch the hem of the heart shape.

The reverse applique heart coaster is ready to use now.
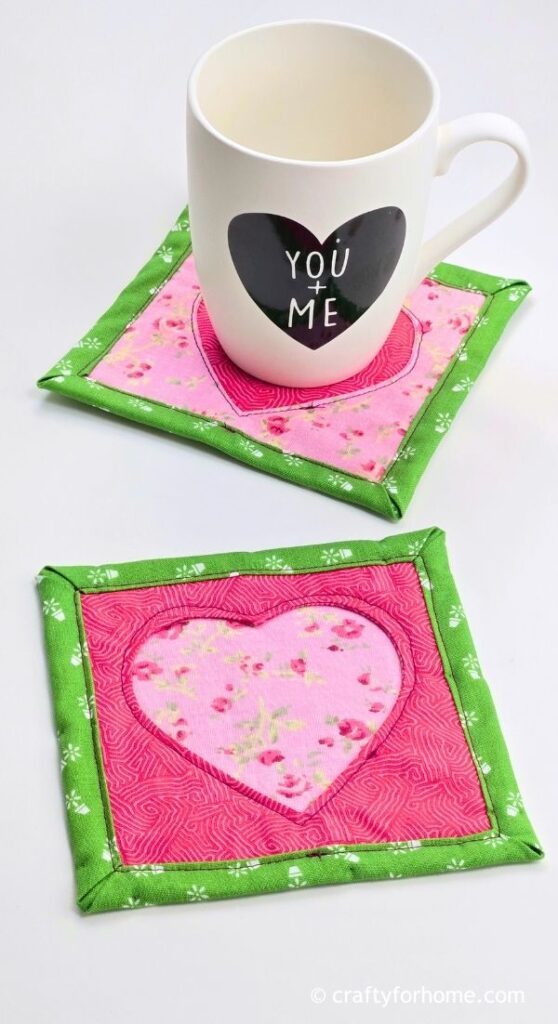
The Size Of The Coaster
The reverse applique heart coaster size is around 5″ square.
The fabric coaster has enough space for a mug.

If you are not using it as a coaster, you can use it for a DIY Valentine Garland by making a few of them and using cloth pins to hang them along a ribbon or string.

Another way is to use it as a pad for the flower vase or hang it on the kitchen wall for seasonal decor.
Use scrap fabric squares or charm pack fabrics to make a reverse applique heart coaster. #Valentinecraft #charmpacksewingproject #appliquequilting Share on XMore Sewing Projects for Valentine’s Day
- Heart Applique Mug Rug
- Fabric Heart Garland
- Easy Felt Envelope
- Fabric Heart Yo-Yo Keychain
- Gift Card Holder
DIY Reverse Applique Heart Coaster For Valentine’s Day Craft


Leave a Reply